

Updated on
Quick Answer:
You can capture Discord audio with Audacity on your PC or Mac by choosing your computer speakers as the recording device. If you use a Mac, there is a one more step you need to take, which is to add and set up an extra audio driver on your Mac before you recording audio.
Audacity is a free tool that combines an audio recorder and an audio editor. Therefore, when you need to record audio on your computer, Audacity is a great option to consider. This also applies to recording Discord audio. In this guide, I will show you how to record Discord audio with Audacity. Whether you are using a PC or Mac, you will find the corresponding steps to follow.
Table of contents
How to Record Discord Audio with Audacity on PC
Audacity offers the capability to record audio from your computer or capture microphone sound. When it comes to recording Discord audio, it is the same as recording internal audio on your PC. To achieve this, you can simply let Audacity record the computer audio, making the process effortless.
To record audio on Discord with Audacity on PC:
Step 1. Download and install Audacity on your PC or laptop.
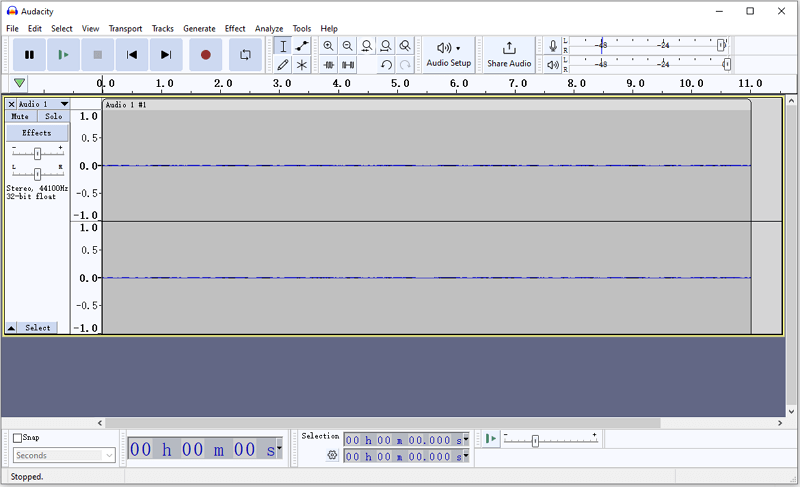
Step 2. Open Audacity and go to Audio Setup from the menu.
Step 3. Select Host among the options and choose Windows WASAPI.
Step 4. Click Recording Device and choose your computer speakers as the recording device.
Step 5. Prepare the Discord audio you’d like to record.
Step 6. When you are ready, click the Start button.
Step 7. After capturing the content you need, click the Stop icon.
Step 8. Edit the audio track if you need to.
Step 9. Go to File > Export to save the audio recording in MP3, WAV, or OGG on your computer.
How to Record Audio on Discord with Audacity on Mac
Although it’s easy to record audio from Discord using a PC, it’s not the same when it comes to recording internal audio on Mac. That’s because Mac can’t record audio coming from your speakers by default. Therefore, you’ll need to download and install an extra audio driver, such as BlackHole, on your Mac first, and then set it up correctly. Afterward, you can choose it as the recording device in Audacity and let Audacity record Discord audio on your Mac.
To add BlackHole on your Mac and set it up:
Step 1. Download and install BlackHole on your Mac.
Step 2. Open Audio MIDI Setup on your Mac, click the Plus icon, and select Create Multi-Output Device.
Step 3. Locate the newly created item and ensure that both BlackHole and your Mac speakers (or Built-in Output) are selected. Additionally, enable Drift Correction for these options.
After the setup, now you can follow the steps below to use Audacity to record audio from Discord.
To record Discord audio with Audacity on Mac:
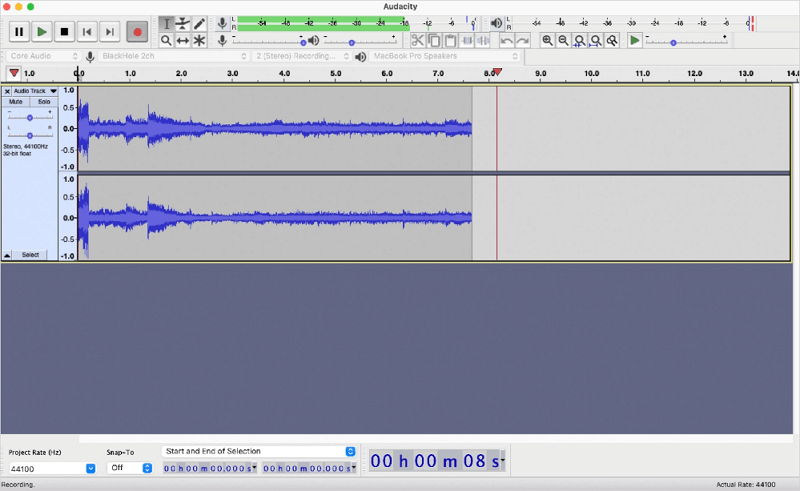
Step 1. Launch Audacity on your Mac.
Step 2. Choose BlackHole as the Recording Device.
Step 3. When you are ready to record, click the Record icon.
Step 4. Once done, click the Stop button to end the Discord audio recording.
Step 5. Edit the audio recording according to your needs.
Step 6. Go to the Menu bar to export the audio file.
There are some related guides you may be interested in, such as how to record Discord audio with OBS and how to record Discord audio with Xbox Game Bar. However, when it comes to capturing Discord audio, these two tools are less convenient compared to Audacity.
Wrapping Up
Audacity is a viable solution, but it is not the only option for recording audio on Discord. If you want to screen record on Discord to create videos, it is advisable to use an application like SurFlex Screen Recorder. This type of app offers both video and audio recording features, enabling you to capture any desired video or audio from your computer.
About the Author
You May Also Like
-
How to Record Voice on Laptop in Windows 10, 11, and More
There are the simple tips for recording microphone sound. You can use any of them to record voice on laptop without difficulty.
Myra Xian Updated on -
4 Simple Ways to Record Internet Radio
Check the video or audio recorders in this guide and use any of them to record internet radio on your computer with a few simple clicks.
Charlene Chen Updated on -
3 Ways to Record Audio from Safari
You will know how to record audio from Safari on Mac with either the built-in or third-party screen recorder tools.
Myra Xian Updated on