

Updated on
Quick Answer:
You can record audio from your computer with Audacity by selecting the correct recording device. Afterward, you can edit the audio and save it in the format you like. Additionally, you can choose to record audio from your computer using an Audacity alternative such as SurFlex Screen Recorder.
Although there is a built-in audio recorder on your computer that allows you to record audio on Windows 10, 11, and more, it only works to record microphone sound rather than the system sound. Therefore, when you need to record computer audio, you will need a third-party audio recorder to help and one of the popular choices is Audacity.
Table of contents
Can Audacity Record Desktop Audio
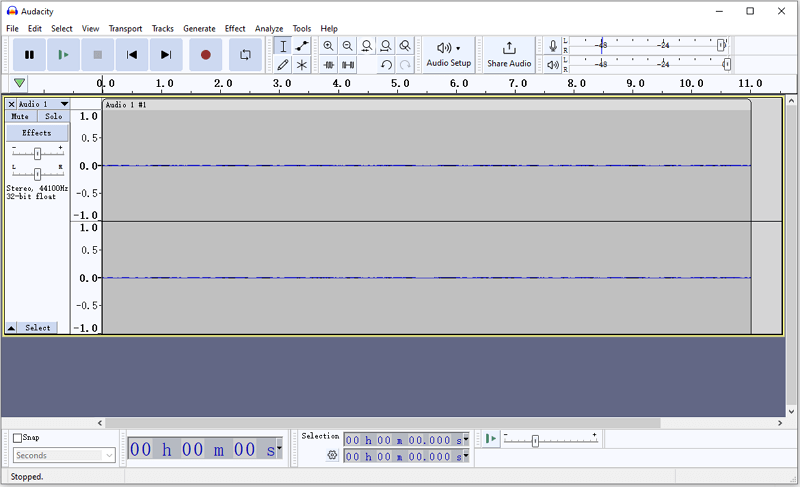
Yes, you can record desktop audio with Audacity after proper settings. As an audio recorder and editor, Audacity not only allows you to capture system sound on your PC or laptop but also enables you to edit the audio recording according to your preference. What’s more, if you use Audacity to capture system sound, you can save the audio in MP3, WAV, or OGG format. If that’s what you want, read on to learn how to record computer audio with Audacity in detail.
How to Record Desktop Audio with Audacity
To use Audacity to record computer audio, go to its official site to download and install Audacity on your computer first.
To record desktop audio with Audacity:
Step 1. Open Audacity and go to Audio Setup.
Step 2. Click Host to select Windows WASAPI.
Step 3. Then go to Recording Device to choose your computer speakers.
Step 4. Prepare the audio source you’d like to capture.
Step 5. Go back to Audacity and click the Record option.
Step 6. When you are done with the audio recording, click Stop.
Step 7. Edit the audio recording according to your needs.
Step 8. Click File > Export and choose the audio format you prefer among the options, including MP3, WAV, and OGG.
Step 9. Rename the recording, set the destination folder, and click Save to save the recorded audio to your computer.
How to Record Computer Audio Without Audacity
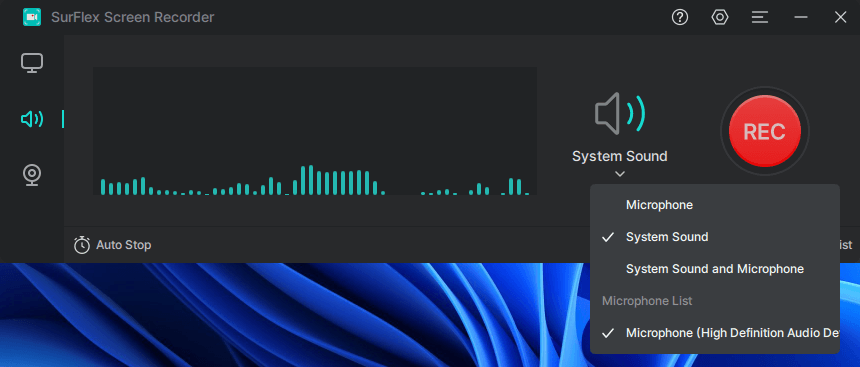
If you encounter unexpected errors and won’t be able to record system sound on your computer while using Audacity, there is an alternative way for you to record sound from your computer successfully, which is to use a professional audio recorder, SurFlex Screen Recorder. It allows you to record all types of audio on your PC or Mac. With it installed on your computer, you can:
- Record system audio
- Record microphone sound
- Record microphone and speakers at the same time
In addition, SurFlex Screen Recorder is a video recorder that can capture your onscreen activities. If you need to screen record on computer with audio someday, you can still apply the same tool to get it done.
To record audio from computer:
Step 1. Launch the screen recorder and click Settings to select the audio output format and quality.
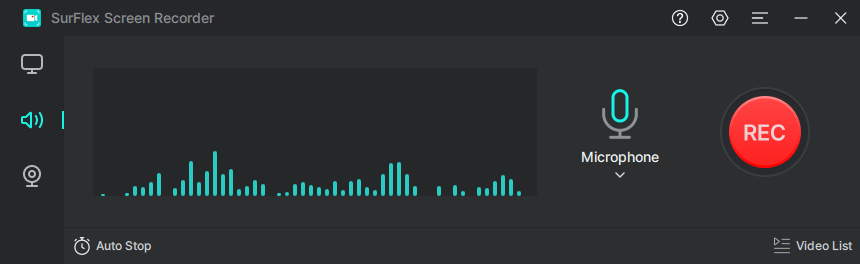
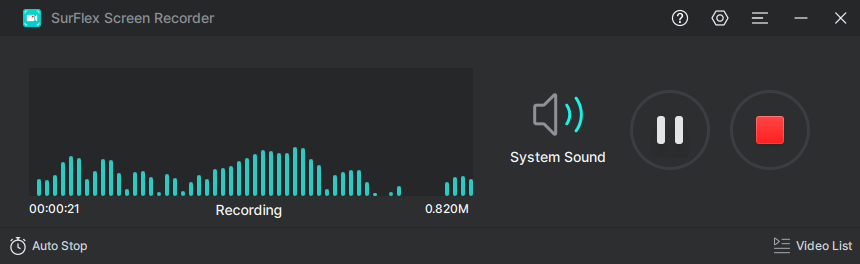
Step 2. To record audio from your computer, choose System Sound among the options. When you are ready to record the computer audio, click REC.
Step 3. Once the audio recording is completed, click Stop.
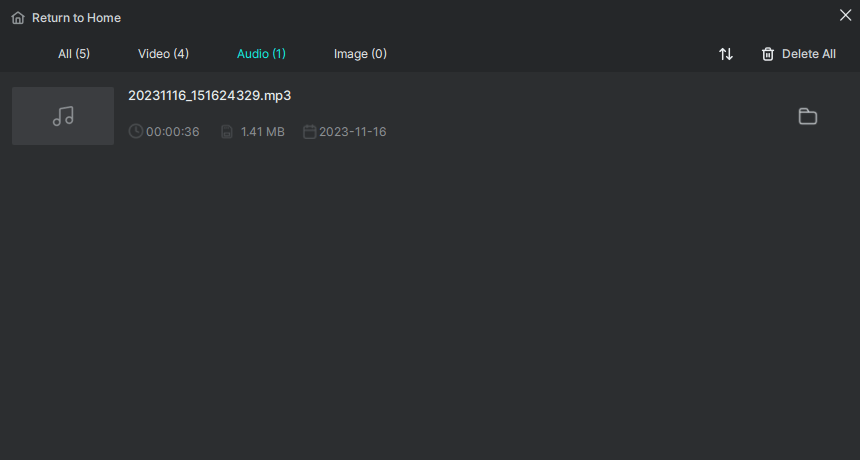
Step 4. Check the audio file in the recording list.
Wrapping Up
Although it’s easy and free to record system audio with Audacity, it may fail to work unexpectedly sometimes. Thus, it’s necessary to know a backup option, such as SurFlex Screen Recorder, so that you can capture whatever audio you want. It is a screen recorder that can capture both video and audio on your computer. If you not only need to record audio but also wish to capture video on your computer, using this screen recorder is the best choice in the long run.
About the Author
You May Also Like
-
3 Ways to Record Audio from Safari
You will know how to record audio from Safari on Mac with either the built-in or third-party screen recorder tools.
Myra Xian Updated on -
How to Record Audio Separately from Video: Simple Guide
Check this guide and you will know how to record audio separately from video to capture both video and audio easily.
Myra Xian Updated on -
4 Simple Ways to Record Internet Radio
Check the video or audio recorders in this guide and use any of them to record internet radio on your computer with a few simple clicks.
Charlene Chen Updated on