

Updated on
Quick Answer:
You can record WAV files on your Mac with the audio recording feature in SurFlex Screen Recorder, Audacity, QuickTime Player, or Voice Memos. If you choose Audacity or QuickTime, you will need to do one more step: manually convert the audio recording to MP3.
WAV is a lossless audio format that offers superior quality compared to compressed audio formats, ensuring a high-quality audio listening experience. Therefore, when you record audio on a Mac, you may prefer to save the recordings as WAV files to preserve the audio in its highest quality.
In this guide, I will show you various methods to record WAV files on a Mac. Whether you want to capture internal audio, microphone input, or both, you will learn how to save the recordings in WAV format.
Table of contents
Record WAV File on Mac Easily
Tool: SurFlex Screen Recorder
Supports recording Internal audio, external audio, and both
To record a .wav file on your Mac easily, you can use the easy audio recorder, SurFlex Screen Recorder. It allows you to customize audio format and quality when you record audio, including WAV, MP3, AAC, OGG, WMA, and FLAC. Thus, it is a viable choice to record WAV files on Mac.
Besides, it helps to record all types of audio sources on your Mac. Whether you want to capture your voice or record internal audio on your Mac, it will fulfill your needs. It can also record both internal and external audio at the same time, which can’t be done with the built-in apps on your Mac.
To record WAV file on Mac:
Step 1. Launch SurFlex Screen Recorder, go to Settings to choose WAV as the output audio format, and then choose the Record Audio mode.
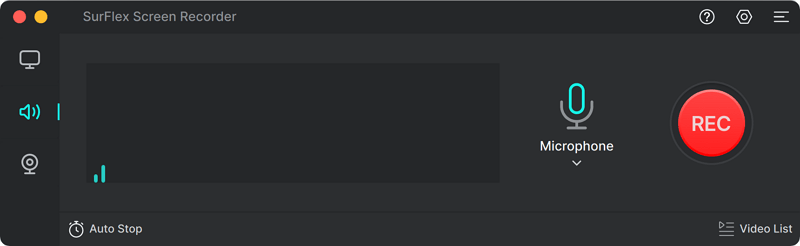
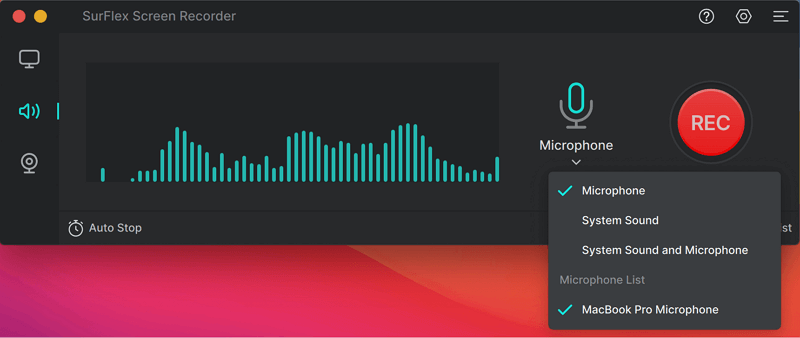
Step 2. Click the Arrow icon to select the audio recording type, including Microphone, System Sound, and System Sound and Microphone. Then click REC to start recording audio on your Mac.
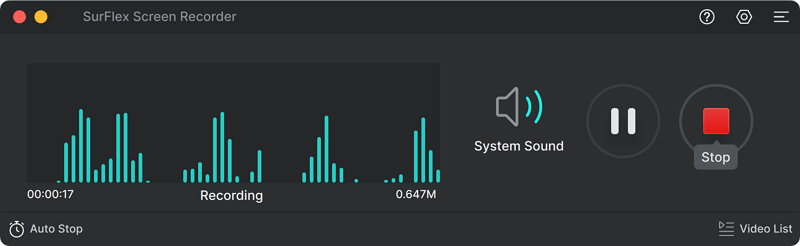
Step 3. Once the audio recording is completed, click Stop and check the audio file in the recording list.
Record a .WAV File on Mac for Free
Tool: Audacity
If you record audio often, you must be familiar with the free and open-source audio recorder and editor, Audacity. In addition to recording MP3 files, Audacity is capable of creating WAV and OGG files on Mac, making it a practical choice to record WAV files on Mac for free.
However, it only works to record microphone sound on Mac since Mac doesn’t natively support internal audio recording. If you want to know how to create WAV files on your Mac by capturing audio playing on your computer with it, go to the guide on how to use Audacity to record computer audio on Mac for the detailed steps.
To record a .wav file on Mac:
Step 1. Download and install Audacity on your Mac.
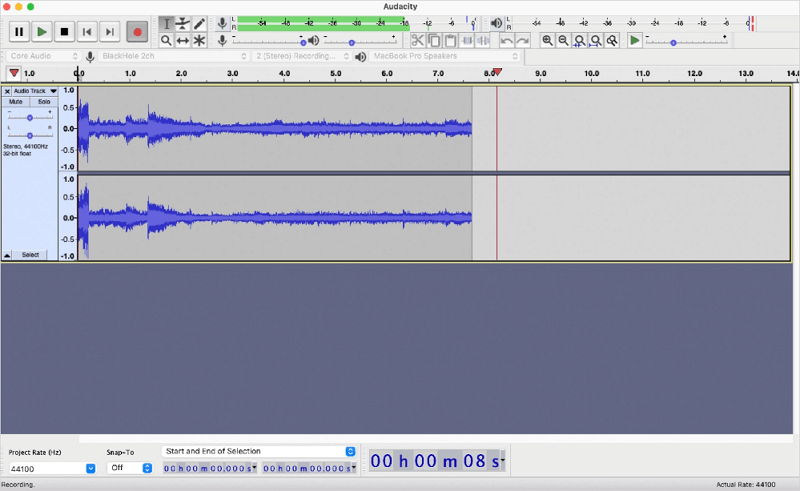
Step 2. Open the app and choose a recording device. For example, if you want to record your voice, choose the microphone; if you want to record computer audio, choose speakers instead.
Step 3. Click Record to start recording audio on your Mac.
Step 4. Export the audio as a WAV file.
Record WAV Files on Mac Indirectly
Tool: QuickTime Player
QuickTime Player is the preinstalled media player on your Mac that also has audio recording functionality. However, when you use it to capture audio on your Mac, it will save the audio recordings as M4A files by default. Thus, when you want to record WAV files on a Mac, you need to further convert the recorded audio to WAV. Luckily, this is quite easy to achieve with the help of an online converter like CloudConvert.
To record a WAV file on Mac with QuickTime Player:
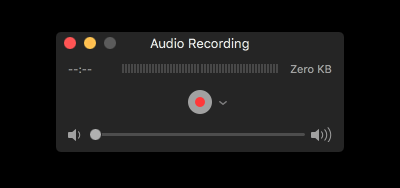
Step 1. Open QuickTime Player on your Mac.
Step 2. Go to File > New Audio Recording.
Step 3. If necessary, go to Options (the arrow icon next to Record) to select the recording device.
Step 4. Click Record to start recording.
Step 5. When needed, stop the recording and save it on your Mac.
Step 6. Convert the M4A file to WAV using CloudConvert online file converter.
Note: Due to the reason mentioned in the last part, QuickTime Player also works to record microphone sound only by default. If you want to use it to capture computer audio, it’s still necessary to install an extra audio driver on your Mac. If that’s what you are interested in, go to the guide on how to record internal audio on Mac for more details.
Create a WAV File Quickly
Tool: Voice Memos
If you are going to record audio on a Mac using your microphone, you can also use the Voice Memos app to help. It is the built-in voice recorder on a Mac that allows you to record microphone audio. Similar to QuickTime, Voice Memos will save audio recordings as M4A files by default, you also need to convert M4A to WAV after the recording.
To create a WAV file:
Step 1. Make sure the microphone works properly on your Mac.
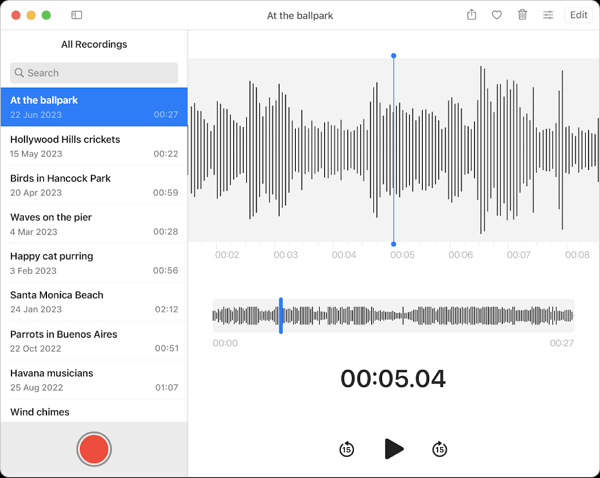
Step 2. Open the Voice Memos app and click the Record button to start recording.
Step 3. When you are finished with the recording, click Done and save the audio file.
Step 4. Convert the M4A file to a WAV file online.
Can Mac Play WAV Files
Yes, you can play WAV files on Mac directly without the help of additional apps or extensions. Just double-click the WAV file and then you can open and play the audio file easily.
Wrapping Up
Now that you know how to create and play WAV files on your Mac, you have the necessary information to meet your audio recording needs in different situations. If you find yourself frequently needing to record sound on your Mac, a third-party audio recorder like SurFlex Screen Recorder would be the optimal choice. However, if you only need to capture voice occasionally, using the native apps on your Mac will be sufficient.
About the Author
You May Also Like
-
Detailed Steps to Record Audio from Firefox
If you want to know how to record audio from Firefox, check the easy tip here and you will know how to do it with a few simple clicks.
Myra Xian Updated on -
Record Audio from YouTube | 7 Easy Ways
After reading this guide, you will know how to record audio from YouTube on a Mac, PC, iPhone, or Android device.
Myra Xian Updated on -
How to Record a WAV File on All Devices
You will know how to record a WAV file on your computer or mobile phone in this guide. Choose a suitable method according to device you use.
Myra Xian Updated on