

Updated on
Quick Answer:
You can record your voice on your MacBook Air with the help of SurFlex Screen Recorder, Voice Memos, GarageBand, or Audacity. If you also need to capture other types of audio on your Mac, using SurFlex Screen Recorder will be helpful.
Audio recording could be easy, especially when you are going to record your voice on Mac via a microphone. Thus, when you want to know how to record your voice on MacBook Air, I’d be glad to tell you that there are many workable ways available, making it easy for you to capture your own voice or environment sound. Here I’d like to show you four easy ways for recording voice on your MacBook Air. Check them in detail and pick the way you like best to apply.
Table of contents
How to Record Audio on MacBook Air (All Audio Types)
Tool: SurFlex Screen Recorder
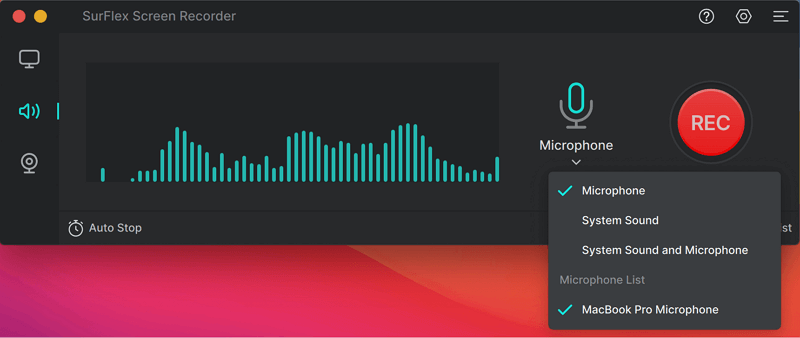
Whenever you want to record an audio file on your Mac, it’s advisable to try the audio recording feature in SurFlex Screen Recorder. It allows you to capture all types of audio sources on your Mac, including system audio, app audio, streaming audio, and microphone sound. Therefore, whether you are looking to record your voice or the audio coming from your computer, it will fulfill your needs well. Besides, it is capable of capturing both internal and external audio at the same time, allowing you to record yourself singing with background music with ease.
When you record audio on your MacBook with SurFlex Screen Recorder, you can choose the audio format you prefer, including MP3, WAV, AAC, OGG, WMA, and FLAC. If you want to record WAV files on your Mac, it will be quite helpful.
To record audio on a MacBook Air:
Step 1. Launch SurFlex Screen Recorder on your MacBook and choose the Record Audio mode. (Click Settings to select the output options if you need to.)
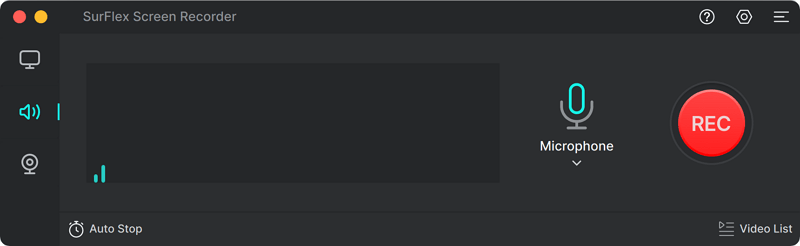
Step 2. Select to the audio recording option according to your needs and then click REC to start recording audio on your MacBook.
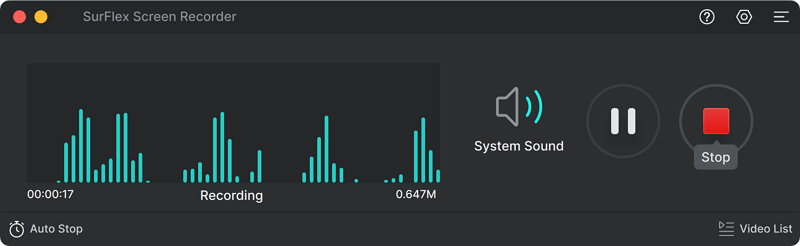
Step 3. Once the audio recording is completed, click Stop and check the audio file in the recording list.
Since SurFlex Screen Recorder also works to record on-screen activities, you can apply it to screen record on MacBook Air with sound when you need to.
How to Record Voice on MacBook Air Directly
Tool: Voice Memos
If microphone sound is your only recording source, using the built-in voice recorder on your MacBook, Voice Memos, will be enough to get your needs met. It helps to record audio coming from your microphone and thus allows you to record your voice on your Mac easily. Besides, you can use the simple editing features to edit the audio recordings according to your preferences. Using Voice Memos is recommended if you just need to capture microphone sound audio for free.
To record voice on your MacBook Air:
Step 1. Open the preinstalled Voice Memos app.
Step 2. When you are ready, click the Record button.
Step 3. Once the recording is completed, click Done.
Step 4. Trim and rename the audio file.
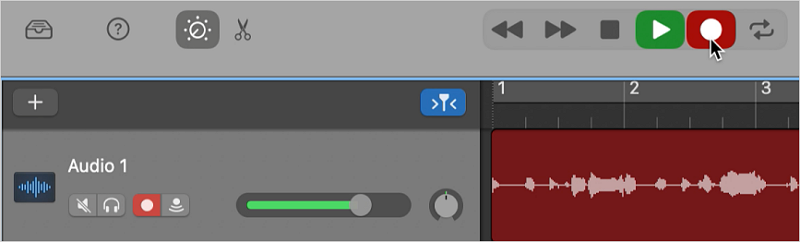
How to Voice Record on MacBook Air with Garageband
Tool: GarageBand
GarageBand is another native app available on your MacBook Air that allows you to record your voice using the microphone. While primarily designed as a digital audio workstation, GarageBand offers features for creating, editing, and producing audio projects, including voice recording. Therefore, it is also an excellent choice for recording podcasts on your Mac for free
To record your voice on a MacBook Air with GarageBand:
Step 1. Go to GarageBand > New Project > Podcast.
Step 2. Set the recording name, choose a location, and then click Create.
Step 3. Click Record to start recording your voice.
Step 4. When needed, click Stop to end the recording.
Step 5. Go to the selected folder to check your voice recording.
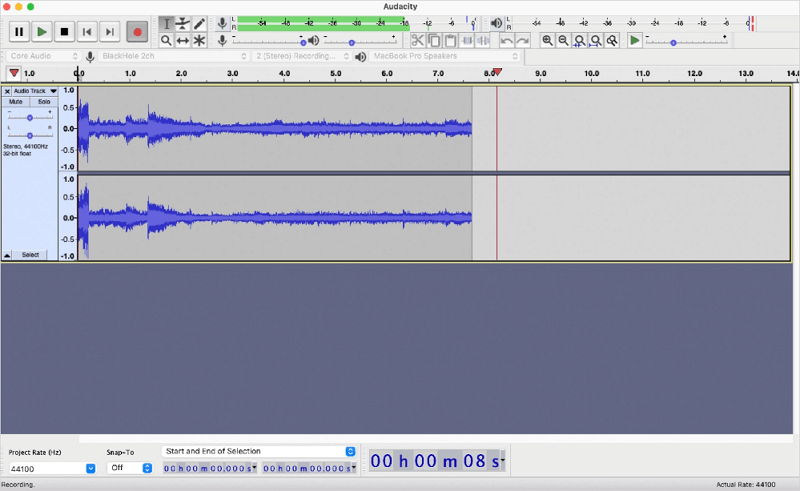
How to Record Your Voice on MacBook Air for Free
Tool: Audacity
If you not only want to record microphone sound but also need to edit the audio file, you can’t miss Audacity. It is a free and open-source audio recorder and editor that supports recording internal audio or microphone sound on your MacBook. Although you’ll need an additional audio driver to capture system sound (you can refer to the guide on how to use Audacity to record computer audio on Mac for more details), recording audio from the microphone on your Mac is straightforward. Moreover, if you want to record audio on a MacBook Air using an external microphone, Audacity is also a viable solution.
When you record voice on a MacBook Air with Audacity, you can choose to save the audio file in MP3, WAV, or OGG formats. If you need to record MP3 on Mac in the future, you can still use this app.
To record audio on Mac via Audacity:
Step 1. Download and install Audacity on your MacBook Air.
Step 2. Launch Audacity and choose the microphone you want to use as the Recording Device.
Step 3. Click the Record button to start capturing your voice immediately.
Step 4. When the recording is completed, click Stop.
Step 5. Go to File > Export and save the audio recording to your Mac.
Wrapping Up
Among the various audio recording situations, recording microphone audio is the easiest, as it is a basic feature available in many audio recorders. If you want to record your voice in high quality, it is necessary to have a good microphone and find a quiet environment. By doing so, you can minimize background noise and ensure that your voice is clear.
About the Author
You May Also Like
-
4 Ways to Record Audio from Website on Mac
After reading this guide, you will know how to record audio on Mac from the internet with four popular ways.
Myra Xian Updated on -
How to Record Audio on PC Without Microphone: New Update
Check this guide and you will know how to record audio on PC without microphone to capture computer audio easily.
Myra Xian Updated on -
4 Ways to Record Streaming Radio on Mac or PC
Check the easy tips in this guide and use any of them to record streaming radio on your Mac or PC without any difficulty.
Myra Xian Updated on