

Updated on
Quick Answer:
You can record voice on Windows 10 with the built-in Voice Recorder, a third-party audio recorder like SurFlex Screen Recorder, or an open-source screen recorder like OBS Studio.
When you need to record audio on Windows 10, the easiest scenario is recording your own voice. It is because Windows 10 provides a built-in voice recorder that allows you to capture your voice directly, free of charge. Additionally, there are several third-party apps available that enable you to record both the screen and voice simultaneously on Windows 10. If this is what you’re looking for, continue reading to learn how to record voice on Windows 10 using various methods.
Table of contents
How to Record Your Voice on Windows 10 Easily
Tool: Windows 10 Voice Recorder
The most straightforward way to record voice on Windows 10 is undoubtedly using the pre-installed Voice Recorder app. This native voice recorder for PC enables you to capture your own voice via microphone or another external audio input device and save the recording in M4A format. Besides, after the recording, you can trim the audio file to get the part you need.
Make sure the audio input device works properly and then follow the steps below to record your voice on PC with a few simple clicks.
To record your voice on Windows 10:
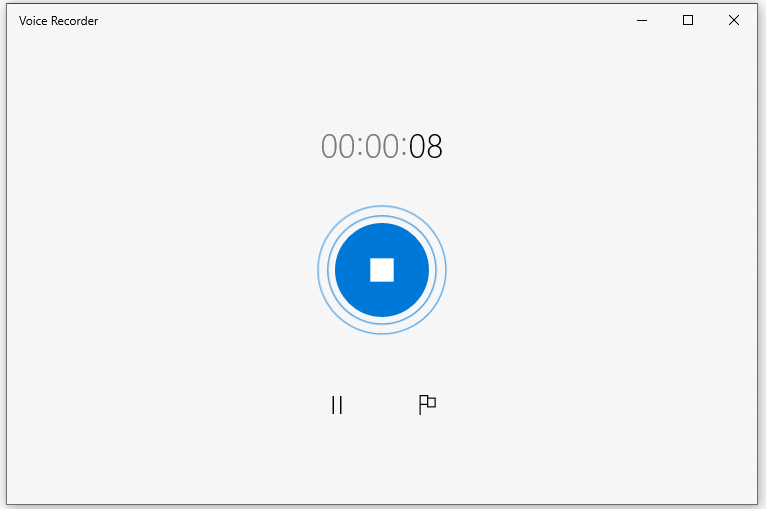
Step 1. Launch Voice Recorder on your computer.
Step 2. When you are ready to record, click the Record button in the middle of the screen.
Step 3. Once the recording is completed, click the Stop button.
Step 4. Trim and rename the audio file.
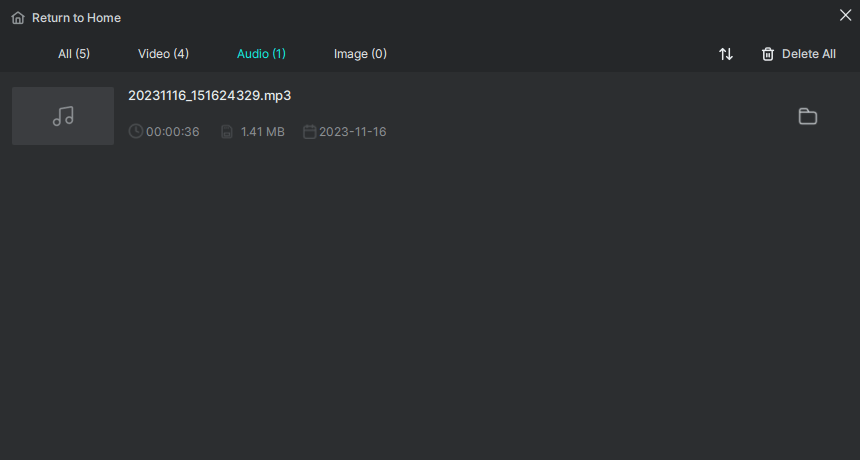
Step 5. Right-click the new recording in the list and choose Open file location to check the voice recording.
How to Record Voice on Windows 10 Freely
Tool: SurFlex Screen Recorder
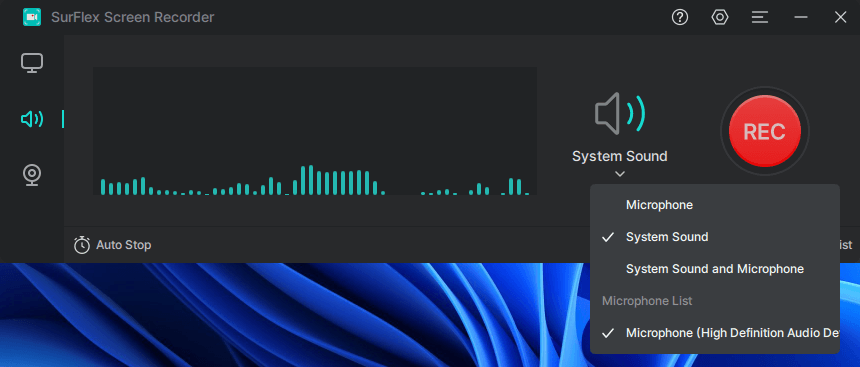
If you not only want to record your own voice but also want to record internal audio on Windows 10 sometimes, Voice Recorder is no longer a suitable solution since it only works to record microphone audio. Instead, you need a third-party audio recorder like SurFlex Screen Recorder to help. It allows you to record audio on Windows 10 freely to capture any sound you need. Whether you want to record your voice, the computer audio, or both, it will fulfill your needs.
What’s more, this screen recording tool enables you to choose a preferred audio format for the recording, such as MP4, M4A, AAC, FLAC, and more.
Besides, since it is mainly a screen recorder, you can also screen record on Windows 10 with audio with it. If you need to record video and/or audio on a PC often, using SurFlex Screen Recorder will be helpful.
To record voice on Windows 10:
Step 1. In SurFlex Screen Recorder, click Settings to customize the audio output settings and then choose the Record Audio tab.
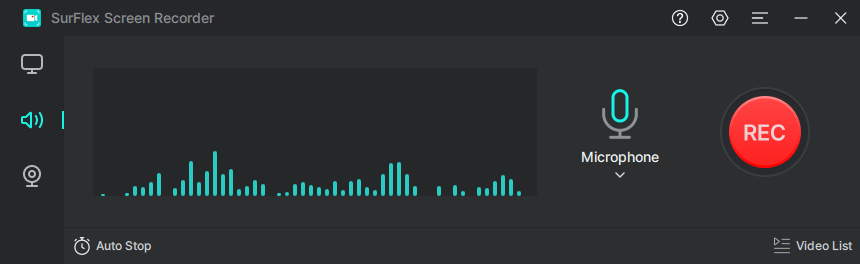
Step 2. To record your voice on Windows, choose Microphone as the audio recording option and then click REC.
Step 3. Once the voice recording is completed, click Stop.
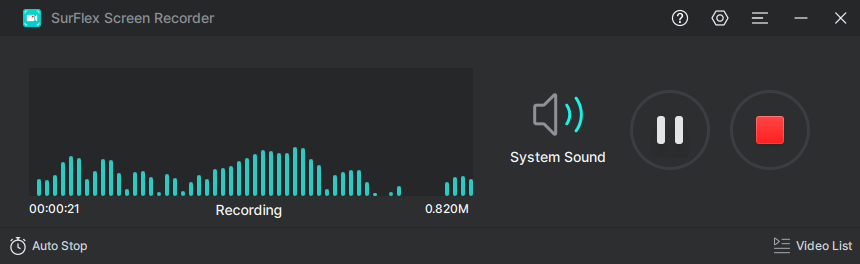
Step 4. Check the voice recording in the popup window.
How to Record Screen and Voice on Windows 10
Tool: OBS Studio
Even if you want to record screen and voice on Windows 10 at the same time, there are many tools available for you, such as OBS Studio. It is a free, open-source, and cross-platform tool for live streaming and screen recording. Therefore, it is a practical solution for you to record screen and voice on your computer.
It’s worth mentioning that OBS Studio is powerful but not as user-friendly compared with other tools. For example, when you need to record part of the screen on Windows 10, it is much more complex to operate than using a professional screen recorder like SurFlex Screen Recorder. If you don’t mind, follow the steps below to record on your PC.
To record your screen and voice on Windows 10:
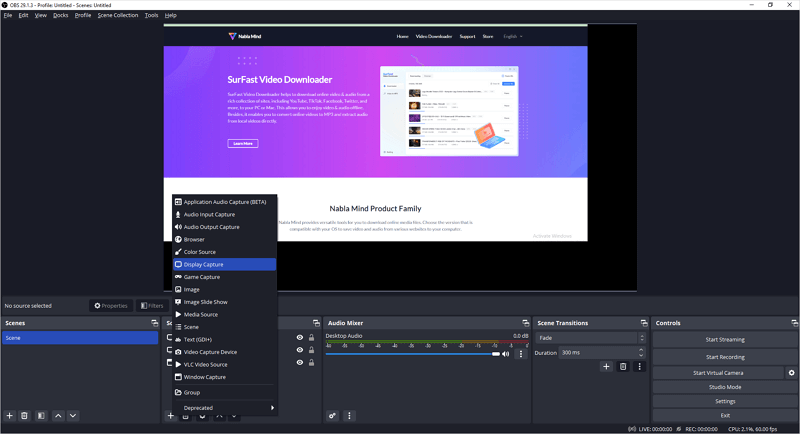
Step 1. Download and install OBS Studio on your computer.
Step 2. Go to OBS Studio > File > Settings to select the output options.
Step 3. Head to the Sources panel and choose the recording sources, such as Display Capture and Audio Input Capture.
Step 4. Click Stop Recording in the Controls panel when you are ready to record.
Wrapping Up
Recording your voice on Windows 10 is a straightforward process. Whether you choose to use a pre-installed or third-party audio recorder, you can easily find a suitable tool to assist you. In general, if you only need to capture audio from your microphone, it is recommended to use the native Voice Recorder application on Windows 10. However, if you require the ability to record multiple audio inputs and save audio files in various formats, it is necessary to utilize a third-party app such as SurFlex Screen Recorder.
About the Author
You May Also Like
-
Record Audio on Windows 8: Microphone or System Sound
Check audio recording software for Windows 8 and use it to record audio on your PC in Windows 8 to capture voice, system sound, and more.
Myra Xian Updated on -
3 Ways to Record YouTube Audio on Mac
If you are wondering how to record YouTube audio on Mac, read this guide and learn how to do it with proven ways.
Myra Xian Updated on -
How to Record Audio Separately from Video: Simple Guide
Check this guide and you will know how to record audio separately from video to capture both video and audio easily.
Myra Xian Updated on