

Updated on
Quick Answer:
You can record YouTube audio with Audacity on Windows directly by selecting your computer speakers as the recording device. While on Mac, you will need to install and set up a virtual audio driver first and then use Audacity to capture YouTube audio that is playing on your computer.
When recording audio from YouTube or capturing streaming audio from other websites, you have three main options: third-party audio recorders, browser extensions, and freeware. Among these options, the freeware, Audacity, stands out as a popular choice due to its dual functionality as both a free audio recorder and an audio editor. It is likely why you prefer to record audio from YouTube with Audacity. If you do, follow this step-by-step guide to learn how to record YouTube audio with Audacity on your computer easily.
Table of contents
Record YouTube Audio with Audacity on Windows
The audio recording feature in Audacity works to record internal audio or microphone sound on your computer. Thus, when you are going to record audio coming from your computer, such as recording YouTube audio, it is a workable choice.
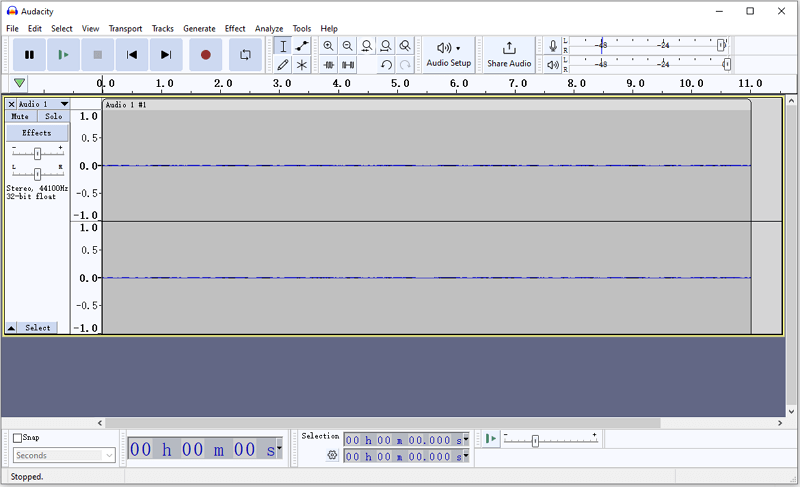
To record audio from YouTube with Audacity on Windows:
Step 1. Download and install Audacity on your PC or laptop.
Step 2. Launch Audacity and click Audio Setup.
Step 3. Click Host and choose Windows WASAPI.
Step 4. Then head to Recording Device and choose your computer speakers.
Step 5. Click the Record button to start recording YouTube audio.
Step 6. When you are done, click Stop and edit the audio track if you need to.
Step 7. Head to File > Export to save the audio recording in MP4, WAV, or OGG.
Note: The displayed recording devices vary from computer to computer and you may not be sure of which option to choose. To select the correct recording device, play any audio on your computer, go to Settings > System > Sound > Sound Control Panel, check which is the playback device, and then go back to Audacity to choose the same device as the recording option.
If you want to make Audacity record microphone and speakers at the same time, you can follow the related guide to learn how to get it done.
Record Audio from YouTube with Audacity on Mac
If you are going to record streaming audio on Mac, it’s more complex since Mac doesn’t have the built-in ability to capture internal audio. That means you will need an extra virtual audio driver to help, such as BlackHole. After you install and set up such an audio driver on your Mac, you can use it to record internal audio on Mac. That means you can also record YouTube audio on Mac with it.
To capture YouTube audio on your MacBook with Audacity, you can check the guide on how to use Audacity to record computer audio on Mac and then follow the same steps to record audio from a website successfully.
Wrapping Up
Now you know how to record music from YouTube with Audacity no matter whether you are using Windows or macOS. By the way, instead of using Audacity to record from YouTube, there is an alternative for you to capture YouTube audio or music, which is to use SurFast Video Downloader, a video and audio downloader for various sites, including YouTube. Whether you want to convert YouTube videos to MP3 or download music from YouTube Music, it will serve you well.
About the Author
You May Also Like
-
How to Record Audio on HP Laptop in Every Way
Whether you are going to capture system audio or external sound, you will know how to record audio on HP laptop in 4 ways.
Myra Xian Updated on -
How to Record Desktop Audio with Audacity in Detail
You will know how to record desktop audio with Audacity in detail. Follow the steps to record computer audio successfully.
Myra Xian Updated on -
How to Record Discord Audio with Audacity: A Simple Guide
After reading this guide, you will know how to record Discord audio with Audacity, whether you are using a PC or Mac.
Myra Xian Updated on