

Updated on
Quick Answer:
You can record streaming audio on Mac with the help of SurFlex Screen Recorder, QuickTime Player, and Audacity. Among them, SurFlex Screen Recorder is the easiest solution to capture audio streams.
“How do I record streaming audio on Mac?”
If you have such a question in your mind, here I’d like to tell you that Mac computers don’t support streaming audio recording natively. However, with the help of a third-party audio recorder or a virtual audio driver, you will be able to record streaming audio that is playing on your Mac successfully.
If that’s what you want to do, read on to learn three proven ways to record streaming audio on Mac. Whenever you need to record audio on Mac from the internet, you can use one of these tips to get it done.
Table of contents
Record Streaming Audio on Mac Easily
Tool: SurFlex Screen Recorder
The easiest way to record audio streams on your Mac is to use a third-party audio recorder like SurFlex Screen Recorder. With this app installed on your Mac, you will be able to record internal audio, external audio, or both on your computer. Thus, whether you want to record audio from website or record your voice on a Mac, it will be a viable choice.
When you use it to record audio on Mac from the internet, you can customize the audio format and audio quality. By doing so, you can record MP3, WAV, and more on Mac freely.
Besides, SurFlex Screen Recorder works to capture your onscreen content. That means you can also use it to record streaming video on Mac with audio when you need to.
To record streaming audio on Mac:
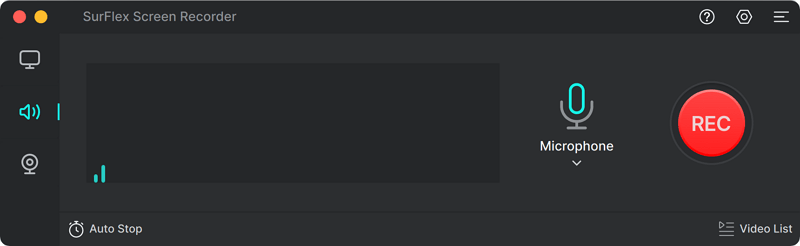
Step 1. Launch SurFlex Screen Recorder on your Mac and choose the audio recording mode.
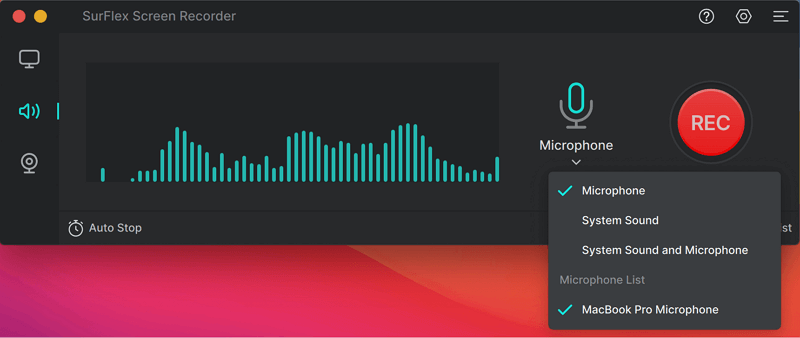
Step 2. Click the Arrow icon under the microphone, choose to record System Sound, and then click REC.
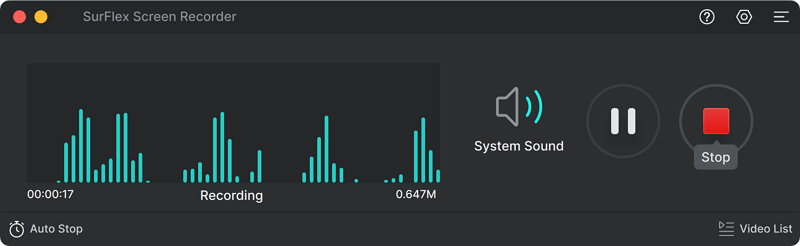
Step 3. When you are done with the audio recording, click Stop and check the audio file in the recording list.
Record Streaming Audio on Mac for Free
Tool: QuickTime Player
By default, QuickTime Player can only record microphone sound. That means you can use it to record voice on Mac directly. When it comes to streaming audio recording, you will need an extra app to help, a virtual audio driver like BlackHole. After you add and set up BlackHole on your Mac properly, you will be able to use QuickTime Player to record computer audio on Mac, such as streaming audio.
Before you start, follow the detailed guide on how to install BlackHole to add the virtual audio driver, then follow the steps below to record audio streams on Mac with QuickTime Player.
To perform streaming audio recording on Mac with QuickTime Player:
Step 1. Go to Audio MIDI Setup on your Mac.
Step 2. Click the plus icon to create a new multi-output device.
Step 3. Click the new item and check BlackHole and your Mac’s speakers (called Built-in Output sometimes).
Step 4. Also, check Drift Correction next to these options.
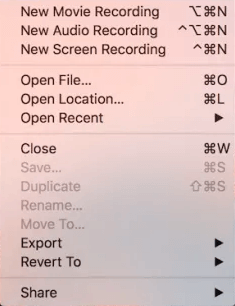
Step 5. Open QuickTime Player and go to File > New Audio Recording.
Step 6. Click Options (the arrow icon next to Record) and choose BlackHole as the audio recording device.
Step 7. Click Record to start the streaming audio recording.
Record Audio Stream on Mac and Edit the Recording
Tool: Audacity
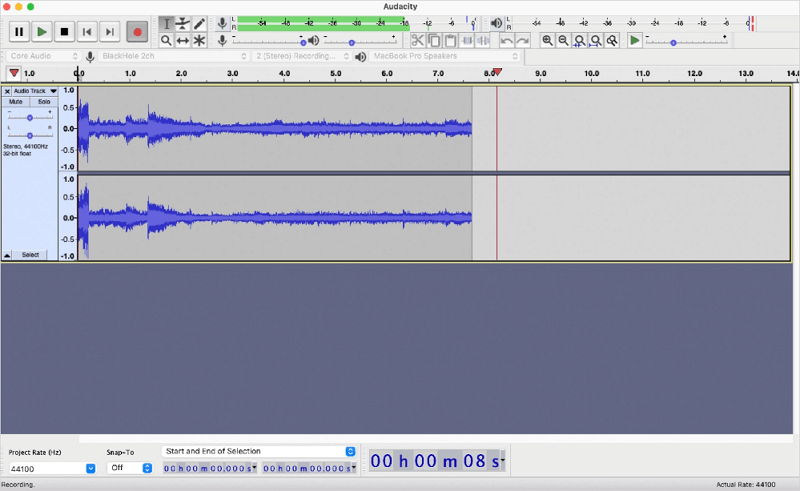
If not only want to record audio but also need to edit the recording on your Mac, it’s advisable to try the free and open-source audio recorder and editor, Audacity. This free app, similar to QuickTime Player, doesn’t have native support for recording audio streams on Mac. However, after you configure a virtual audio driver on your Mac, which is detailed in the last part, you can use it to capture streaming audio or other types of internal audio on your computer easily.
To record audio streams on Mac with Audacity:
Step 1. Download and install Audacity on your Mac.
Step 2. Open the app and choose BlackHole as your Recording Device.
Step 3. Click Record to start recording streaming audio.
Step 4. Once the recording is done, click the Stop button.
Step 5. Edit the audio track according to your needs.
Step 6. Export and save the audio file to your Mac.
Wrapping Up
After you learn the ways to capture streaming audio, you will be able to record internal audio on Mac freely in any situation. Whether you want to record Amazon Prime music or record audio from YouTube, you will know how to get it done. Generally, if you want to record streaming audio on a Mac for free, using QuickTime Player or Audacity will fit your needs, but they are more complex to use. If you prefer an easy way, using a professional audio recorder such as SurFlex Screen Recorder is recommended.
About the Author
You May Also Like
-
3 Ways to Record Voice Without Background Noise
With the tips in this guide, you can minimize noise during audio recording so that you can record voice without background noise.
Myra Xian Updated on -
How to Record Voice on Audacity in Detail
After reading this guide, you will know how to record voice on Audacity to capture your microphone audio with a few simple clicks.
Myra Xian Updated on -
How to Record Discord Audio with OBS | Step-by-Step
If you are wondering how to record Discord audio with OBS on your computer, be it a Mac or PC, read this guide to get the detailed steps.
Myra Xian Updated on