

Updated on
Quick Answer:
You can record TeamSpeak audio with Audacity by choosing your computer speakers as the recording device in Audio Setup. Then you can click Record to capture audio from TeamSpeak.
If you use TeamSpeak often, there must be times when you want to capture TeamSpeak audio for later replay or sharing. Fortunately, there are many ways available for help, allowing you to record TeamSpeak audio with ease. One of them is Audacity. Here I’d like to show you how to record TeamSpeak with Audacity so that you can capture your desired content for free.
Table of contents
Overview of Audacity Recording
Audacity is a free audio recorder and editor. With its audio recording feature, you can record sound coming from your computer or capture voice coming from your microphone. When you need to record TeamSpeak audio, you can let it record internal audio on your computer to get it done.
Note: Audacity can’t record system audio and microphone at the same time by default. If you want to capture both internal and external audio using this tool, don’t miss the guide on how to record microphone and speakers with Audacity.
How to Record TeamSpeak with Audacity
When you need to record TeamSpeak audio with Audacity, all you need is to select the computer speakers as the recording device. By doing so, Audacity will record audio playing on your computer and thus capture TeamSpeak Audio.
To record TeamSpeak with Audacity:
Step 1. Download and install Audacity on your computer.
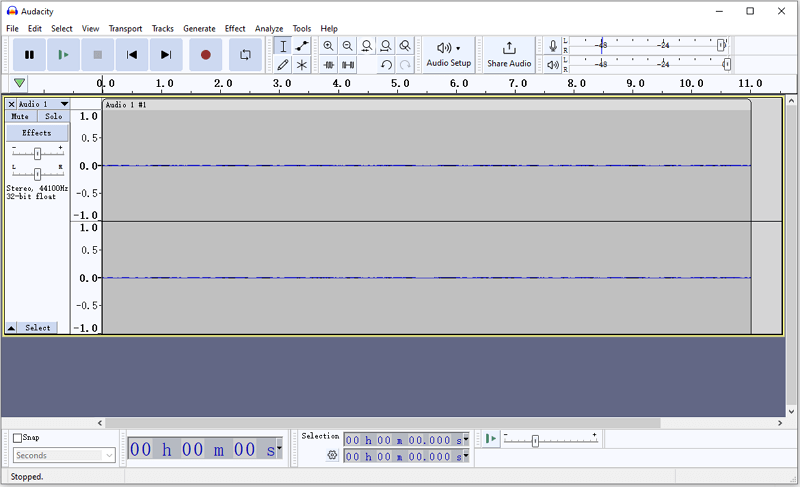
Step 2. Launch Audacity and click Audio Setup.
Step 3. Choose Host and make sure Windows WASAPI is selected.
Step 4. Go to Recording Device and select your computer speakers.
Step 5. Prepare TeamSpeak for recording. When you are ready, click the Record button or press R to start the audio recording.
Step 6. When the recording is done, click Stop.
Step 7. Edit the audio track if necessary.
Step 8. Go to File > Export Audio to save the TeamSpeak recording in your preferred audio format.
Note: If you are not sure about which option to choose to record TeamSpeak audio. Go to Start > Settings > System > Sound > Sound Control Panel, play an audio file, check which device is used, and then select the same device in Audacity.
If you want to screen record TeamSpeak, you can check the guide on how to record TeamSpeak with OBS to learn how to use OBS Studio to capture TeamSpeak videos.
How to Record TeamSpeak Audio with Audacity Alternative
Audacity is not the only solution for recording TeamSpeak audio. Besides, since it only works to record system sound or microphone audio, it may not fulfill your needs for recording both internal and external audio. That’s why I’d like to recommend you try SurFlex Screen Recorder.
Its audio recording feature allows you to record system sound, microphone audio, or both. That makes it easy for you to capture your desired audio file. Besides, since it is a video recorder, it will also help when you need to record a video from TeamSpeak or other apps.
To record TeamSpeak audio:
Step 1. Open SurFlex Screen Recorder, click Settings to set up the output options, and then choose the Record Audio mode.
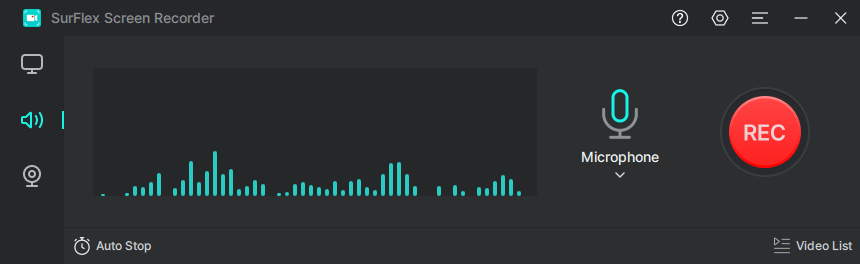
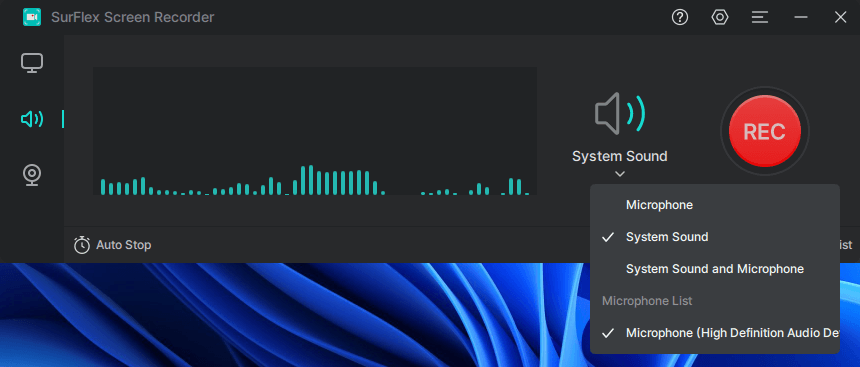
Step 2. To record internal audio on Windows, choose the System Sound option. Then click REC to start recording audio coming from your computer.
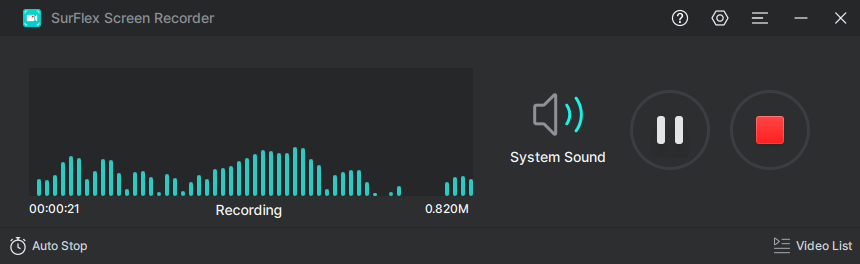
Step 3. Once the recording is completed, click Stop.
Step 4. Check the audio recording in the popup window.
Wrapping Up
While it is rare, you may need to record TeamSpeak on a Mac. However, unlike Windows, Mac does not have a built-in feature for recording system audio. Therefore, you would need to install a virtual audio driver and configure it properly to use Audacity to record audio coming from your computer. If needed, you can refer to “How to Use Audacity to Record Computer Audio on Mac” for more detailed instructions.
About the Author
You May Also Like
-
How to Record Google Meet Audio Only in 3 Ways
You will know how to record Google Meet audio only to capture the meeting audio so that you can easily save important information.
Myra Xian Updated on -
How to Record Discord Audio with Audacity: A Simple Guide
After reading this guide, you will know how to record Discord audio with Audacity, whether you are using a PC or Mac.
Myra Xian Updated on -
How to Record Voice on MacBook Pro: 3 Easy Ways
You will know how to record voice on MacBook Pro with either built-in or third-party voice recorders for Mac.
Myra Xian Updated on