

Updated on
Quick Answer:
You can record your voice on a MacBook Pro by using the built-in Voice Memos app, QuickTime Player, or SurFlex Screen Recorder. With the third-party audio recorder, you will be able to capture any type of audio on your Mac.
Mac voice recording is a straightforward process, thanks to the built-in voice recorders that allow you to effortlessly capture microphone sound. Additionally, there are numerous third-party audio recording tools available that support voice recording using either an integrated or an external microphone. In this guide, I will present three detailed methods that explain how to record voice on MacBook Pro.
Table of contents
How to Record Voice on MacBook Pro Directly
Tool: Voice Memos
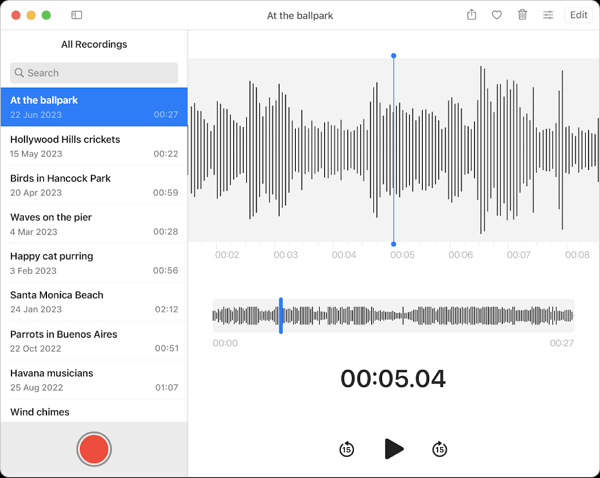
If you only want to capture microphone sound on your MacBook, using the Voice Memos app will fulfill your needs. Voice Memos allows you to record voice on your MacBook Pro and save it in M4A format. It also provides features to edit the voice recording, such as trimming or replacing audio tracks. If this is what you’re looking for, you can follow the easy steps below to record your voice effortlessly.
To record your voice on MacBook Pro with Voice Memos:
Step 1. Launch the Voice Memos app on your MacBook Pro.
Step 2. Tap the Record button to start recording your voice via the microphone.
Step 3. Click Done when you are done with the voice recording.
Step 4. Trim and save the audio file on your MacBook.
You can also record voice on MacBook Air by following the same steps.
How to Voice Record on MacBook Pro for Free
Tool: QuickTime Player
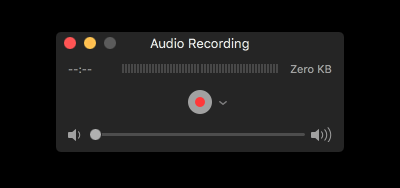
QuickTime Player, the built-in Mac screen recorder, also has the capability of audio recording. With its audio recording feature, you will be able to record audio on your MacBook via the microphone to capture your own voice or environment sound. Besides, QuickTime Player enables you to screen record MacBook Pro with audio, making it easy for you to capture both video and audio on your computer.
It’s worth mentioning that QuickTime Player also allows you to record internal audio on your Mac, as long as you add and set up a virtual audio driver on your device properly. For more details, check the guide on QuickTime audio recording instead.
To voice record on MacBook Pro with QuickTime Player:
Step 1. Launch QuickTime Player on your Mac.
Step 2. To record audio, go to File and choose New Audio Recording.
Step 3. Click Options to select the microphone you want to use and set up other related options.
Step 4. Click the Record button to start recording your voice on your MacBook Pro.
Step 5. When necessary, end the recording and save it to your computer.
How to Record Audio on MacBook Pro Freely
Tool: SurFlex Screen Recorder
If you’re looking for more flexibility when recording audio on your MacBook, including the ability to capture various audio sources and customize the audio format, using a third-party audio recorder like SurFlex Screen Recorder will better meet your needs.
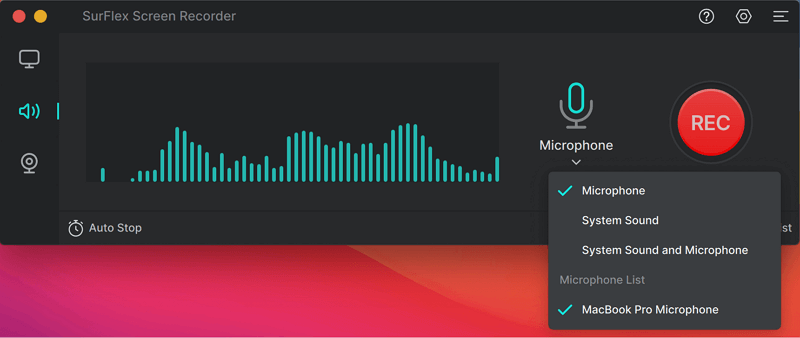
SurFlex Screen Recorder offers an audio recording feature that allows you to easily record internal audio, microphone sound, or both on your MacBook Pro. Whether you want to capture your own voice or record computer audio on your Mac, this tool will serve you well. Additionally, if you need to record yourself singing with background music, SurFlex Screen Recorder is the ideal choice as it can capture both internal and external audio on your MacBook.
Furthermore, SurFlex Screen Recorder provides the option to customize the audio format and quality. Whether you prefer to record in WAV or MP3 format on your Mac, this tool will prove to be very useful.
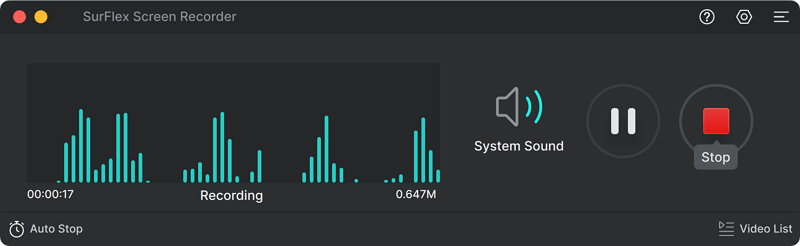
To record audio on your MacBook Pro:
Step 1. Launch SurFlex Screen Recorder on your MacBook and choose the Record Audio mode. (Click Settings to select the output options if you need to.)
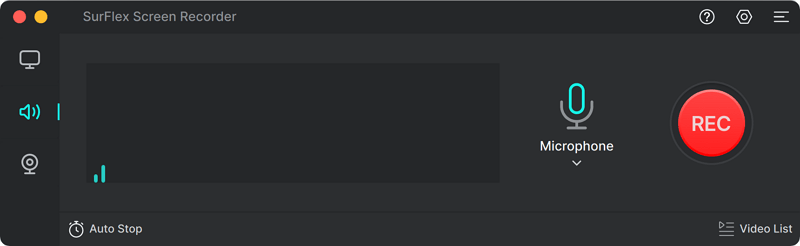
Step 2. Select to the audio recording option according to your needs and then click REC to start recording audio on your MacBook.
Step 3. Once the audio recording is completed, click Stop and check the audio file in the recording list.
Wrapping Up
You can also apply these tips to record voice on other models of MacBook or iMac. In summary, recording voice on a Mac is relatively easy to accomplish. In addition to the aforementioned tools, there are numerous other options available for recording voice or other types of audio, such as Audacity, Camtasia, Movavi Screen Recorder, and more.
About the Author
You May Also Like
-
Record from YouTube to MP3 in 3 Ways
Check the tips in this guide and you will know how to record from YouTube to MP3 or other formats to capture YouTube audio or music.
Myra Xian Updated on -
How to Use VLC to Record Audio on PC or Mac
Check the detailed steps in this guide and you will know how to use VLC to record audio on your Mac or PC with ease.
Myra Xian Updated on -
How to Record on SoundCloud on All Devices
You will know how to record on SoundCloud to capture audio streams from SoundCloud on your computer or mobile in detailed steps.
Myra Xian Updated on