

Updated on
Quick Answer:
You can use the following Mac screen recorder tools to screen record on MacBook Pro:
1. Screenshot
2. QuickTime
3. SurFlex Screen Recorder
4. Movavi Screen Recorder
MacBook Pro screen recording is in great demand for creating tutorials, demonstrations, sharing content, and more. Given that, here I’d like to show you how to screen record on MacBook Pro with various Mac screen recorder tools to accommodate users with different needs. Whether you want to purely capture a Mac screen with sound or need to draw or add text during the recording, you will find a suitable tool for yourself.
Table of contents
How to Screen Record on MacBook Pro with Sound for Free
Tool: The built-in Screenshot app on macOS Mojave and later; Supports external audio only
Since macOS Mojave and later, the Screenshot app on Mac has provided a screen recording feature that allows you to screen record on MacBook Pro via a shortcut. Most importantly, it allows you to record screen on MacBook Pro with audio (microphone sound).
The good news is that it enables you to screen record Mac with audio for free. However, it only captures external sound by default. If you want to screen record Mac with internal sound, you will need to download and install an extra audio driver, like Soundflower and BlackHole, and set it up. Then, you can use Screenshot to catch the Mac screen with system sound. (For the details, go to the guide on screen short Mac via shortcut.)
To screen record on MacBook Pro with sound:
Step 1. Open the Screenshot app on your Mac.
Step 2. Choose to record the entire screen or a selected region.
Step 3. Click Options and select your MacBook Pro Speakers as the audio input device under Microphone.
Step 4. Click Record to start the MacBook Pro screen recording.

How to Screen Record on MacBook Pro with Audio for Free
Tool: QuickTime Player; Supports external audio only
Similar to Screenshot, QuickTime Player also offers a free method for you to record Mac screen with external audio. If you want to use it to catch system sound, you also need to set up an audio driver on your MacBook Pro properly. If that’s what you need, go to the guide on QuickTime screen recording with audio for the detailed steps.
To screen record MacBook Pro with audio:
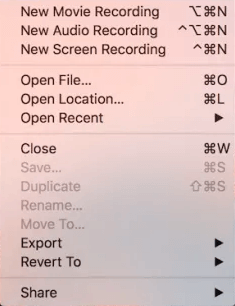
Step 1. Open QuickTime Player on your Mac.
Step 2. Click File and choose New Screen Recording.
Step 3. Select the region you’d like to capture, click Options to select your built-in microphone, then click Record.
Step 4. Tap Stop on your Touch Bar to end the QuickTime screen recording.
How to Screen Record on MacBook Pro with System Sound
Tool: SurFlex Screen Recorder; Supports system sound, microphone sound, or both
Screenshots and QuickTime can only meet basic screen recording needs. If you want to record system audio, external audio, or both simultaneously, a third-party Mac screen recorder can easily accomplish this. Additionally, compared to the built-in macOS screen recording feature, these tools offer more customization options such as scheduled recording, custom output formats, and more. Therefore, if the free features do not meet your needs, you can choose to use professional screen recording software to better meet your requirements.
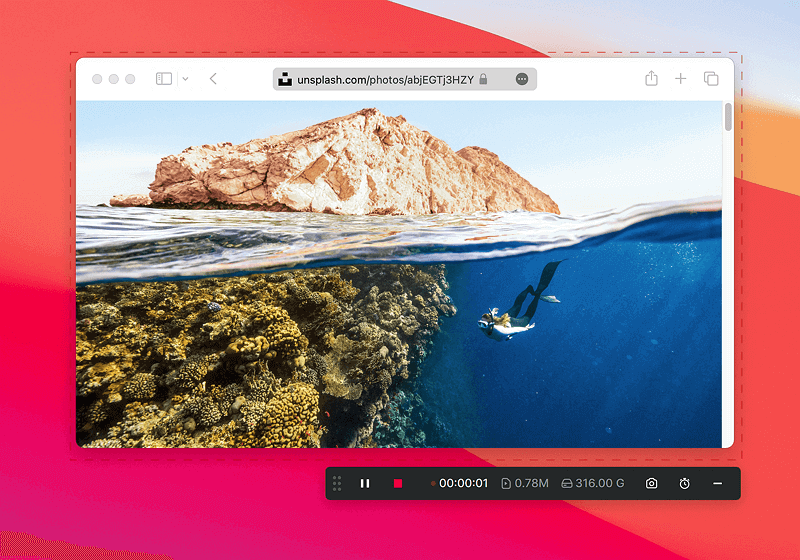
If you are willing to use such a tool, it’s advisable to use SurFlex Screen Recorder. This screen recorder can meet your screen recording needs in different situations, such as presentation recording, Zoom recording, YouTube recording, and more. If you need to record your MacBook Pro screen often, don’t hesitat to give it a try.
To screen record MacBook Pro:
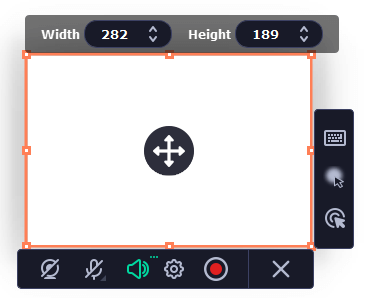
Step 1. Launch SurFlex Screen Recorder on your MacBook Pro and then click Settings to set up your recording preferences.
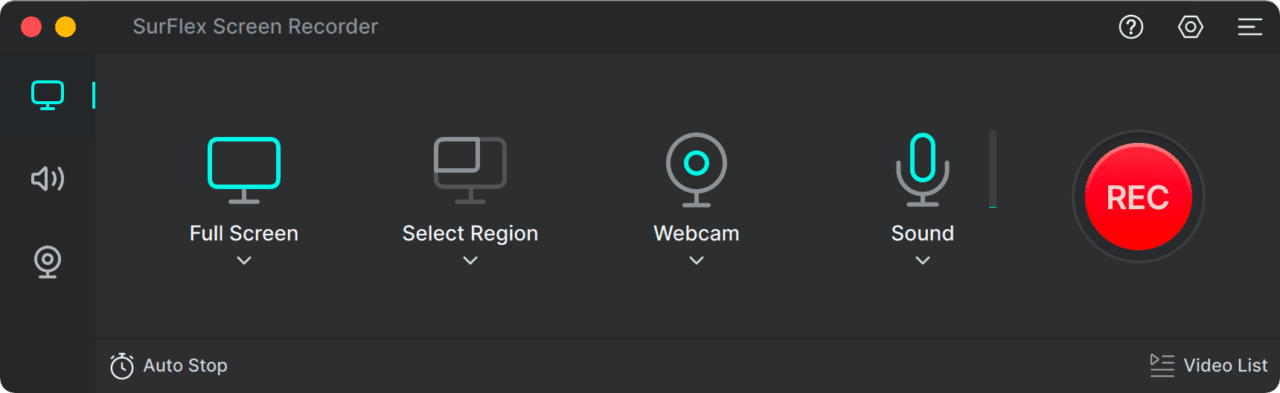
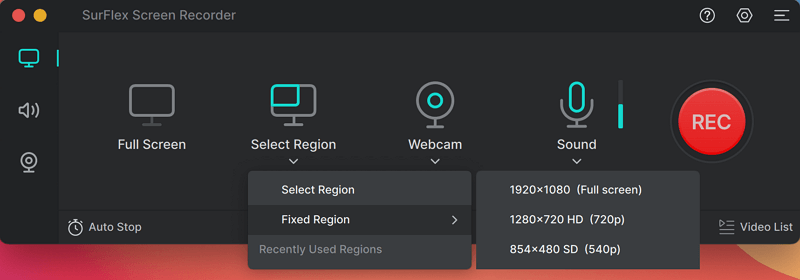
Step 2. Choose to record the Full Screen or a Selected Region and then select the screen, a window, or a section of the screen to record.
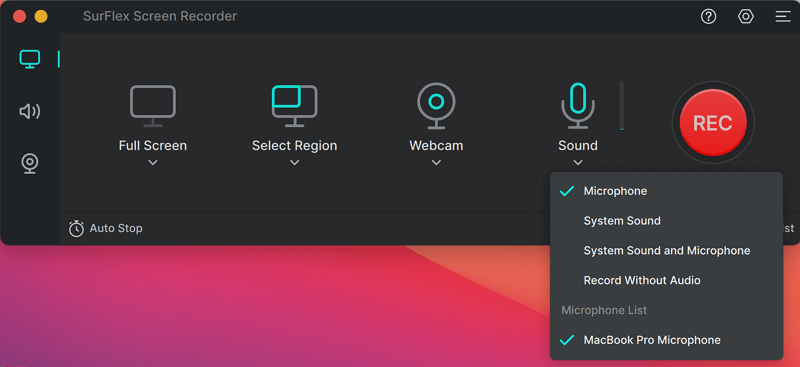
Step 3. Set up the webcam and audio option, and click REC to start recording your MacBook Pro screen.
Step 4. Once the recording is finished, click Stop in the control bar and preview the recording.
How to Screen Record on a MacBook Pro Flexibly
If SurFlex Screen Recorder still can’t meet your screen recording needs, such as taking screenshots, adding markups, and adding texts during the recording, you will like Movavi Screen Recorder for Mac. In addition to MacBook Pro screen recording, it has advanced features like video editing, noise reduction, real-time drawing, and more. In a word, it provides an all-inclusive screen recording solution for both macOS and Windows users.
To screen record on a MacBook Pro:
Step 1. Download and install Movavi Screen Recorder on your Mac.
Step 2. Click the Recording button and set the options according to your needs.
Step 3. Click the REC icon to start. (You can take screenshots or add markups freely during the recording.)
FAQs on MacBook Pro Screen Recording
When you screen record on MacBook Pro, you may also want to know:
Use Command-Shift-5 to record MacBook screen with keyboard.
QuickTime is neither the only nor the best way to record Mac screen. There are many choices out there for you to screen record Mac:
1. Movavi Screen Recorder
2. Snagit
3. Camtasia
4. SurFlex Screen Recorder
To capture both system sound and microphone sound on your Mac, using any third-party screen recorder for Mac will be helpful.
The Bottom Line
MacBook Pro screen recording is easy to achieve whether you want to use a third-party tool or not. However, depending on your needs, the suitable way for you varies. Generally, if you want to screen record Mac with either system sound or external sound, the built-in Screenshot and QuickTime can do you a favor. But if you want more, it’s necessary to use a professional screen recorder to help.
About the Author
You May Also Like
-
Screen Record on Mac via Shortcut (with Audio)
You can record screen on Mac via shortcut to capture screen on your macOS directly without any third-party Mac screen recorder.
Myra Xian Updated on -
How to Screen Record on Mac for YouTube: Perfect Fits
You will know how to screen record on Mac for YouTube with suitable resolution and format. Read on to theck the detail.
Myra Xian Updated on -
How to Screen Record on MacBook Air with Sound in Detail
You will know how to screen record on MacBook Air with sound using various ways. Pick up one you like to screen record MacBook Air easily.
Myra Xian Updated on