

Updated on
Quick Answer:
You can directly capture streaming audio with Audacity on Windows by selecting the proper settings. While on Mac, you will need to add and configure a virtual audio driver correctly and then use Audacity to record audio streams.
You may need to record streaming audio on your computer to capture audio or music from websites like YouTube, SoundCloud, and more. Although there are many professional desktop-based and online audio recorders available for help, you may prefer to use the freeware, Audacity, to record the audio you like from a website.
Indeed, Audacity is not only a completely free audio recorder but also provides audio editing features for you to edit the audio recordings. Here I’d like to show you the detailed steps to record streaming audio with Audacity. Via this method, you can record audio from YouTube, SoundCloud, and more without any hassle.
Table of contents
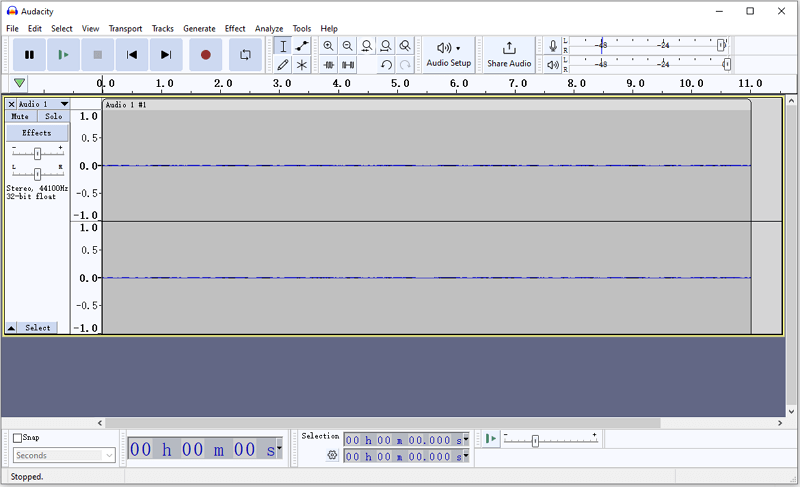
Record Streaming Audio with Audacity on Windows
Recording streaming audio with Audacity on a Windows PC or laptop is a straightforward process. The key aspect of recording audio from the internet is capturing internal audio on Windows, which Audacity can help you with. After recording, you can utilize the audio editing features to edit the audio track as needed, and then save the recording in formats such as MP3, WAV, or OGG. Here are the detailed steps to guide you through the process:
To record streaming audio on Windows with Audacity:
Step 1. Download and install Audacity on your PC or laptop.
Step 2. Open Audacity and click Audio Setup.
Step 3. First, go to Host and choose Windows WASAPI.
Step 4. Then go to Recording Device and choose your computer speakers.
Step 5. When you are ready, click the red Record button to start recording streaming music or audio.
Step 6. Once the recording is finished, click the Stop button.
Step 7. Edit the audio track if you need to.
Step 8. Click File > Export, choose the format you prefer, and then save the audio file to your computer.
When you capture an audio stream via Audacity, you may not know which recording device to choose. If you are not sure which recording device helps you to record computer audio, you can go to Settings > System > Sound > Sound Control Panel while playing audio, check which is the playback device, and then go back to Audacity to choose the same device as the recording option.
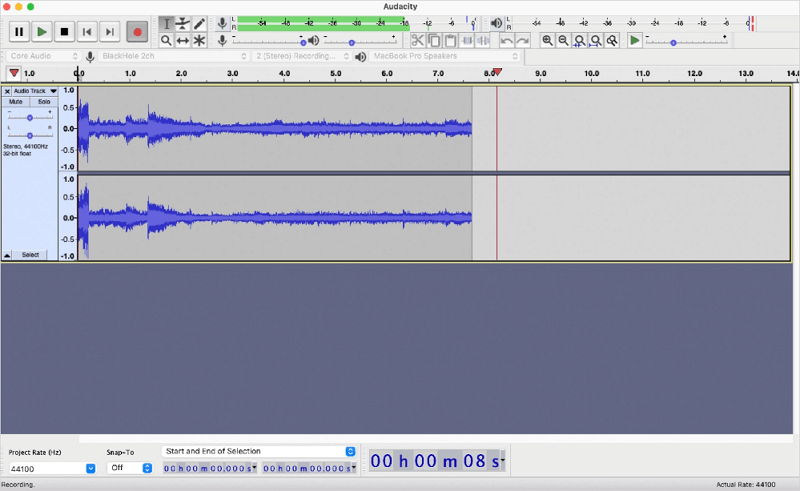
Record Streaming Music with Audacity on Mac
Unlike Windows computers on which you can use directly Audacity to record desktop audio, Mac doesn’t have the built-in feature to record audio coming from your computer. Specifically, you will need a virtual audio driver like BlackHole to help. After you download and install BlackHole on your computer and set it up properly by following the guide on how to use Audacity to record computer audio on Mac, you will be able to record audio from a browser to capture streaming audio on your Mac successfully.
To record streaming audio with Audacity on Mac:
Step 1. Download and install Audacity on your Mac.
Step 2. Choose BlackHole as the recording device.
Step 3. Click Record when you are ready to record.
Step 4. Click Stop to end the recording.
Step 5. Go to File > Export > Export as MP3/WAV/OGG and then save the recording to your Mac.
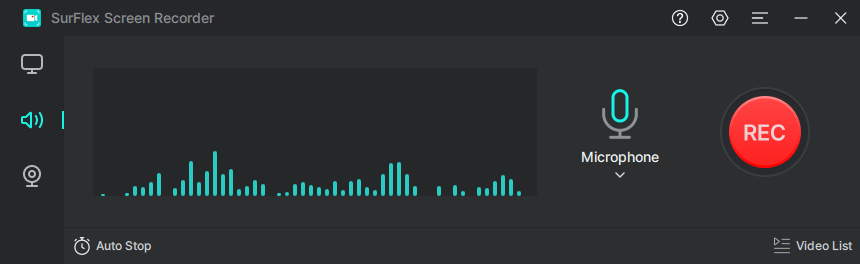
Record Audio Streams Easily (Alternative)
Audacity is not the only way for you to record what you hear. In addition, you can use SurFlex Screen Recorder to record any audio on your computer. The audio recording feature in SurFlex Screen Recorder enables you to record system sound, microphone audio, or both and allows you to save it in MP3, WAV, WMA, and more. Therefore, whether you are looking to record audio from SoundCloud or record game audio, it will be helpful.
To capture streaming audio:
Step 1. Launch SurFlex Screen Recorder and then choose the Record Audio mode.
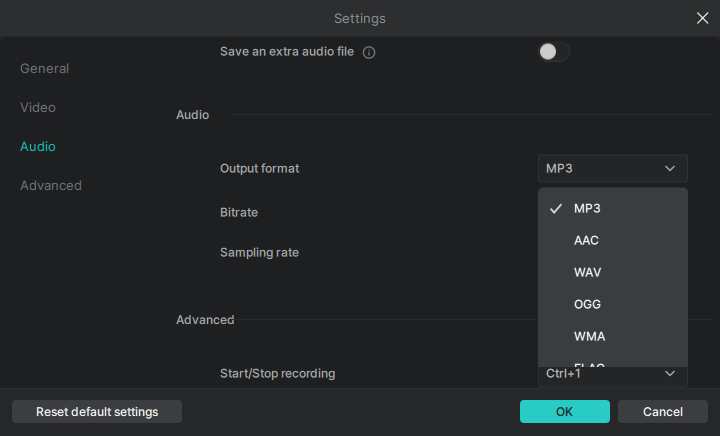
Step 2. Click Settings to customize the audio output options according to your preferences and then click OK.
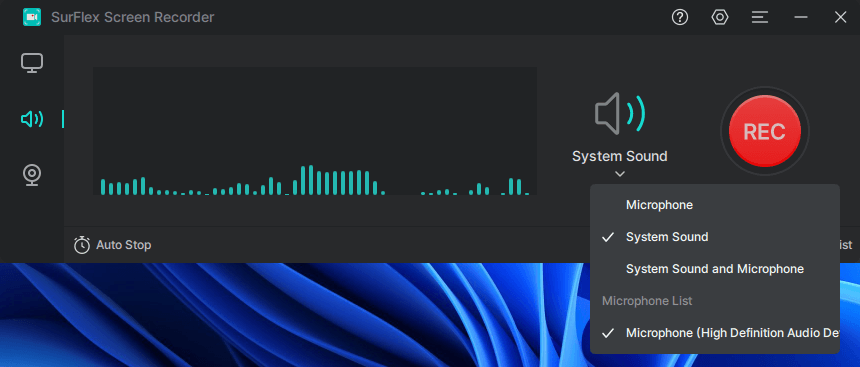
Step 3. To record streaming audio, choose System Sound among the audio recording options and then click REC.
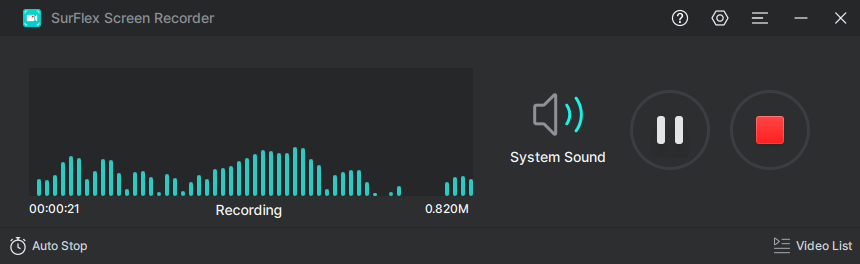
Step 4. When you are finished with the audio recording, click Stop.
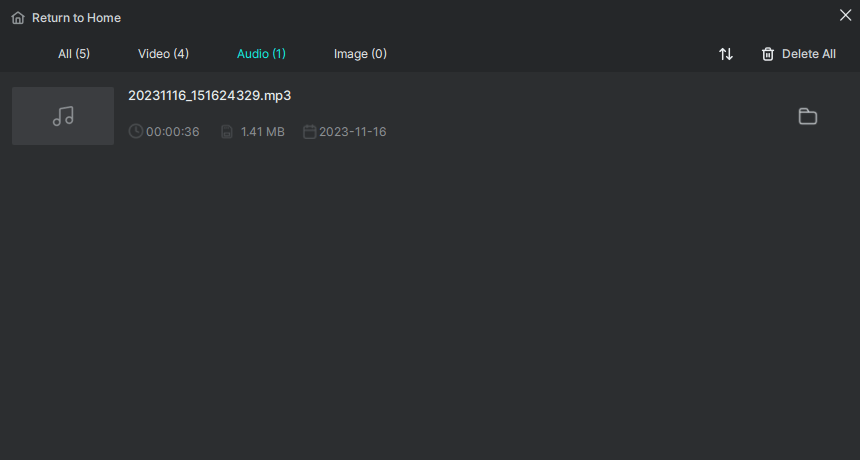
Step 5. Check the audio file in the popup window.
Wrapping Up
Overall, recording audio on Audacity is a straightforward process. Whether you wish to capture audio from your computer, such as streaming audio, or record microphone sound to capture your voice, Audacity proves to be a useful tool. Additionally, there are other audio recorders available that can assist you in recording internet audio, such as SurFlex Screen Recorder, ApowerREC, Camtasia, and Bandicam. You may consider giving them a try as well.
About the Author
You May Also Like
-
How to Record Audio on PC Without Microphone: New Update
Check this guide and you will know how to record audio on PC without microphone to capture computer audio easily.
Myra Xian Updated on -
3 Ways to Record Music from Spotify on Computer
Check the easy tips in this guide and use any of them to record music from Spotify in MP3 or any other format you prefer.
Myra Xian Updated on -
How to Record Google Meet Audio Only in 3 Ways
You will know how to record Google Meet audio only to capture the meeting audio so that you can easily save important information.
Myra Xian Updated on