

Updated on
Quick Answer:
You can record part of the screen on your Mac with the built-in QuickTime Player, an easy third-party tool like SurFlex Screen Recorder, or the freeware, OBS Studio. All these tools allow you to record a specific area or Windows on your Mac.
When you screen record on Mac, you may only want to record a specific area to exclude unnecessary content and protect your privacy. If that’s what you want, read on to get the easy tips to record part of screen on Mac and use any of them to capture your desired video without any hassle.
Table of contents
Record Part of the Screen on Mac Directly
Tool: QuickTime Player
Whether you want to capture the entire Mac screen or a selected portion, you can use QuickTime Player to help. It is the native screen recorder on Mac that provides three screen recording modes for you to record webcam, record audio, and record screen on Mac. With its screen recording feature, you will be able to record the full screen or any selected area on your Mac.
However, by default, QuickTime can only record microphone sound. If you want to screen record on Mac with internal audio, you will need an extra audio driver such as BlackHole. You can check the guide on QuickTime screen recording for the detailed guide.
To record part of the screen on Mac:
Step 1. Launch QuickTime Player on your Mac.
Step 2. Go to File > New Screen Recording to open the control bar.
Step 3. Click Options to select the audio recording device.
Step 4. Choose to record a selected portion and then select the recording region.
Step 5. Click Record to start recording the section of your Mac screen.

Record a Specific Area on Mac with Audio
Tool: SurFlex Screen Recorder
If you want to record part of screen on Mac with audio, including system sound, microphone audio, or both, using SurFlex Screen Recorder will suit your needs better. This screen recorder makes it easy to record a specific window or a selected region and allows you to customize the output options, such as video format, video quality, and more. Whether you want to record video from YouTube to capture gameplay, it will serve you well.
During the screen recording, you can take screenshots to capture comments you like and save them separately. If you need to record videos on your Mac often, don’t hesitate to give it a try.
To record a specific area on Mac:
Step 1. Launch SurFlex Screen Recorder on your Mac and then go to Settings to set up your recording preferences.
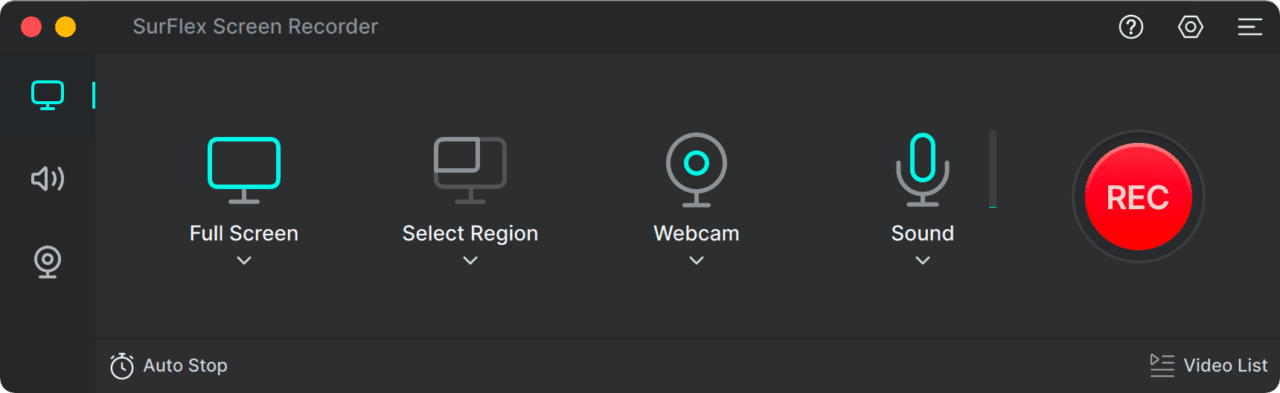
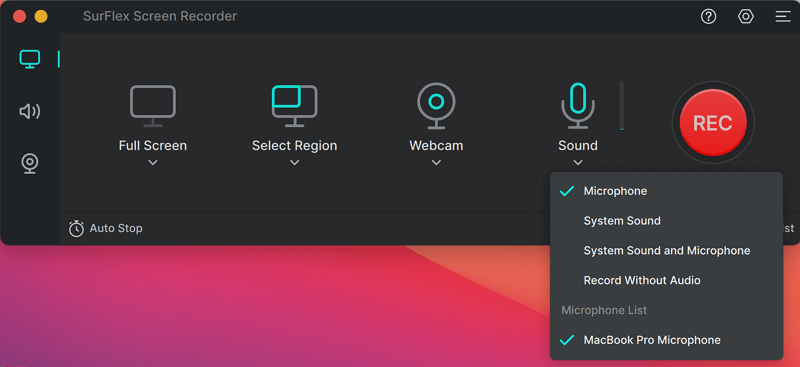
Step 2. Choose the audio recording option you need, including Microphone, System Sound, and System Sound and Microphone.
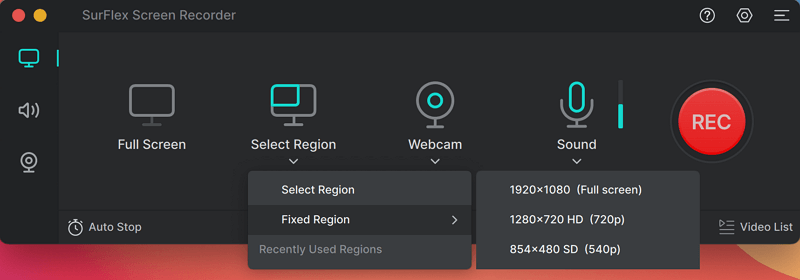
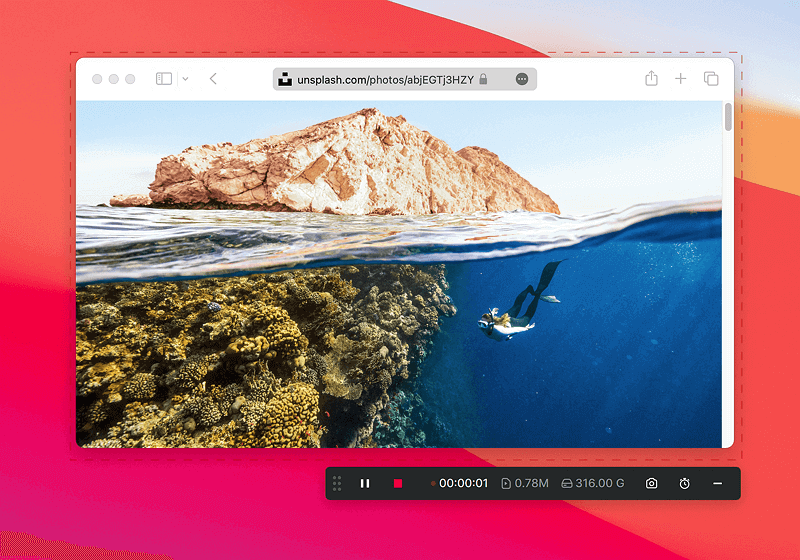
Step 3. Select the record a Selected Region and choose the target recording area. Afterward, click REC to start the screen recording.
Step 4. When the recording is completed, click Stop and check the video in the recording list.
Record a Specific Window on Mac for Free
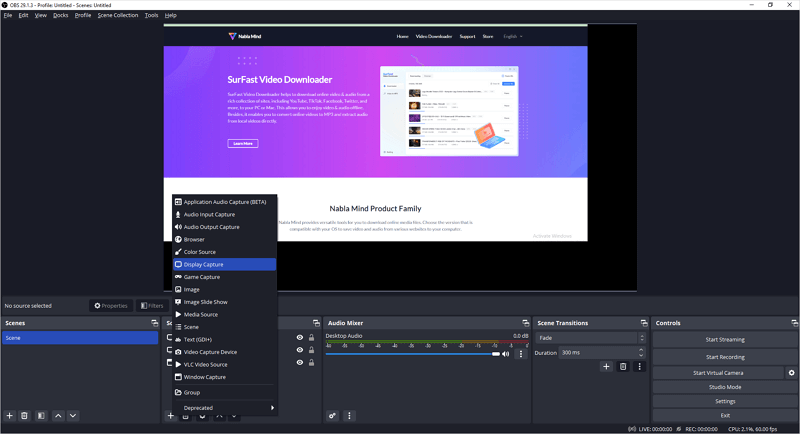
Tool: OBS Studio
OBS Studio is a free screen recorder for both PC and Mac. Thus, whether you want to record part of screen on Windows or Mac, it will be helpful. OBS Studio not only allows you to record real-time videos but also enables you to record past moments, as long as you enable the Replay Buffer feature. This makes it a good choice when you want to record past gameplay on your computer.
However, OBS Studio is not as intuitive as other screen recorders: you need to configure the recording settings by yourself. If you don’t mind, follow the steps below to record a selected window on your Mac.
To record a specific window on Mac:
Step 1. Download and install OBS Studio on your Mac.
Step 2. Go to File > Settings > Output to customize the output options.
Step 3. Go to the Sources panel and add the recording source, such as Window Capture and Audio Output Capture.
Step 4. Click Start Recording to start recording the window on your Mac.
Step 5. When needed, click Stop Recording to end the video capture.
Wrapping Up
These tools are undoubtedly useful for recording the full screen on your computer, too. However, if you require recording a video on your Mac with audio, it is necessary to install and properly set up a virtual audio driver on your device. This is because macOS does not have the built-in capability to capture internal sounds. For more detailed instructions, you can refer to the guide on how to screen record on Mac with audio.
About the Author
You May Also Like
-
How to Record MP4 on Mac in 4 Ways
After reading this guide, you will know how to record MP4 on Mac with easy and flexible screen recorder tools or services.
Myra Xian Updated on -
How to Record YouTube Videos on Mac in Every Way
You will know how to record YouTube videos on Mac to capture YouTube videos you like. Check the details below and pick up the way you like.
Myra Xian Updated on -
How to Screen Record with Audio on Mac: System Sound & Microphone
You will know how to screen record on Mac with audio, system sound, microphone sound, or both, using tested and proven ways.
Myra Xian Updated on