

Updated on
Quick Answer:
You can record screen with sound on Mac using the following tools:
1. QuickTime (Microphone)
2. Screenshot (Microphone)
3. SurFlex Screen Recorder (System Sound & Microphone)
4. Movavi (System Sound & Microphone)
Screen recording on Mac can be an essential skill for various purposes, such as making tutorials, capturing gameplay, or creating content for sharing. The macOS offers built-in tools that make this process straightforward and efficient, allowing you to record screen and audio on Mac in just a few clicks. However, these built-in features don’t have native support for system sound. Thus, if you want to screen record on Mac with audio from video, you will need other tools to help.
To help you capture everything you want, here is the complete guide on how to record screen on Mac with audio, including system sound, microphone sound, or both.
Table of contents
How to Screen Record on Mac with Audio using QuickTime
Supports External Audio
One of the most reliable ways to screen record on a Mac with audio is by using QuickTime Player, a built-in application that provides impressive screen recording and audio capturing capabilities. When you don’t want to install an extra Mac screen recorder, it’s a good choice to record screen and sound on Mac using QuickTime.
However, QuickTime only has native support for external audio sources. That means it will help you to make a screen recording on Mac with a microphone sound easily. But when it comes to recording screen on Mac with internal audio, you will need a third-party screen recorder for Mac or add an audio driver to make QuickTime records system sound. (For the latter, you can refer to the guide on QuckTime screen recording with audio for detailed steps.)
To start a screen recording with sound on Mac with QuickTime:
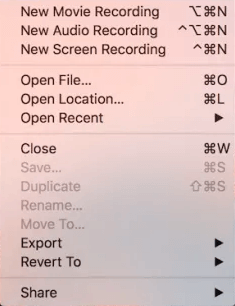
Step 1. Open QuickTime Player and click Files > New Screen Recording.
Step 2. Select to record the entire screen or a selected region.
Step 3. Click Options and choose your Mac’s microphone under Microphone so that you can record the screen with audio on Mac.
Step 4. Click Record to start the screen recording on your Mac.
Step 5. Click the recording icon in the menu bar to stop recording.
How to Record Screen on Mac with Audio Without QuickTime
Supports External Audio
In addition to QuickTime Player, there is another built-in solution to record the screen with sound on Mac for free, which is to use a shortcut provided by the Screenshot app. To record screen on Mac via shortcut, you only need to press Shift + Command + 5, and then you can start capturing your Mac screen and external sound instantly.
It’s worth noting that this method also disallows you to record screen on Mac with internal audio. If that’s what you want, you also need to add an audio drive and set it properly to make the Screenshot app record system sound for you. For more details, check the guide to record screen on Mac via shortcut.
To screen record on Mac with sound via shortcut:
Step 1. Press Shift + Command + 5 to arouse the Screenshot control panel.
Step 2. Select the area you’d like to record.
Step 3. Click Options to select your microphone as the audio input device.
Step 4. Click Record to start.
Step 5. Click the recording icon to stop.

How to Screen Record on Mac with Audio (Internal & External)
Supports System sound, Microphone, or Both
Both Screenshot and QuickTime don’t work to capture system sound on Mac. Even if you can screen record on Mac with internal sound using them after adding and setting an audio driver, it’s a complex process and you still can’t capture both internal and external audio together while recording.
Therefore, for you to capture any sound you need, it’s advisable to use a professional screen recorder for Mac, such as SurFlex Screen Recorder. It helps to:
- Record full or selected screen
- Record camera
- Record system sound, microphone, or both
In a word, you can use it to perform screen recording with audio on Mac easily and freely. Don’t hesitate to give it a try.
To record screen on Mac with audio:
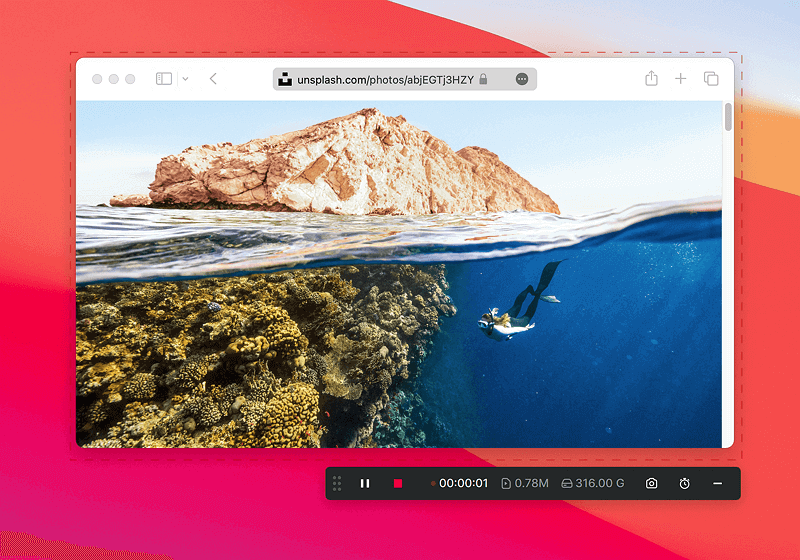
Step 1. Go to Settings to set up your recording preferences, and then choose the Record Screen mode.
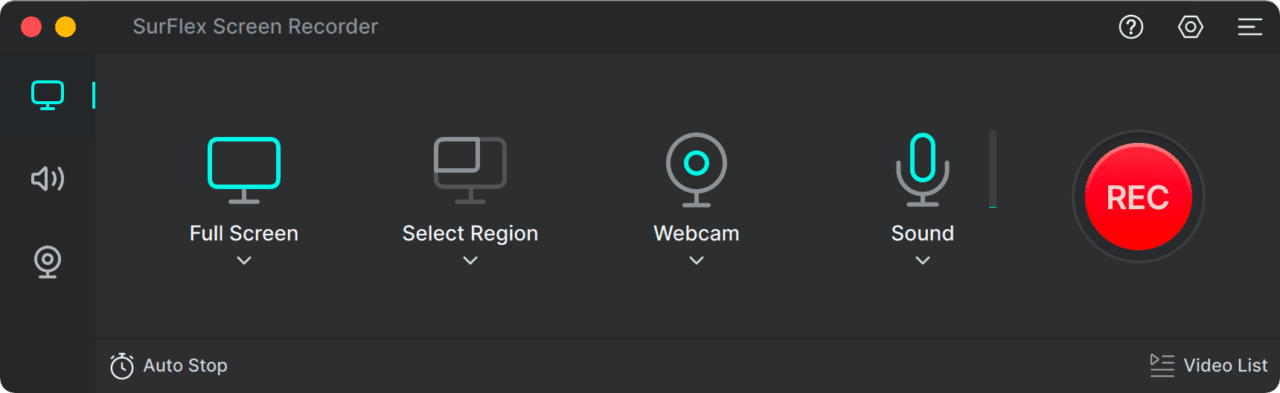
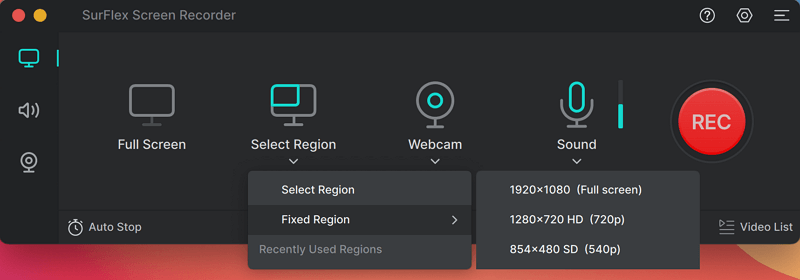
Step 2. Choose to record the Full Screen or a Selected Region and then select the recording area.
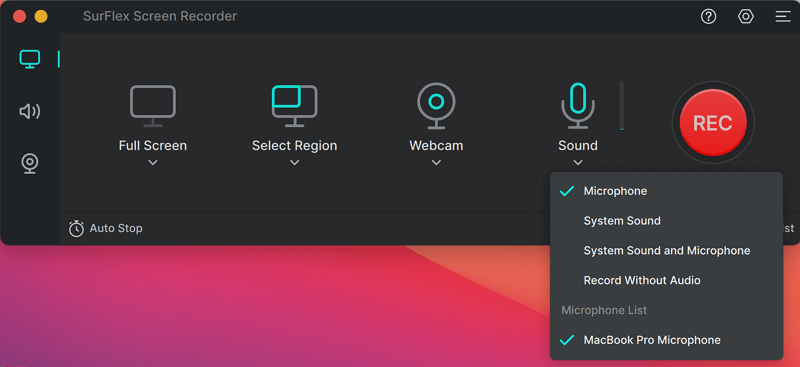
Step 3. Enable audio recording, select Microphone, System Sound, or System Sound and Microphone, and then click REC to start recording your Mac screen with audio.
Step 4. Once you have finished recording, click the Stop button and then preview the video.
How to Screen Record with Sound on Mac Flexibly
Supports System sound, Microphone, or Both
If you want to do more than screen recording on Mac with audio, for example, you want to add markups or texts during the screen recordings, you can try Movavi Screen Recorder. It has a simple and straightforward interface and allows you to draw on the screen and take screenshots while recording your Mac screen.
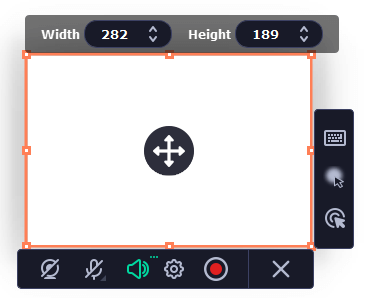
To screen record with sound on Mac via Movavi Screen Recorder:
Step 1. Download and install Movavi Screen Recorder on your Mac.
Step 2. Choose the region to record and set the recording settings.
Step 3. Click the REC button to start.
Step 4. Click the Stop icon to stop.
Step 5. Cut the video recording if needed and export the video as MP4, AVI, and more.
How to record screen on Mac with sound: FAQs
When you record screen with audio on Mac, you may also want to know:
Both Screenshot and QuickTime Player are built-in apps on macOS that enable you to screen record on Mac with audio for free. If they cannot fulfill your screen recording needs, you can use OBS studio which is a free and open-source screen recorder available for Mac with advanced features.
If your Mac can’t screen record with external audio, it’s highly likely that you didn’t select the built-in microphone in the Options settings. To solve the issue, go to Options, select the built-in microphone under the Microphone section, and then click Record. If your Mac can’t screen record with internal audio, that’s because QuickTime or Screenshot does not support it natively.
To record screen with audio in QuickTime:
1. Launch QuickTime, click Files, and choose New Screen Recording.
2. Select the recording area, click Options to select your microphone, and then click Record to start.
3. Click Command-Control-Escape to stop recording.
Wrapping Up
To sum up, the built-in apps on Mac, namely Screenshot and QuickTime Player, can only record screen on Mac with microphone sound. If you need to capture system sound, you can add an audio driver to your Mac and set it up correctly. Afterward, these two apps can record screen on Mac with internal sound for you. If you want an easy solution or need to catch both internal and external sound, using a third-party Mac screen recorder is the best choice.
About the Author
You May Also Like
-
Screen Record on Mac with Internal Audio: Free & Paid
You can screen record on Mac with internal audio, either free or paid. Check them in detail and use any of them to capture internal audio.
Myra Xian Updated on -
How to Screen Record on Mac for YouTube: Perfect Fits
You will know how to screen record on Mac for YouTube with suitable resolution and format. Read on to theck the detail.
Myra Xian Updated on -
How to Record Myself on Mac: Free & Easy
You will know how to record yourself on Mac, either with or without the screen at the same time, using easy and proven ways.
Myra Xian Updated on