

Updated on
Quick Answer:
You can screen record MacBook Air using one of the following ways:
1. Shortcut provided by Screenshot
2. QuickTime Player
3. SurFlex Screen Recorder
4. Snagit
Screen recording is now one of the most commonly used ways to obtain sources and you may want to record screen on various devices, such as PC, Mac, iPhone, iPad, Android, and more. Here I’d like to show you how to screen record on MacBook Air with audio using proven ways. Whether you want to capture internal audio, microphone sound, or both, you will know how to do it.
Table of contents
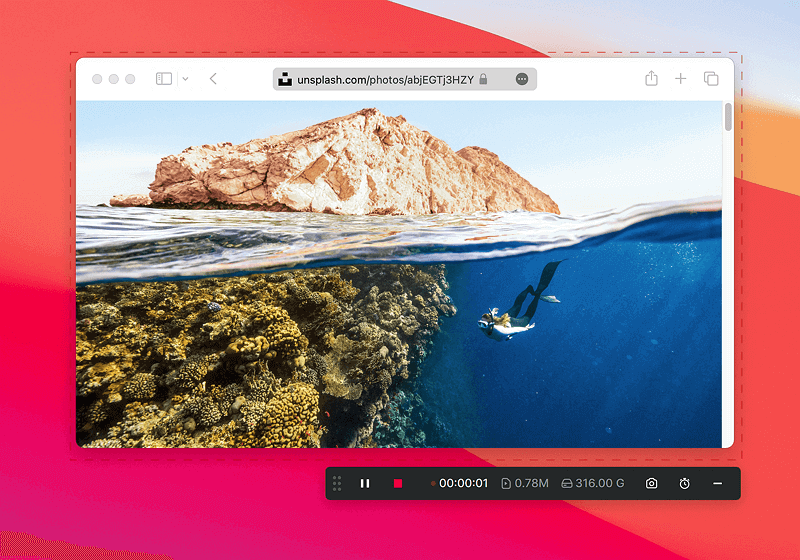
How to Screen Record on MacBook Air via Shortcut
Using the shortcut provided by the Screenshot app is the easiest way to screen record MacBook Air. However, it will fail to meet your needs if you want to screen record Mac with internal sound. It doesn’t have the native support for system sound and if you need to record screen on Mac with internal audio, you will need extra advanced setups, which is clearly illustrated in this guide – screen record Mac via shortcut.
Here I’d like to show you how to screen record on MacBook Air with sound from your microphone easily.
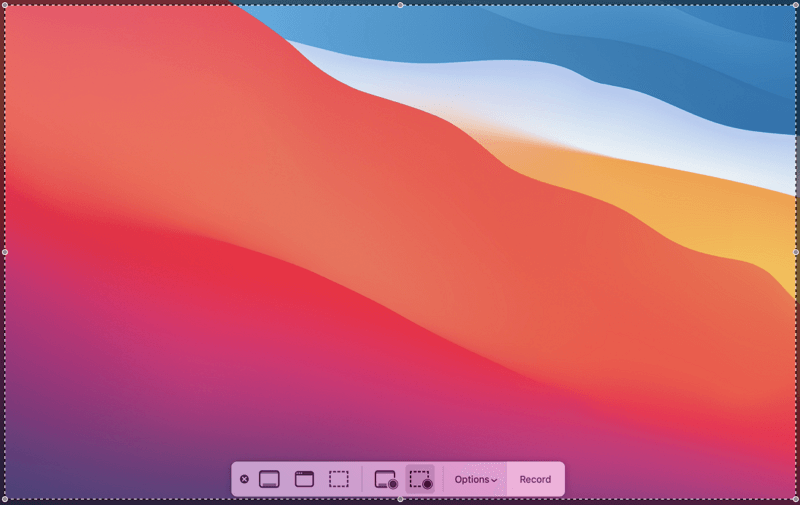
Step 1. Press Shift-Command-5 on your keyboard and then you can see a small menu bar provided by the Screenshot app.
Step 2. The first three are screenshot options. Just leave them there. You need to choose between the next two options: Record Entire Screen or Record Selected Portion.
Step 3. Then you need to click Options, here you can choose where to save the recording, whether to set a countdown, and other options. Most importantly, if you want to record your MacBook Air with sound, choose your Built-in Microphone under the Microphone section.
Step 4. Click Record to start the screen recording.
Step 5. When you need to stop, click the Stop sign from your MacBook’s menu bar.

How to Screen Record a Macbook Air via QuickTime
QuickTime, as Screenshot, only has the ability to catch microphone sound by default. And if you want to screen record MacBook Air with internal sound, you also need to manually set up advanced options to make QuickTime capture system sound while recording.
The extra setups are detailed in the video tutorial from Howfinity. You can also check the guide on QuickTime screen recording with audio for text details.
To record screen on MacBook Air with sound:
Step 1. Open Launchpad and search for QuickTime to open it.
Step 2. Go to the Menu bar and click File > Create New Recording.
Step 3. Select the region you’d like to capture.
Step 4. Click Options to set up the recording and remember to choose your built-in microphone so that QuickTime Player can capture your sound.
Step 5. Click Record to start the MacBook Air screen recording.
Step 6. Click the Stop icon in the Menu bar to stop recording when needed.
How to Screen Record Macbook Air with Internal Audio
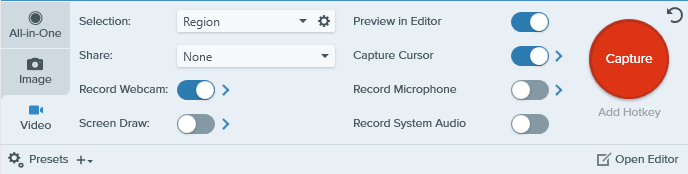
Recording internal audio may be more complicated for QuickTime and Screenshot, but it is a basic function for third-party screen recorders. If you don’t want to deal with complex settings, you can simply use a third-party Mac screen recorder, such as SurFlex Screen Recorder, which can help you record system audio, microphone, or both.
Additionally, it offers more recording settings options, such as various recording modes, audio and video output formats, and scheduled recording. If you want a convenient way to record your screen, using SurFlex Screen Recorder is the best choice.
To screen record MacBook Air with internal audio easily:
Step 1. Open SurFlex Screen Recorder on your Macbook Air and then go to Settings to set up your recording preferences.
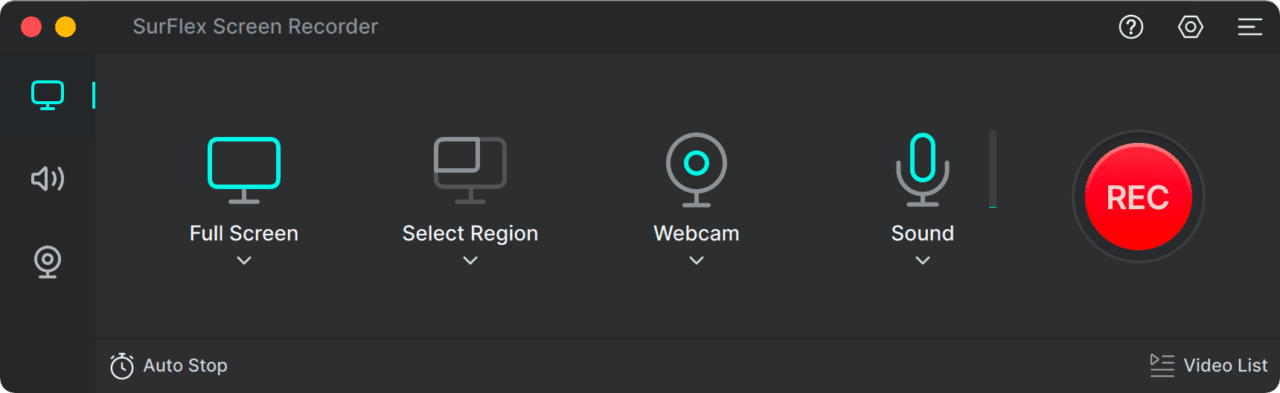
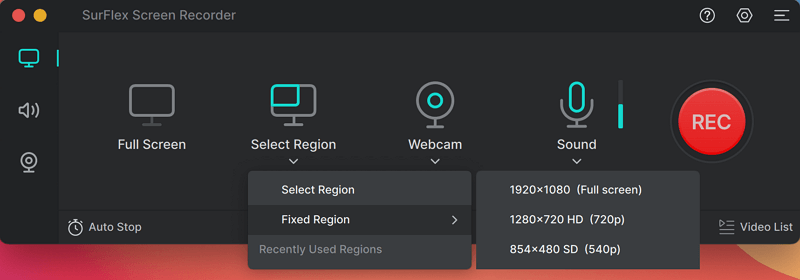
Step 2. Choose to record the Full Screen or a Selected Region and then select the target region.
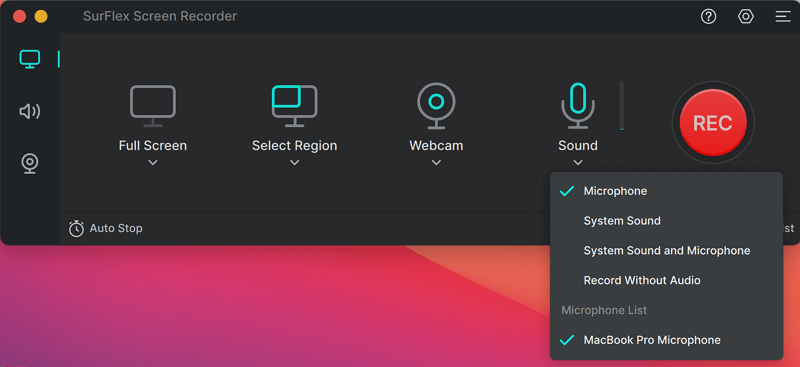
Step 3. Enable audio recording, select System Sound or System Sound and Microphone, and then click REC to start recording your Macbook Air screen.
Step 4. Once you finish recording, click the Stop button to end the recording and then preview the video.
How to Screen Record on MacBook Air with Audio and More
If you are going to record your MacBook Air screen for creating tutorials or demonstrations, you may need to add texts or markups during the recording. If so, using Snagit is a better choice. It is a powerful Mac screen recorder that is designed with many other advanced features in addition to screen recording.
With it, you can screen record MacBook Air freely and add texts/markups and more during the recording. What’s more, you can also take screenshots on your Mac during the recording.
In a word, if you want to have more customized options while performing MacBook Air screen recording, it’s advisable to try this tool.
To screen record MacBook Air with audio:
Step 1. Launch Snagit.
Step 2. Select the window or screen you want to capture and set the audio input device.
Step 3. Click the Record icon to start recording your MacBook Air.
FAQs on Screen Recording on MacBook
When you screen record on MacBook, you may also want to know:
If you can’t screen record on your MacBook Air, you can try the following fixes:
1. Check the screen recording shortcut: Command-Shift-5.
2. Check app privacy settings.
3. Restart your Mac.
4. Switch to QuickTime or another third-party Mac screen recorder.
Whether you want to record screen with internal audio, microphone sound, or both, you can use a professional screen recorder for Mac like SurFlex Screen Recorder to help.
If you want to capture external audio such as microphone sound, press Shift-Command-5 to open the Screenshot menu bar, select Options to choose the audio input device, and then you can screen record on MacBook Air with audio. While recording the screen on MacBook Air M1 with internal audio, using Movavi Screen Recorder is a more direct solution.
Wrapping Up
To sum up, although Screenshot and QuickTime finally allow you to screen record MacBook Air with internal audio after some advanced setups, it’s a complex process and they can’t meet your needs to capture both internal and external sound at the same time. Such, if you want a more flexible way for screen recording your MacBook, using a third-party screen recorder for Mac, such as SurFlex Screen Recorder and Snagit, is necessary.
About the Author
You May Also Like
-
How to Screen Record on Mac for YouTube: Perfect Fits
You will know how to screen record on Mac for YouTube with suitable resolution and format. Read on to theck the detail.
Myra Xian Updated on -
4 Ways to Record Vertical Video on Mac
You will know how to record vertical video on Mac in four easy ways. Check them in detail and record videos on your Mac effortlessly.
Myra Xian Updated on -
Screen Record on Mac via Shortcut (with Audio)
You can record screen on Mac via shortcut to capture screen on your macOS directly without any third-party Mac screen recorder.
Myra Xian Updated on