

Updated on
Quick Answer:
You can record a video on your Mac using the built-in QuickTime Player or Photo Booth, or you can choose to use third-party screen recording software such as SurFlex Screen Recorder, RecordCast, or Awesome Screen Recorder. Whether you prefer a desktop app or an online service, you can find a suitable choice.
Video recording is a popular choice for creating tutorials, demonstrations, and other helpful, educational, or entertaining content. Therefore, many of you may need to screen record on your Mac to capture the videos you require. With that in mind, I would like to show you how to record video on Mac using either the built-in Mac screen recorders or third-party apps so that you can capture any content you desire.
Table of contents
How to Record a Video on a Mac with QuickTime Player
Tool: Built-in QuickTime Player
QuickTime Player is the built-in screen recorder on your MacBook or iMac that allows you to record videos on a Mac by capturing webcam footage or on-screen activities. Since it is the native video recorder on your Mac, using QuickTime to record a video on your Mac will be quite convenient and cost you nothing. The recorded videos will be saved in MOV, which is compatible with various devices.
If you want to record yourself on MacBook with QuickTime Player:
Step 1. Open QuickTime Player on your computer.
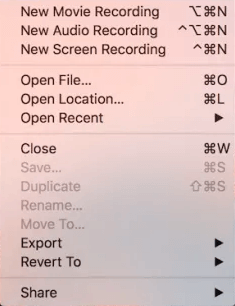
Step 2. Go to File > New Movie Recording.
Step 3. Click Options (the arrow icon) and then choose the camera you use, the microphone option, and the video quality.
Step 4. When you are ready, click Record to start taking a video of yourself.
Step 5. Click the Stop icon when you need to end the recording.
Step 6. Head to File > Export As or Save to save the video to your Mac.
If you want to screen record on Mac with QuickTime:
Step 1. Open QuickTime Player on your Mac.
Step 2. Go to File and choose New Screen Recording.
Step 3. Click Options to select the recording options, such as microphone, output folder, and more.
Step 4. Choose to record the entire screen or a selected portion and then select the target region.
Step 5. Click Record to start recording a video on your Mac.
Step 6. Click the recording icon in the menu bar to stop the QuicTime recording.
Step 7. Go to the selected folder to check the recorded video.

Note: When you screen record with audio on Mac, QuickTime can only capture microphone sound by default. If you want to screen record on Mac with internal audio using QuickTime Player, you can refer to the guide on QuickTime screen recording with audio to get the detailed steps.
How to Record Yourself on a Mac with Photo Booth
Tool: Preinstalled Photo Booth
If you only want to take video on your MacBook to record yourself, there is another preinstalled app on Mac that will come in handy, which is Photo Booth. Photo Booth is primarily developed for taking photos and videos and thus will be helpful when you want to record a camera video on your Mac.
When you take a video on your Mac with Photo Booth, you can add various effects to your video recording, such as Mirror, Stretch, Dent, and more. If you like this method, follow the steps below to record yourself on Mac with ease.
To record yourself on Mac:
Step 1. Launch the Photo Booth app on your MacBook or iMac.
Step 2. Enable video taking by clicking the camera icon in the bottom right corner of the window.
Step 3. Click Effects to add a preferred effect to the video.
Step 4. Click Record to start taking a video of yourself.
Step 5. Click the same button to stop the video recording.
Step 6. Check the video in the Pictures folder on your Mac.

How to Record Video on Mac to Capture Everything
Tool: SurFlex Screen Recorder
No matter what you want to capture on your Mac, such as recording a YouTube video, recording yourself, or recording a Mac screen, the flexible screen recorder, SurFlex Screen Recorder, will serve you well. With it installed on your Mac, you will be able to:
- Record videos on Mac to capture the whole screen, a selected window, or any section of the screen
- Screen record on Mac with audio, including system sound, microphone sound, or both
- Record screen and webcam at the same time
- Record webcam only
- Record audio only to capture internal audio, external audio, or both
Besides, you can customize the output options, such as video format, audio format, file quality, and more. In short, whenever you want to screen record on Mac, SurFlex Screen Recorder will fulfill your needs well.
To screen record a video on Mac:
Step 1. Go to Settings to set up your recording preferences, and then choose the Record Screen mode.
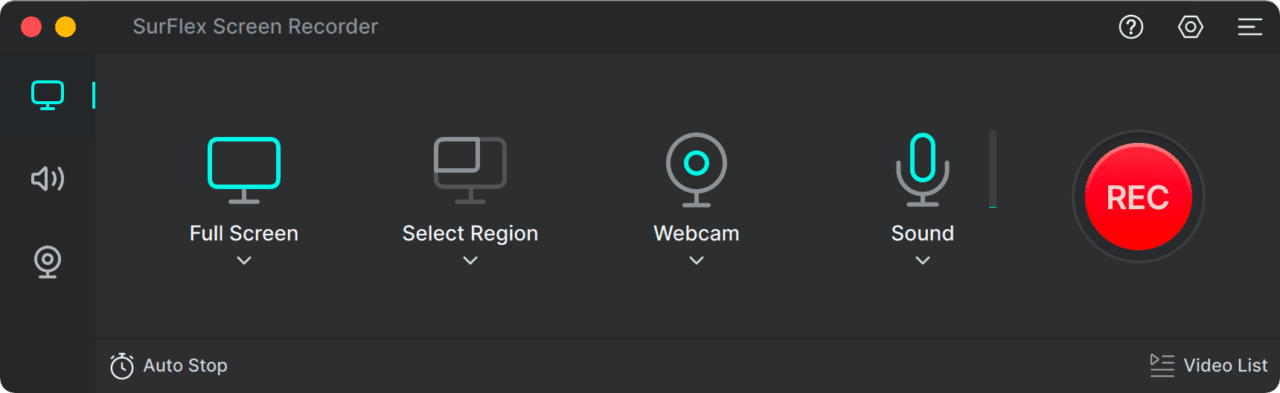
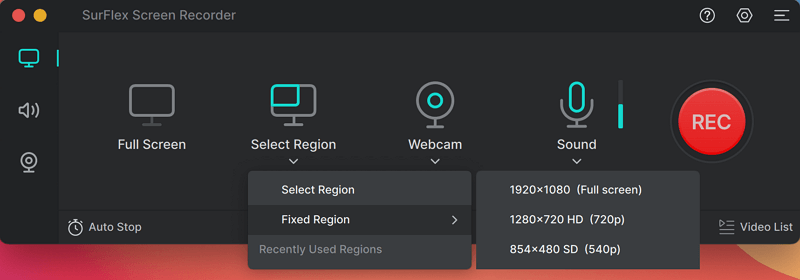
Step 2. Choose to record the Full Screen or a Selected Region and then select the recording area.
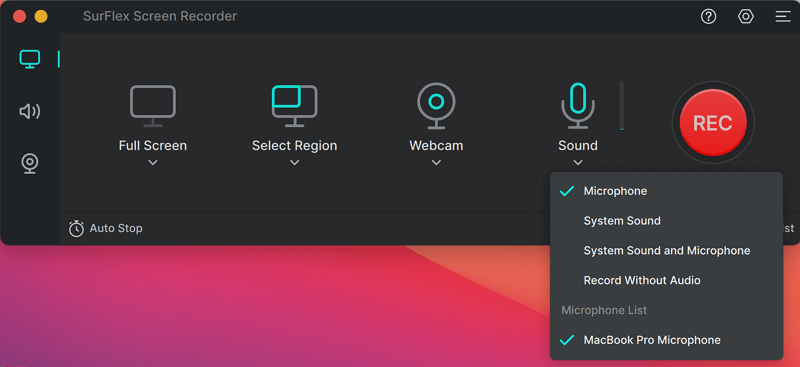
Step 3. Enable audio recording, select Microphone, System Sound, or System Sound and Microphone, and then click REC to start recording your Mac screen with audio.
Step 4. Once you have finished recording, click the Stop button and then preview the video.
How to Video Record on Mac Online
Tool: RecordCast
Using an online screen recorder is also a practical choice to screen record a video on a Mac. An online screen recorder and video editor like RecordCast not only allows you to video record on a Mac without any app but also enables you to edit the recorded video online. When you record a video online using RecordCast, you can choose to record the screen only, capture the webcam only, or record both the screen and the webcam. Of course, you can also capture audio during the screen recording on your Mac.
To record a screen video online:
Step 1. Open a browser and navigate to RecordCast.
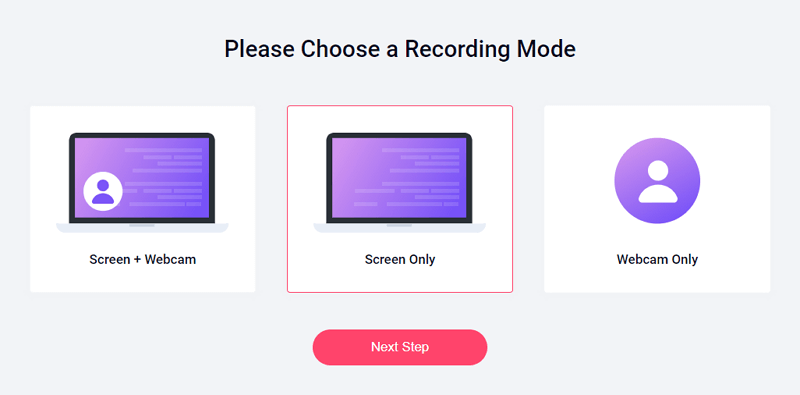
Step 2. Click Start Recording and choose the recording mode you need, such as Screen + Webcam, Screen Only, or Webcam Only. Then click Next Step.
Step 3. Choose the audio recording option and click Start Recording.
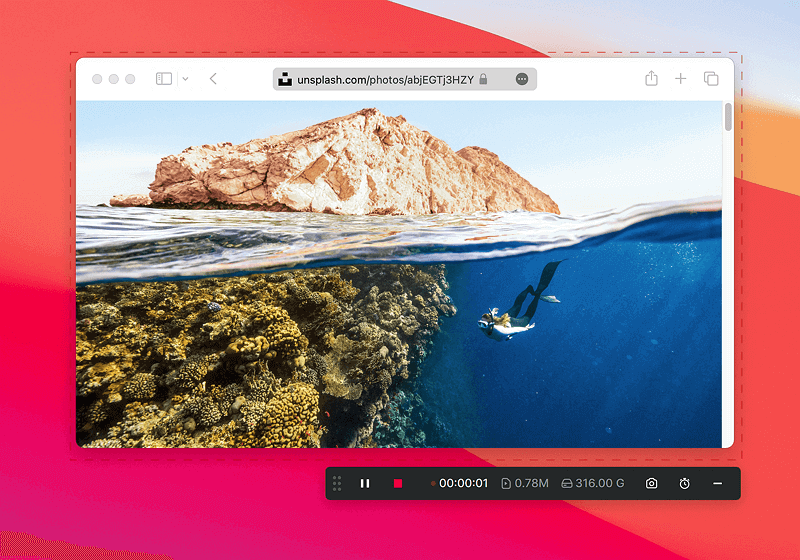
Step 4. Select the screen you’d like to record, such as a browser tab, an app window, or the entire screen, and then click Share.
Step 5. When you are done, click Stop Sharing and go back to RecordCast.
Step 6. Preview the video and click Download and Edit to save the video recording to your Mac.
How to Record Videos on Mac via Chrome
Tool: Awesome Screen Recorder extension
Another web-based solution to record videos on a Mac is to use a screen recording extension, such as Awesome Screen Recorder. After you add this extension to your browser, you will be able to record your Mac screen to capture a browser tab, an app window, or the whole screen. Besides, there are many customizable options for you so that you can create videos according to your preferences.
To record a video on Mac via Chrome:
Step 1. Add Awesome Screen Recorder to your Chrome and pin it to the taskbar.
Step 2. When you need to record, click it from the toolbar.
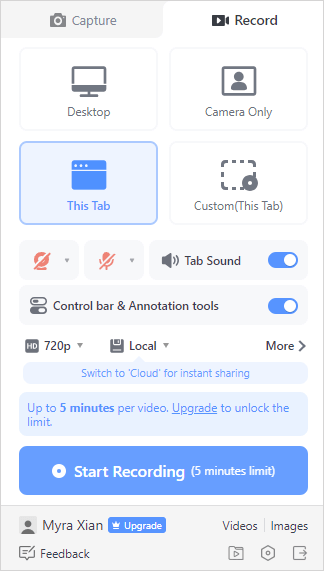
Step 3. Select a recording mode according to your needs.
Step 4. Set up other recording options and click Start Recording.
Step 5. When the recording is finished, click the Stop button in the control bar.
Step 6. Preview the video on the new page and then click Download to save the recording to your Mac in MP4 format.
Wrapping Up
Whether you want to record yourself on your MacBook or capture audio and video on your Mac, you now have the knowledge to do so on your computer. It’s worth noting that macOS does not have a built-in feature to record computer audio from a Mac. Therefore, you will need to download an additional audio driver, such as BlackHole or Soundflower, on your Mac and configure it properly. This will enable you to capture internal audio when using the built-in QuickTime Player.
About the Author
You May Also Like
-
How to Screen Record with Audio on Mac: System Sound & Microphone
You will know how to screen record on Mac with audio, system sound, microphone sound, or both, using tested and proven ways.
Myra Xian Updated on -
Screen Record on Mac with Internal Audio: Free & Paid
You can screen record on Mac with internal audio, either free or paid. Check them in detail and use any of them to capture internal audio.
Myra Xian Updated on -
Screen Record on MacBook Pro: 4 Ways You Can Try
You will know how to screen record on MacBook Pro with sound, either system sound, microphone sound, or both using proven ways.
Myra Xian Updated on