

Updated on
Quick Answer:
You can record a meeting on Webex without permission with the help of third-party screen recorders, such as SurFlex Online Free Screen Recorder, the SurFlex Screen Recorder app, or ShareX. Whether you prefer a free or paid solution, you can find the one you need.
Although you can record a Webex meeting as a participant, you need to get permission from the meeting host first. If you want to record a Webex meeting without permission or without others knowing, you will need a third-party screen recorder to help. Here I’d like to show you how to record Webex meeting without permission on a Mac or PC. No matter what you want to record on Webex, you can use one of the ways to achieve your goal.
Table of contents
How to Record Webex Meeting Without Permission Online for Free
Tool: SurFlex Online Free Screen Recorder
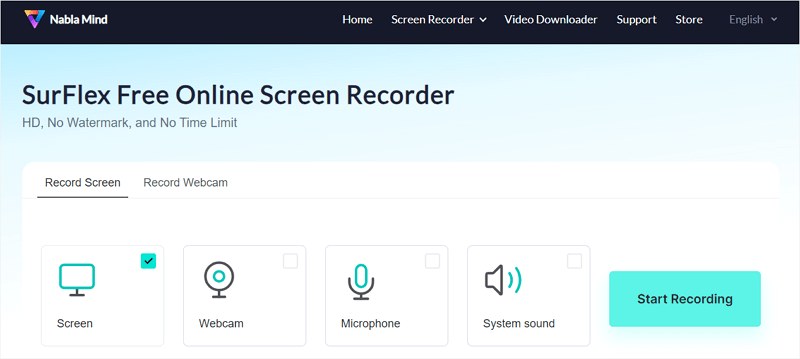
If you prefer to record a meeting on Webex without permission for free, you can use SurFlex Online Free Screen Recorder. This online screen recorder works to record a browser tab, an app window, the entire screen, or a webcam. During the screen recording (except for window recording), you can also capture system sound, microphone audio, or both, allowing you to easily record a Webex meeting as a participant with audio.
It’s worth mentioning that this online service is completely free to use: it won’t add any watermark to your recording or limit the recording length. Besides, it will save the videos in HD quality. If you are willing to screen record on Windows or Mac online, don’t miss this handy tool.
To record a Webex meeting without permission online:
Step 1. Open a browser (Chrome, Firefox, Edge, or Safari) and navigate to SurFlex Online Free Screen Recorder.
Step 2. Select to record Screen and System Sound (this will also capture your voice) and click Start Recording.
Step 3. Choose to record the entire screen, select the display, and then click Share.
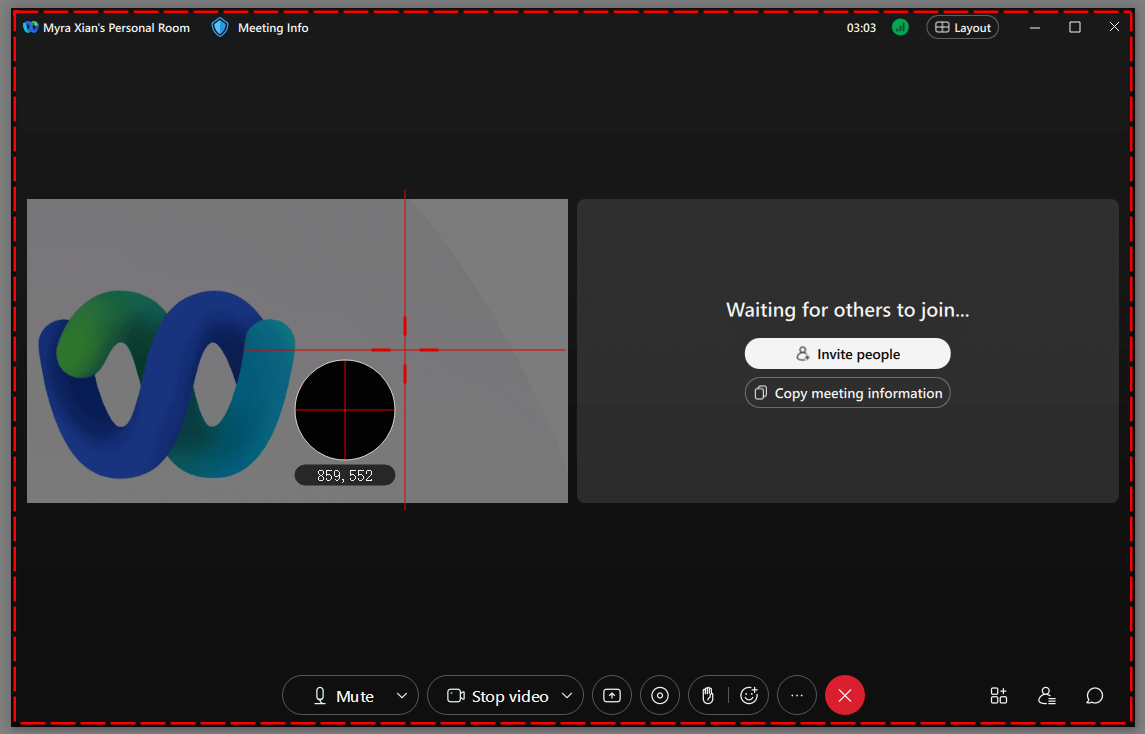
Step 4. Go to the Webex window to capture your desired content.
Step 5. When you are done, go back to the online screen recorder and click Stop Recording.
Step 6. Check the video and then click Download to save it to your computer.
How to Record on Webex Without Permission Freely
Tool: SurFlex Screen Recorder
An online service is generally limited by the browser. If you want to flexibly screen record Webex to capture meetings, using a desktop screen recording tool like SurFlex Screen Recorder will be more suitable. It allows you to record any on-screen activities and save them in your preferred format or quality. When you need a Webex screen recorder to record a Webex meeting without permission, it will be helpful. Even if you need to record a Zoom meeting without permission next time, you can still apply this app.
To screen record on Webex without permission:
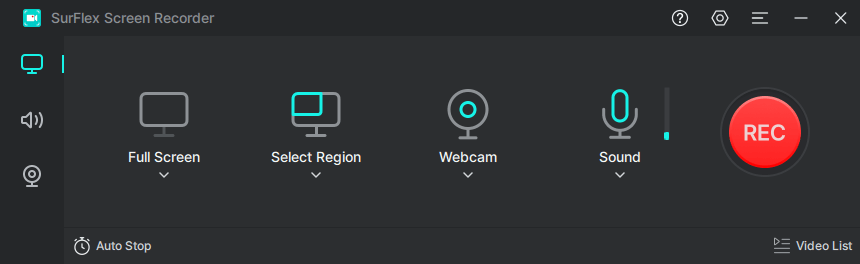
Step 1. Launch SurFlex Screen Recorder and click the Settings icon to customize the output options.
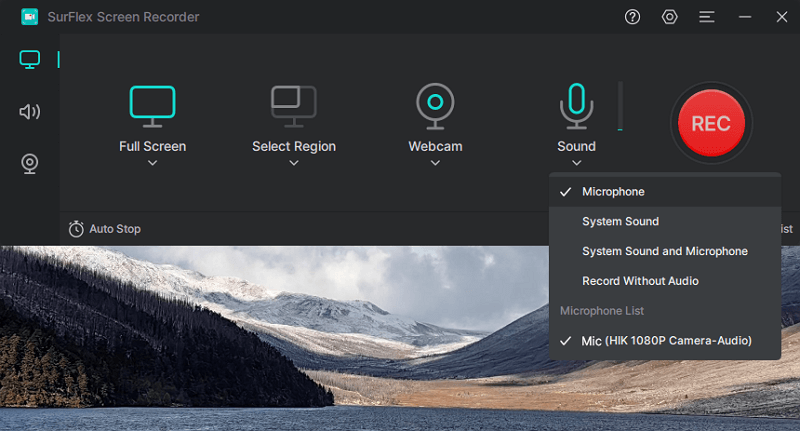
Step 2. Select to record System Sound (this will also capture your voice while in a meeting).
Step 3. Select the Webex window and click REC when you are ready.
Step 4. When you are done with the Webex meeting recording, click Stop and check the video in the recording list.
How to Screen Record Webex Without Permission for Free
Tool: ShareX
There is also freeware for Webex meeting recording and ShareX is one of them. ShareX is a program that is both free and open source, allowing you to capture or record any part of your screen and easily share it. It’s easy and convenient to use, making it quite simple for you to record a meeting on Webex or other platforms.
To record on Webex:
Step 1. Download and install ShareX on your computer.
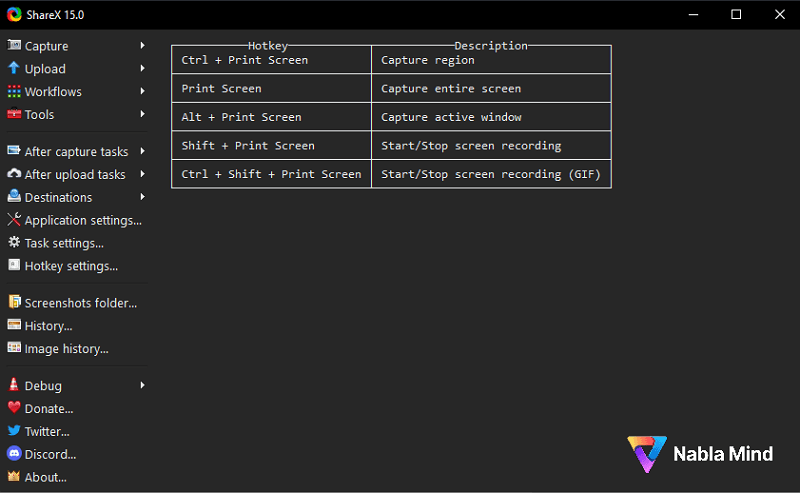
Step 2. Open ShareX, go to Task Settings and then choose Screen Recorder.
Step 3. Set up the recording options according to your needs and then click Screen Recording Options to access more advanced settings.
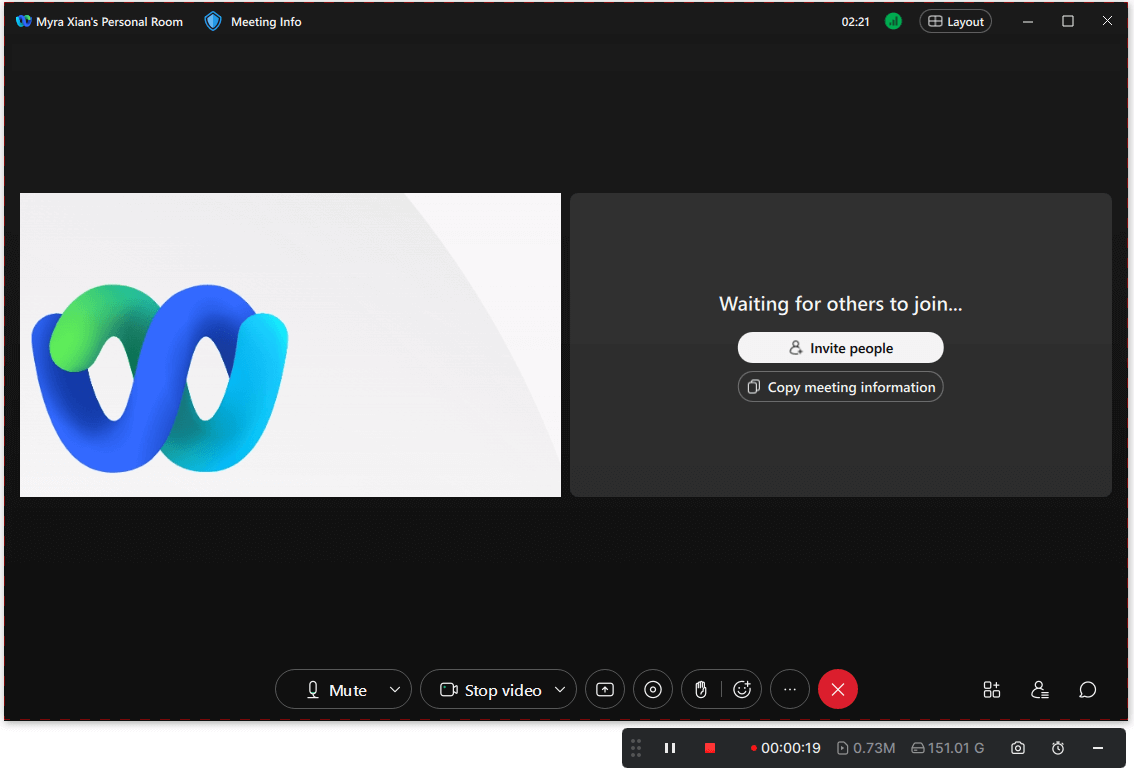
Step 4. After these settings, minimize ShareX and go to Webex.
Step 5. Press Shift + Print Screen and then select the Webex window as the recording region. The Webex meeting recording will start immediately.
Step 6. Once the recording is done, click Stop to end the recording and then check the recorded video in the ShareX window.
Wrapping Up
Whether you are the meeting host or a participant, you can successfully use the aforementioned screen recorders to record Webex meetings. In the future, when you need to record meetings on other platforms, you can still rely on these tools to capture your desired content effortlessly.
About the Author
You May Also Like
-
How to Record Zoom Meeting with Audio in Every Way
You will know how to record Zoom meeting with audio on your computer or mobile using different types of tools.
Myra Xian Updated on -
How to Record Yourself on Zoom: Detailed Guide
You will know how to record yourself on Zoom and how to video record yourself presenting a PowerPoint on Zoom in detail.
Myra Xian Updated on -
How to Record Zoom Meeting on iPad in 3 Easy Ways
You will learn how to record Zoom meetings on an iPad using various proven methods, whether you are the host or a participant.
Myra Xian Updated on