

Updated on
Quick Answer:
You can screen record Windows using one of the following Windows screen recorder tools, depending on the Windows version you use:
1. Snipping Tool – Windows 11
2. Xbox Game Bar – Windows 10 & 11
3. (Problems) Steps Recorder – Windows 7 & 8
4. Microsoft PowerPoint (for recording presentations), SurFlex Screen Recorder, OBS Studio, ScreenCapture (online) – All Windows Versions
Screen recording has become a valuable tool in recent years, especially for creating tutorials, sharing gameplay, and demonstrating software features. With the diverse range of Windows operating systems, you might be wondering how to screen record on Windows, such as Windows 7, 8, 10, and 11. In this article, we will explore various methods and tools available for screen recording on Windows, ensuring that you can easily capture and share your on-screen activities.
From built-in tools like the Snipping Tool and Xbox Game Bar to third-party software solutions like SurFlex Screen Recorder and OBS Studio, there are numerous ways to record your screen on Windows. We’ll also touch upon additional tips to optimize your screen recordings and tackle common questions related to screen recording.
Table of contents
How to Screen Record on Windows 11 with Snipping Tool (Without Audio)
One of the unique screen recording software available exclusively on Windows 11 is the Snipping Tool. Although it was also available on Windows 10, it lacked screen recording functionality. With Snipping Tool, you can easily record the full screen or select a specific area on Windows 11 for free, without the need for an additional screen recorder. However, it does have one “fatal” flaw – it cannot record audio. Despite this limitation, it remains a suitable solution for those who need to screen record Windows 11 without audio.
To record screen on Windows 11 laptop or desktop with Snipping Tool:
Step 1. Click Start or press the Windows key on your keyboard.
Step 2. Search for Snipping Tool and click to open the app.
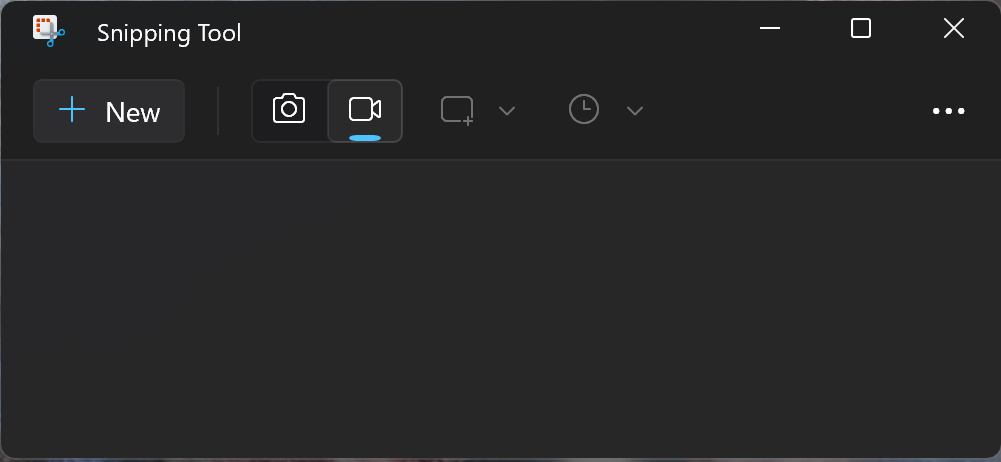
Step 3. Click the camera icon to switch to the Record mode.
Step 4. Click New, select the region you want to capture, and then click Start.
Step 5. Click the Stop button to end the Windows screen recording.
How to Record Screen on Windows 10 & 11 with Audio via Xbox Game Bar
If you are wondering how to screen record on Windows 10 or 11 with audio, using the built-in Xbox Game Bar app on Windows 10 and Windows 11 is a feasible solution. Xbox Game Bar allows you to easily record screen on Windows with audio using the shortcut Windows + Alt + R. Additionally, you can quickly launch the Windows screen recorder from any screen by using the shortcut Windows + G.
As the name suggests, Xbox Game Bar is mainly designed to record gameplay on Windows. However, it can also be used to record apps (except for File Explorer) on your Windows laptop or computer. It is important to note that it cannot record your desktop or a specific part of the screen. Nevertheless, it is still an excellent option for those who want to record screen on Windows to preserve their gameplay or app activities with audio, including system sound or microphone sound.
If you haven’t used Xbox Game Bar before, it’s advisable to go to Settings > Gaming > Captures on your computer and launch Xbox Game Bar to go to Settings to set your recording preferences, such as video quality, audio quality, storage path, and more.
To record screen on Windows 10 or Windows 11 with Xbox Game Bar:
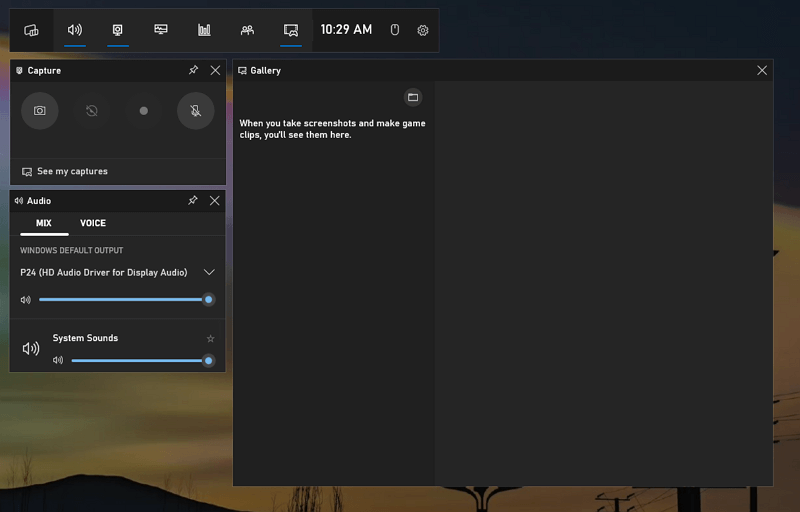
Step 1. Press Windows + Alt + R to start recording the screen on Windows immediately. You can also press Windows + G to launch Xbox Game Bar and click Start Recording.
Step 2. Click the Stop button in the small panel to end the Windows screen recording.
Step 3. When you see Game clip recorded, click it to go to the preview window or press Windows + G to check the recording in the Gallery panel.
Notes: The recorded videos are saved in c:\users[username]\Videos\Captures by default.
How to Screen Record Windows 7 & 8 with Steps Recorder
Each Windows version has a built-in Windows screen recorder. It’s no exception when it comes to Windows 7 and Windows 8. Steps Recorder (called Problems Steps Recorder on Windows 7) is the built-in option on these earlier Windows versions, allowing you to record screen on Windows with sound for free.
However, Steps Recorder may not be a good pick due to its limited functionality. Although it helps to record on-screen activities on your Windows laptop or PC, it disallows you to record a selected area or save the recording as a video file. Honestly speaking, it is only suitable to record Windows screen to reproduce a problem.
If Steps Recorder can fulfill your needs, follow the steps below to record screen on Windows 8 or Windows 7.
To screen record Windows with Steps Recorder:
Step 1. Launch Steps Recorder from the Start menu.
Step 2. Click Start Record to start the Windows screen recording.
Step 3. During the record, you can click Add Comment to add descriptions to your recording.
Step 4. When you’re done, click Stop Recording.
Step 5. Save the recording as a ZIP file in MHTML format.
You can open the recording using any browser on your PC or laptop.

Although it’s called Problem Steps Recorder on Windows 7, you can follow the same steps above to record screen on Windows 7.
How to Record Screen on Windows with Microsoft PowerPoint
If you are going to record a presentation on your computer, using Microsoft PowerPoint’s built-in screen recording feature will do you a favor.
Microsoft PowerPoint is an ideal choice if you intend to record a presentation with a webcam overlay and audio. This software comes with a built-in screen recording feature that enables you to effortlessly record your presentation, voice, and webcam. No matter which version you use, you can use Microsoft Windows to screen record on a computer easily.
Step 1. Open your presentation with Microsoft PowerPoint.
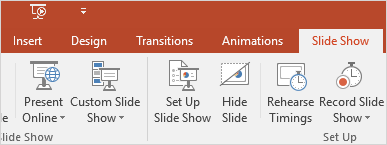
Step 2. Click the Slide Show tab and click Record Slide Show.
Step 3. During the recording, you can use the drawing tools to aid in your demonstration.
Step 4. Click the Stop button to end screen recording Windows.
How to Screen Record on Windows Desktop & Laptop Easily
Although the four methods mentioned above can all record your computer screen, they each have their own limitations and may not be suitable for all video screen capture scenarios. That’s probably why so many users want to know how to screen record on Windows without Game Bar. For a more comprehensive solution, utilizing the SurFlex Screen Recorder for Windows is the optimal choice.
- It provides different screen recording modes for Windows so that you can capture everything on your computer screen.
- It allows you to record screen on Windows with audio, including system sound, microphone, system sound and microphone, or with no audio.
- It supports various video and audio output formats, enabling you to obtain the video in your desired format.
In summary, whether you plan to screen record on Windows 11 or other versions, using SurFlex Screen Recorder can help you capture everything you need.
To screen record on computer:
Step 1. Click Settings to choose the video format and quality, and then enable audio recording and select the audio type you’d like to capture.
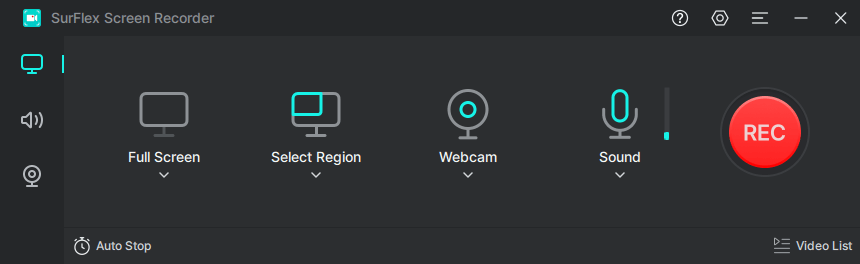
Step 2. Choose to record the full screen or a selected portion/window and then select the target area. Afterward, click REC to start recording the screen on Windows.

Step 3. Wait for the screen recording to finish, and then click Stop when necessary.

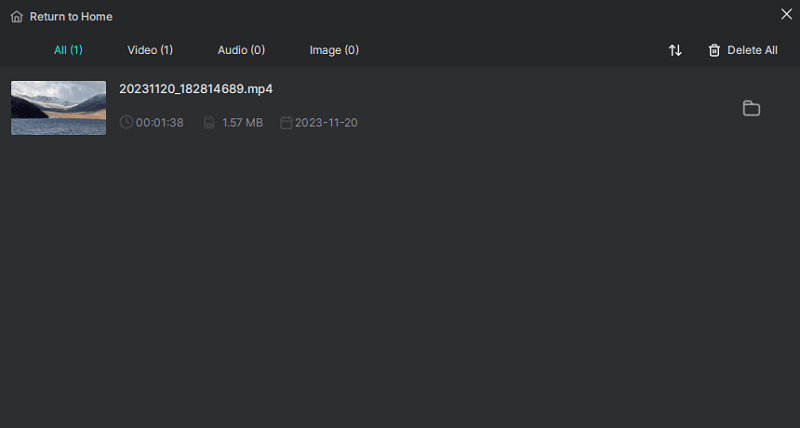
Step 4. Check the recorded video in the popup recording list window.
How to Screen Record on PC for Free with OBS Studio
Using a powerful third-party Windows screen recorder is a convenient but generally paid solution. If you want a versatile and free Windows screen recording tip, using OBS Studio is a good choice. It is an open-source, free tool for video recording and live streaming available for Windows, macOS, and Linux. It has powerful features that enable you to record your screen on Windows with everything you need, as long as you have configured it correctly.
Although OBS has many benefits, such as being completely free, powerful, and stable, it has a significant drawback – it can be complex to operate. Therefore, it is more suitable for advanced users and experienced video editors who require advanced functionality and customization options. If you want to use OBS Studio, I sincerely recommend following a YouTube tutorial on how to screen record on Windows with OBS to gain a clearer understanding of the software.
How to Record Screen on Windows with Audio Online
All the Windows screen recorder tools mentioned above are desktop-based. However, there are also online screen recorders for Windows that make it easy to record your computer screen with audio without the need for any software.
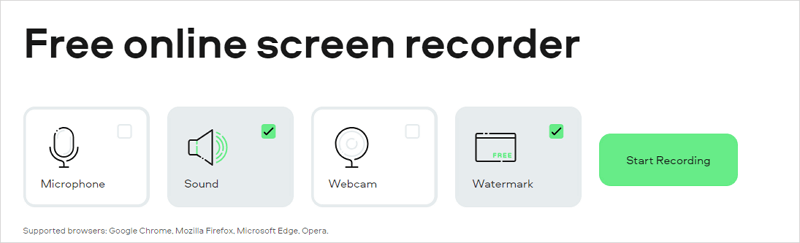
A free and convenient online Windows screen recorder that I would like to recommend is ScreenCapture. It is free to use but comes with an automatic watermark which can be removed with a paid feature. ScreenCapture saves the recording as an MP4 file in HD quality. It can record the computer screen with both internal and external audio and also supports recording the Windows screen with a webcam. Overall, it can fulfill most basic screen recording needs.
To screen record on PC online:
Step 1. Visit ScreenCapture using your browser and click Start Recording.
Step 2. Select to record your browser page, window, or the full screen. Then click Share.
Step 3. When you’re done, click Stop Sharing and go to ScreenCapture to click Stop Recording.
Step 4. Click Download to save the recording as MP4 in HD on your computer.
Windows Screen Recording: FAQs
When you screen record Windows, you may also want to know:
You can use Xbox Game Bar to screen record on Windows with audio for free:
1. Press Windows + G and click Settings.
2. Go to the Capturing section and choose the audio to record.
3. In the Audio panel, set the audio input devices.
4. Click Start Recording.
The Windows screen recorder shortcut is Windows + Alt + G. To stop, press the key combination again or click the Stop button directly.
Use any of the tools below to screen record on laptop in any Windows version:
1. SurFlex Screen Recorder
2. Movavi Screen Recorder
3. OBS Studio
4. Bandicam
Wrapping Up
The most suitable screen recording tool for you depends on your specific screen recording needs. Therefore, you can choose the best Windows screen recorder from the recommended tools above based on your screen recording scenario and goals. If you also need to edit the recorded video after screen recording, then Camtasia may be more suitable for your needs than the other tools mentioned. I hope you can find the right tool that meets your needs and satisfies your requirements.
About the Author
You May Also Like
-
How to Screen Record on Acer Laptop in 4 Ways
You will know how to screen record on Acer laptop either with built-in screen recording feature or third-party Acer sceen recorder apps.
Myra Xian Updated on -
4 Ways to Record Google Earth Easily
You will know how to record Google Earth on your device to capture a Google Earth touring for sharing or other purposes.
Myra Xian Updated on -
How to Record Screen on Windows 11 with Audio: Detailed Guide
You will know how to record screen on Windows 11 with audio using different types of Windows 11 screen recorder tools.
Myra Xian Updated on