

Updated on
Quick Answer:
You can record video on Windows 11 using the built-in Snipping Tool, Xbox Game Bar, Camera, or the third-party Windows screen recorder, SurFlex Screen Recorder.
If you are planning to record screen on Windows 11 but are unsure about the appropriate screen recorder for your situation, don’t worry. Here, I will guide you on how to record video on Windows 11 using various methods. Whether you want to record video with a webcam on Windows 11 or capture your screen, applications, or games on Windows 11, you will find a suitable solution to meet your needs.
Table of contents
How to Record Video on Windows 11 for Free
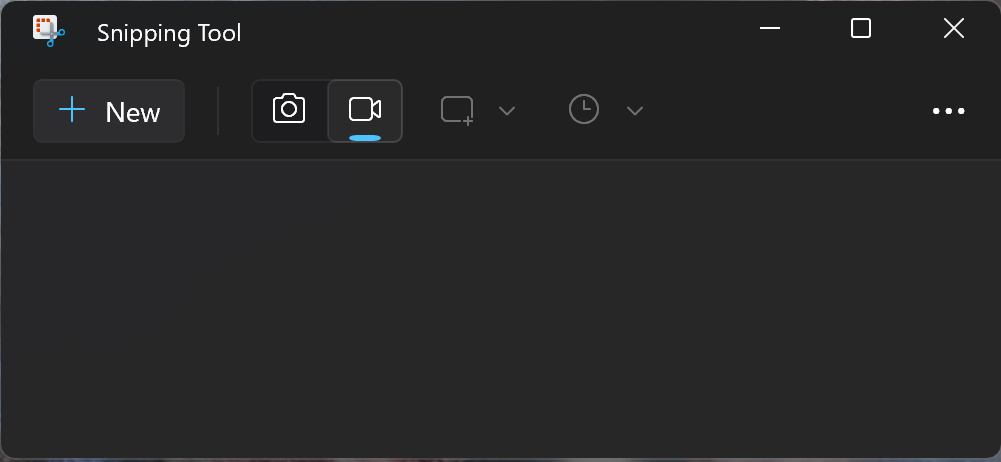
The Snipping Tool on Windows 11 has been upgraded with the screen recording feature that allows you to record any selection part of your screen. Thus, whether you are going to record an app window or a part of the screen, you can use the Snipping Tool to capture what you want.
However, the Snipping Tool screen record can’t capture audio. If you need to screen record on Windows 11 with audio, you will need the alternative ways below.
To record a video on Windows 11 with the built-in Snipping Tool:
Step 1. Open Snipping Tool on your PC or laptop.
Step 2. Click the video icon to enable the recording mode.
Step 3. Click New, select the recording area, and then click Record.
Step 4. When you need to end, click the Stop button.
How to Record a Video on Windows 11 with Audio
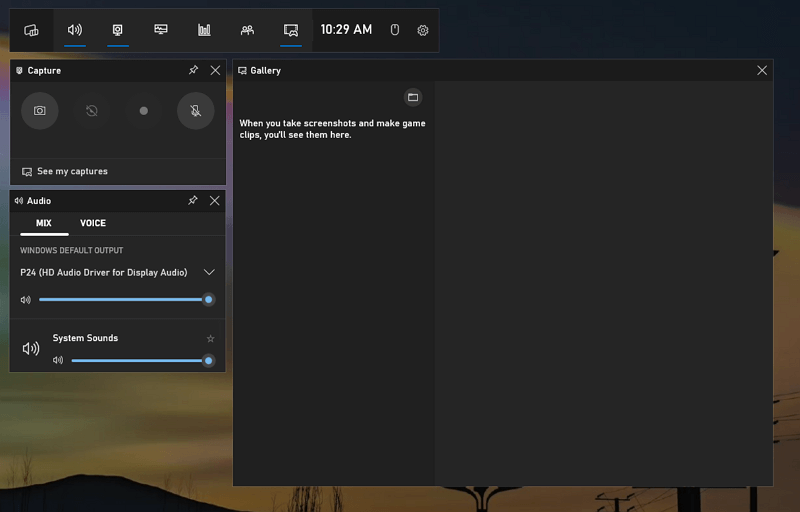
In most cases, you will want to record a video on Windows 11 with audio. That’s when Snipping Tool can’t help. To record screen with audio on Windows 11, you can use the built-in Xbox Game Bar app. This Windows screen recorder, unlike Snipping Tool, will capture both video and audio, including external audio and internal audio.
However, Xbox Game Bar recording can only capture the currently active window from a game or app. That means you can’t record the computer desktop or record part of screen on Windows. If Xbox Game Bar can meet your needs, go to Start > Settings > Gaming > Captures to set up your recording preferences, and then follow the steps below to record video on Windows 11 with audio.
To record a video on Windows 11:
Step 1. Keep the target window active.
Step 2. Press Windows-Alt-R to start recording immediately.
Step 3. Click the Stop button or click Windows-Alt-R again to end the recording.
Step 4. Click the Game clip recorded message to check the recorded video.
You can also use Windows-G to open Xbox Game Bar and check all the recordings in the Gallery panel Or go to C:\Users\admin\Videos\Captures to access the recorded videos from your computer storage.
How to Record Video with Webcam on Windows 11
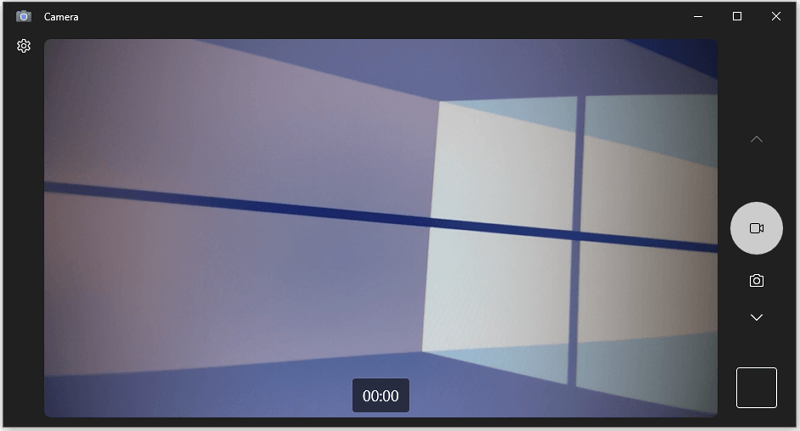
If you are going to record yourself on your laptop or PC in Windows 11, using the pre-installed Camera app on Windows is a handy option. The Camera app supports both photo taking and video recording using the integrated camera or an external webcam. While recording a video with webcam, it will also capture the microphone sound. Therefore, you can use it to record a video with audio on Windows 11 easily.
To record video with webcam on Windows 11:
Step 1. Make sure the webcam is connected to your computer properly.
Step 2. Launch the Camera app from the Start menu.
Step 3. Go to Settings to set up the Camera settings and Video settings according to your preferences.
Step 4. Click the video icon to switch to the video-taking mode.
Step 5. Click the Start taking video button to start recording a video with webcam on Windows 11.
Step 6. To end the recording, click the Stop button.
Step 7. Click the Camera Roll to check the recorded video.
Camera is also available on Windows 10, allowing you to record a video on Windows 10 easily.
How to Record on Windows 11 in All Situations
As you can see, the previously recommended built-in video recorders in Windows are only suitable for specific scenarios and cannot meet a wide range of screen recording needs. If your screen recording requirements include recording the full screen, a selected portion, a window, a webcam only, or a screen with a webcam, then you should use an all-inclusive screen recorder for Windows 11 – SurFlex Screen Recorder.
It effortlessly caters to your different screen recording needs and allows you to customize the video format and quality. If you are looking for a more versatile video recording solution, I recommend using it.
To record on Windows 11:
Step 1. Launch SurFlex Screen Recorder on your PC and click Settings to set up the output options. Then select the audio recording options according to your needs.
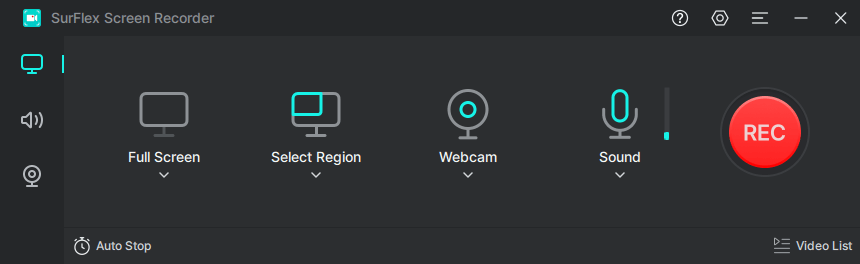
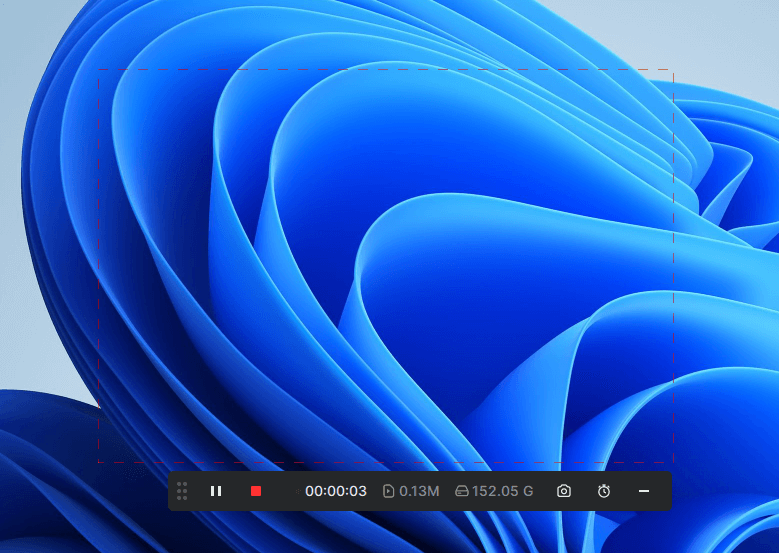
Step 2. Select the recording area, such as your desktop, an app window, or any selected portion. Then click the REC button.

Step 3. When the screen recording is done, click the Stop icon in the menu bar.
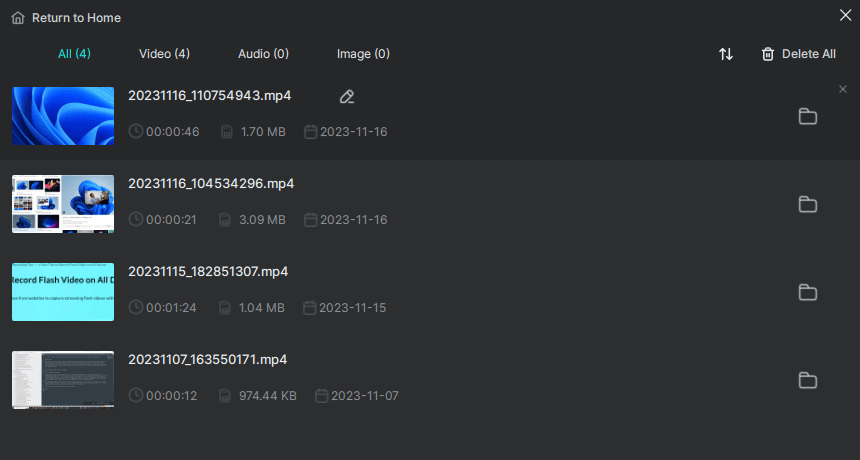
Step 4. Check the video in the popup window.
Wrapping Up
Whether you want to learn how to record yourself on Windows 11 or how to record the screen on Windows 11 with audio, you now have the detailed answers. Except for the Snipping Tool, all the other tips are also applicable to recording video on Windows 10. Familiarize yourself with these methods, and you will know how to assist yourself whenever you need to screen record on Windows.
About the Author
You May Also Like
-
How to Record a Discord Call [Video & Audio]
You will know how to record a Discord call on your computer or mobile device, whether it is a video call or audio call.
Myra Xian Updated on -
How to Screen Record Apple Music on Any Device
If you are wondering how to screen record Apple on your iPhone or computer, check this guide and you will know how to do it.
Myra Xian Updated on -
Windows Screen Record Shortcut: Windows + Alt + R and More
Check how to record screen on Windows with Windows screen recorder shortcut in different types, including Windows-Alt-R and more.
Myra Xian Updated on