

Updated on
Quick Answer:
You can record audio on Windows 10, be it internal audio or external audio, with one of these tools: the preinstalled Sound Recorder on Windows 11, professional audio recorder – SurFlex Screen Recorder, or freeware – Audacity.
Thanks to the help of the built-in Sound Recorder on Windows 11 (originally called Voice Recorder) and third-party audio recorder apps, recording system sound, your own voice, or both on a Windows 11 PC or laptop is quite easy. Therefore, if you want to know how to record audio on Windows 11, there are many simple and feasible tips available. Read on to check the proven ways and pick the most suitable one to record audio from computer without any hassle.
Table of contents
How to Record Audio on Windows 11 Directly
Tool: Sound Recorder
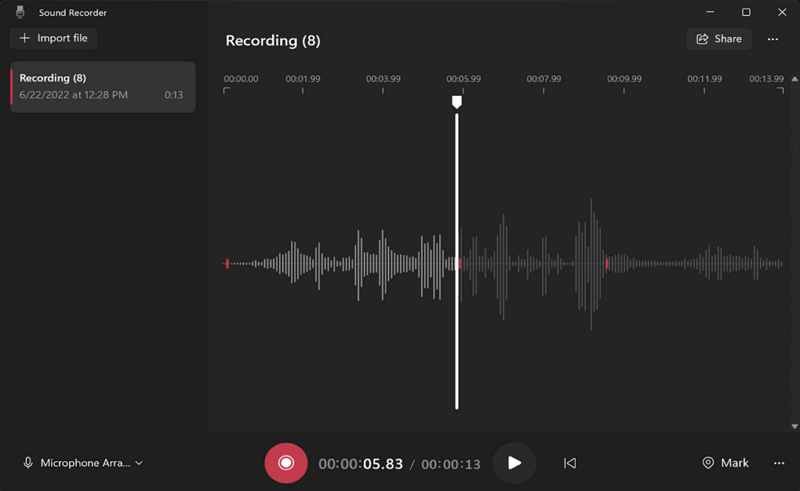
The Voice Recorder on the earlier Windows versions has now been updated to Sound Recorder on Windows 11, with better functionality and improved interface. Thus, when you need to record sound on Windows 11, you can consider using the pre-installed Sound Recorder app, which frees you from extra software installation and charges nothing.
With the native Windows 11 audio recorder, you can record voice in formats including MP3, M4A, WAV, FLAC, WMA, and more. You can also adjust the audio quality and customize the recording device if there is more than one microphone available.
To record voice on Windows 11 with Sound Recorder:
Step 1. Launch Sound Recorder on your PC or laptop.
Step 2. Press Control-R or click the red record button to start recording audio.
Step 3. Click the Stop button to end the recording when necessary.
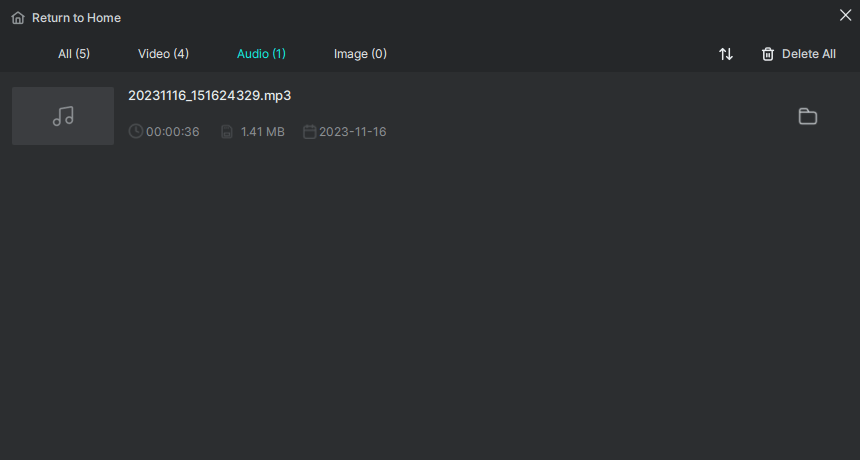
Step 4. Click the recording in the list to check the audio recording.
How to Record Internal Audio on Windows 11
Tool: SurFlex Screen Recorder
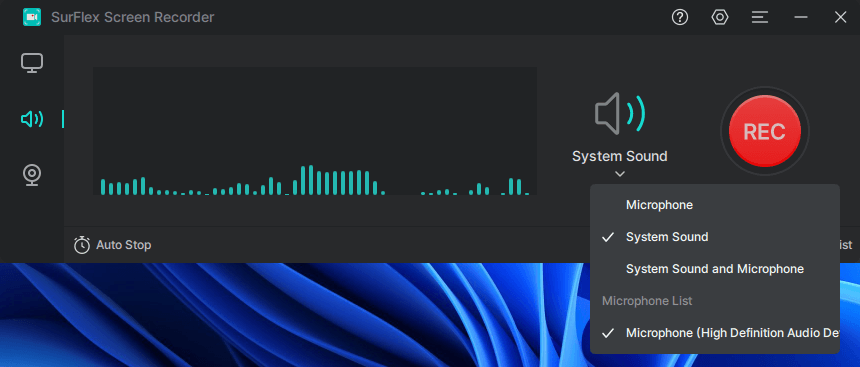
If you are going to record internal audio on Windows 11, using a third-party audio recorder such as SurFlex Screen Recorder is necessary. It is capable of capturing internal sound (such as system sound and app sound), external sound (such as microphone voice), or both, making it flexible for you to capture sound on your Windows computer. While performing audio recording on Windows 11 with this tool, you can customize the audio format, audio quality, and more to create an audio file that meets your needs well.
Besides, SurFlex Screen Recorder, as its name indicates, is also a video recorder. That means you can screen record on Windows 11 with audio, too. This makes it easy for you to record video on computer to capture whatever content you like.
To record internal audio on Windows 11:
Step 1. Open SurFlex Screen Recorder, click Settings to set up the output options, and then choose the Record Audio mode.
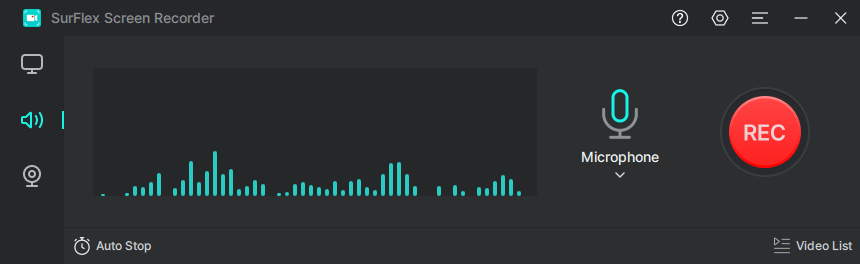
Step 2. To record internal audio on Windows, choose the System Sound option. Then click REC to start recording audio coming from your computer.
Step 3. Once the recording is completed, click Stop.
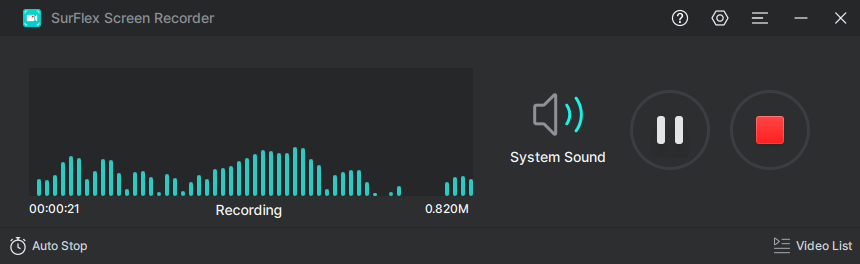
Step 4. Check the audio recording in the popup window.
How to Record Sound on Windows 11 for Free
Tool: Audacity
If you want to record audio on Windows 11 for free, there is another viable option available: Audacity, a free and open-source audio editor and recorder.
Audacity offers powerful features that allow you to record computer audio, your own voice, and more in formats such as MP3, WAV, and OGG. Additionally, after recording, you can edit the audio by cutting sections, adding effects, and more.
However, due to its extensive feature set, Audacity may not be as user-friendly as other sound recorders for recording audio on Windows 11, and it may require more complex operations. If you don’t mind this, you can follow the steps below to record audio on your computer using Audacity.
To record sound on Windows 11 with Audacity:
Step 1. Download and install Audacity on your PC or laptop.
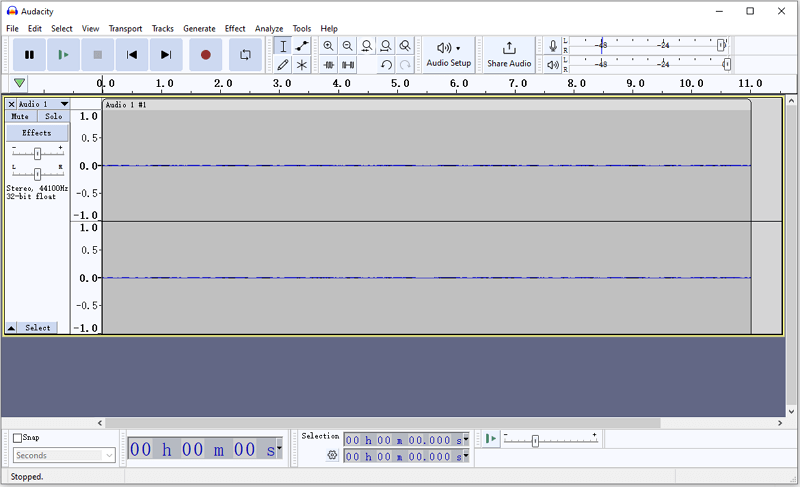
Step 2. Launch Audacity, click Audio Setup > Host, and choose Windows WASAPI, which is a more advanced audio system.
Step 3. Now go to Audio Setup > Recording Device and select the audio device, which depends on the audio type you want to capture and the audio device you have.
Step 4. When you are ready, click the red Record button to start recording.
Step 5. When you are done, click the black square (Stop button) to end the audio recording.
Step 6. Edit the audio according to your preferences.
Step 7. Go to File > Export and choose the target format.
Step 8. Rename the file and click Save.
Wrapping Up
If you only want to record your own voice, using the built-in Sound Recorder on Windows 10 is a convenient choice. If you want to record different types of audio and need to edit the audio, using Audacity is a suitable choice. However, if you prefer an easy yet powerful video and audio recording solution, using a professional video and audio recorder like SurFlex Screen Recorder is the optimal choice.
About the Author
You May Also Like
-
How to Record Voice on Android: The Ultimate Guide
In this guide, you will learn three ways to record audio on Android to capture microphone sound. Pick the one you like to apply.
Myra Xian Updated on -
4 Ways to Record Audio from YouTube for Free
You will know how to record audio from YouTube for free on your PC or Mac with various types of audio recorders. Read on to get the details.
Myra Xian Updated on -
How to Record Audio on PC Without Microphone: New Update
Check this guide and you will know how to record audio on PC without microphone to capture computer audio easily.
Myra Xian Updated on