

Updated on
Quick Answer:
You can record a specific area on Windows 11 using the third-party screen recording tool-SurFlex Screen Recorder, the built-in screen recorder on Windows 11-Snipping Tool (without audio), or the freeware-ShareX.
When you screen record on Windows 11, you may want to record the full screen to capture the whole display or record a specific area to capture an app window or any selected portion. Here I’d like to show you how to record part of the screen on Windows 11 so that you can record any desired content with ease.
Table of contents
Record Part of Screen on Windows 11 with Audio
Tool: SurFlex Screen Recorder
Whether you are going to record an app window or any selected portion of your screen, you can use SurFlex Screen Recorder to get it done. This screen recorder is compatible with Windows 11 and allows you to record a specific area on your PC or laptop with a few simple clicks.
Besides, it also has an audio recording feature that allows you to screen record on Windows 11 with audio and record audio on Windows 11 to capture internal audio, microphone sound, or both. Thus, if you need to record videos on your PC often, SurFlex Screen Recorder will come in handy.
Note: Before you start, it’s advisable to go to Settings to customize the output settings. Here you can choose your preferred video format, video quality, and other related options.
To record part of the screen on Windows 11:
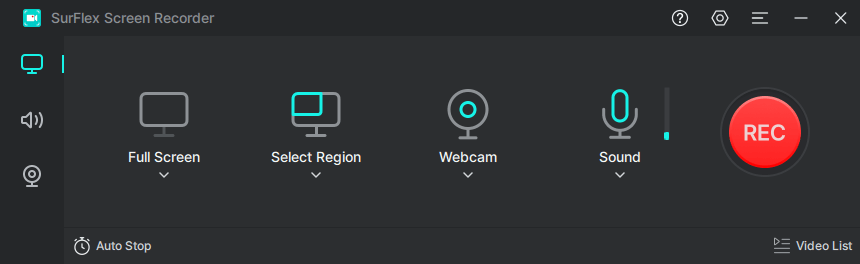
Step 1. Open SurFlex Screen Recorder and go to Settings to select the output options. Afterward, set up the webcam and audio options according to your needs.
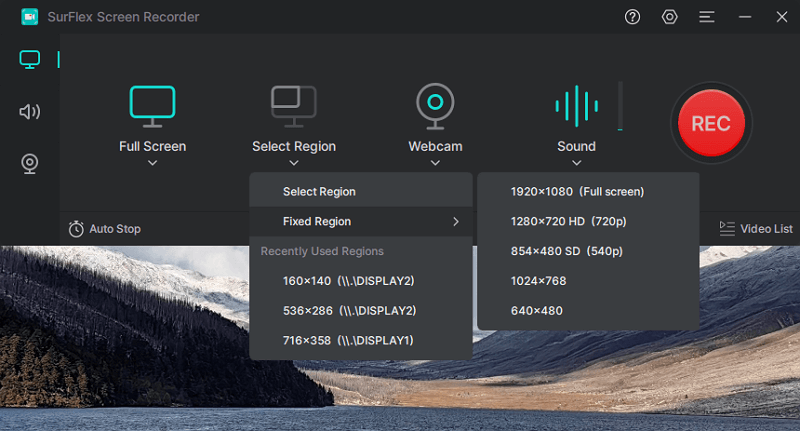
Step 2. Choose Select Region and choose to capture a selected portion or a fixed region.
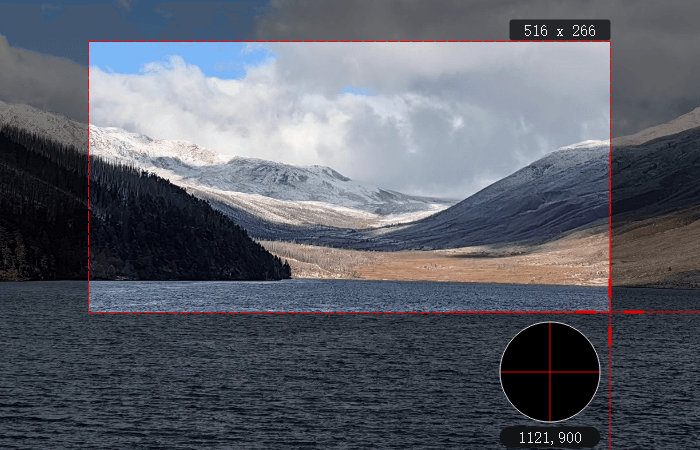
Step 3. Choose the recording area and click REC to start recording this part of the screen on your computer.
Step 4. Once the recording is done, click Stop in the recording bar.

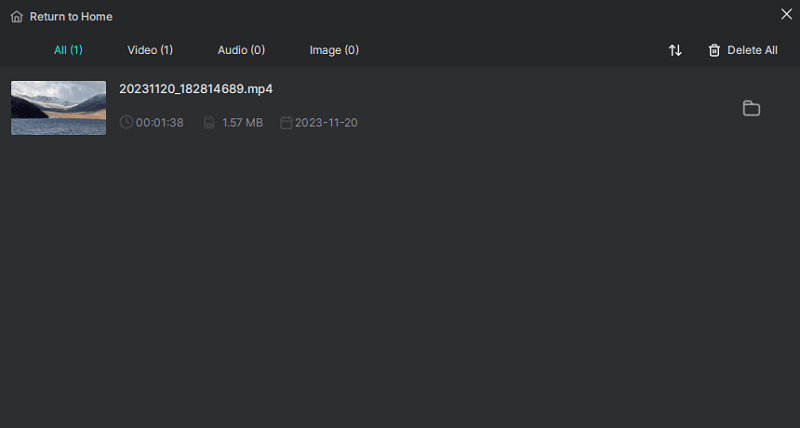
Step 5. Check the recorded video in the popup window.
Record a Specific Window or Area on Windows 11 Directly
Tool: Snipping Tool
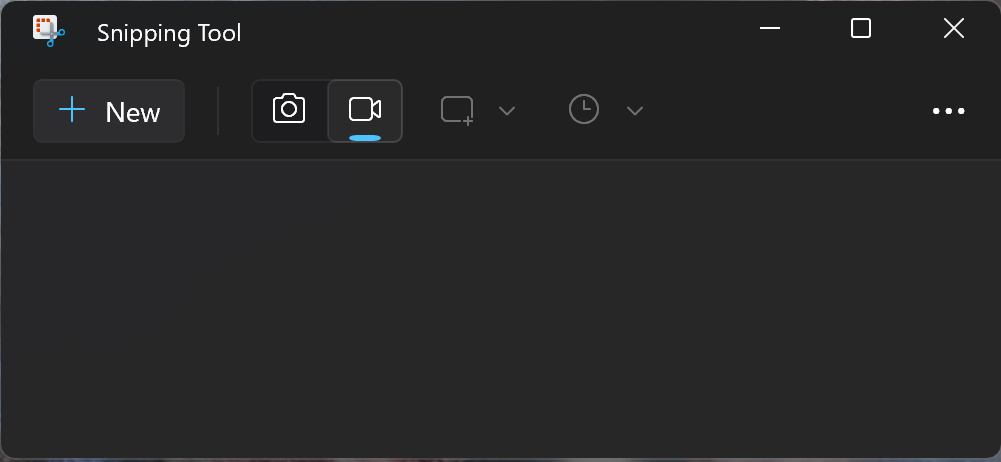
The easiest way for you to record a video on your computer is to use the built-in Snipping Tool. Since Windows 11, it has been added with the screen recording feature and allows you to record any section of your screen. However, Snipping Tool screen recording can’t capture audio along with the video. If you don’t mind it, you can let it help to record a specific area on your PC without any third-party tool.
To record a specific area on Windows 11:
Step 1. Launch Snipping Tool from your PC or laptop.
Step 2. Click the camera icon to switch to the recording mode.
Step 3. Click New and select the part of the screen you want to capture. Afterward, click Start.
Step 4. When needed, click Stop to end the recording.
Step 5. Preview the recorded video and click Save As to save the recording to your computer.
Record a Section of the Screen on Windows 11 for Free
Tool: ShareX
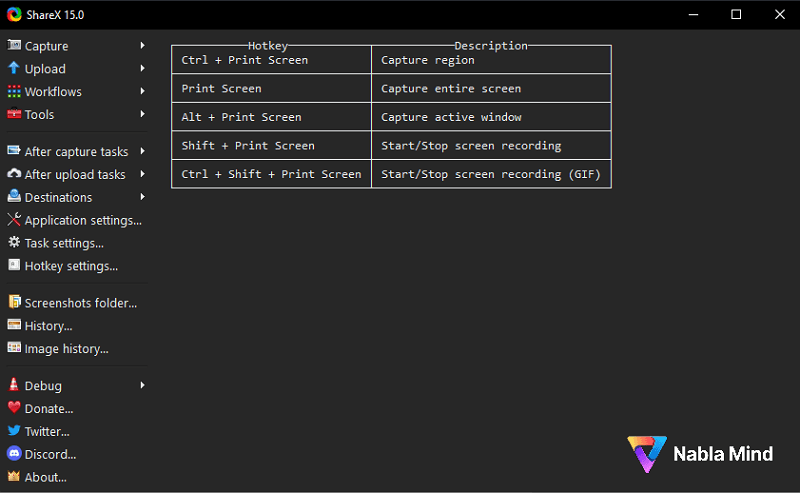
ShareX is freeware for screen recording and screenshotting and allows you to customize the recording region. Thus, it is also a workable solution to record part of the screen on your computer with audio. If you want to record videos on Windows 11 for free, using this app will do you a favor.
Step 1. Download and install ShareX on your computer.
Step 2. Launch ShareX and click Task Settings.
Step 3. Choose Screen Recorder and click Screen Recording options.
Step 4. Select the recording options, such as video source, audio source, and video codec, according to your needs.
Step 5. When you are ready to record, press Shift + PrintScreen.
Step 6. Select the recording area and the video recording will start automatically.
Step 7. When you are done, click Stop to end the recording.
Step 8. Check the video in the ShareX window.
Wrapping Up
Whether you want to record a specific area or the entire screen on your computer, you can utilize one of the screen recorders mentioned above to accomplish the task. While there is another built-in screen recorder on your PC known as the Xbox Game Bar, it only captures the currently active window and does not allow you to select a specific section of the screen. Therefore, it can only be helpful when you need to record a particular window.
About the Author
You May Also Like
-
How to Record Last 1 Minute on PC in 3 Ways
You will know how to record last 1 minute on PC to capture past gameplay on your computer with preinstalled or third-party tools.
Myra Xian Updated on -
How to Clip with OBS [Detailed Guide]
If you are going to record clips on your PC and want to use a free tool, check this guide to learn how to clip with OBS.
Myra Xian Updated on -
How to Record Screen in Windows 10 Without Any Software
You will know how to record screen in Windows 10 without any software using the built-in or onlne screen recorder tools.
Myra Xian Updated on