Quick Answer:
You can record game videos on your Windows 10 PC using the built-in Xbox Game Bar, the preinstalled GeForce Experience for computers that use a GeForce GPU, the easy SurFlex Screen Recorder, or the free OBS Studio. All these tools allow you to record gameplay on your PC without difficulty.
Recording games on Windows 10 couldn’t be easier, thanks to the help of preinstalled and third-party screen recorders for Windows. Therefore, if you are wondering how to clip gameplay on your PC, I’d be glad to share some proven game recording tips. Here, I’d like to present four easy tips for game recording. Check them in detail, and you will learn how to record gameplay on PC in Windows 10 with ease.
Table of contents
How to Record Gameplay on PC in Windows 10 Directly
Tool: Xbox Game Bar
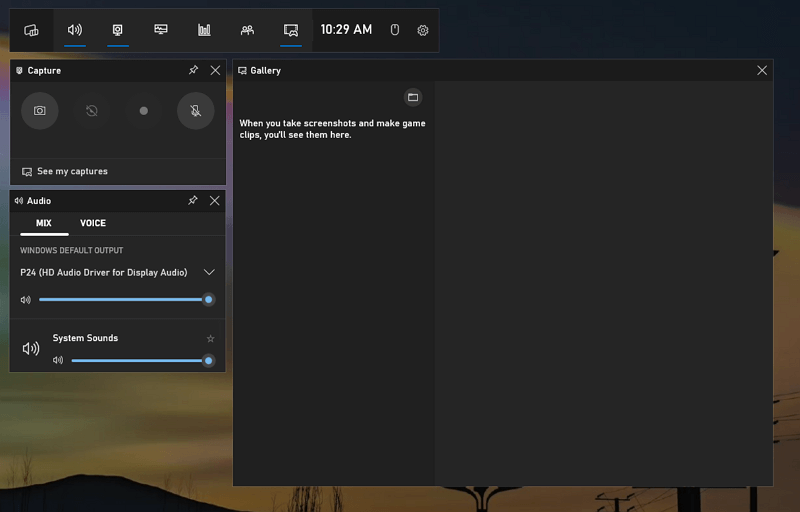
The best way to record gameplay on a PC running Windows 10 or later is to use the built-in Xbox Game Bar. As its name indicates, it is primarily designed for game recording, allowing you to easily record game videos on a PC with audio. It’s worth mentioning that Xbox Game Bar, in addition to capturing real-time gameplay, can record past gameplay on PC, as long as you have enabled the background recording features. That means you can use it to record the last 15 seconds, 30 seconds, 1 minute, 5 minutes, and more on your PC or laptop.
Before you start recording games on Windows 10, it’s advisable to go to Start > Settings > Gaming > Captures to customize the recording options and then go to Xbox Game Bar (Windows-G > Settings > Widgets to select the audio to record. Afterward, you can follow the simple steps below to capture gameplay on your PC.
To record gameplay on Windows 10 PC:
Step 1. When you are ready to record a game clip, press Windows + Alt + R to record the game window immediately.
Step 2. When you need to end the game recording, press Windows + Alt + R again or click the Stop icon in the recording bar.
Step 3. Click the Game clip recorded message to check the game video.
How to Record Game Clips on Windows 10 in High Quality
Tool: GeForce Experience
If your Windows 10 computer uses an NVIDIA GeForce GPU, there is likely another preinstalled gameplay recorder available: GeForce Experience. This tool provides easy and powerful screen recording features for you, making it easy for you to record game videos on your Windows 10 PC. It also helps to record what happened on PC with its Instant Replay feature. Moreover, it supports recording gameplay in high quality up to 8K and is a good choice for high-quality gameplay recording.
To record gameplay on PC with GeForce Experience:
Step 1. Open GeForce Experience and sign in.
Step 2. Click Settings to enable in-game overlay.
Step 3. When you are playing a game, press Alt + Z to open the GeForce Experience overlay.
Step 4. Click Settings > Video Capture to customize the video quality, frame rate, and more.
Step 5. When you are ready, click Record > Start or press Alt + F9 to start recording the game.
Step 6. Once finished, open the overlay again and click Record > Stop and save, or press Alt + F9 again to end and save the recording to your PC.
Step 7. Check the game video by going to GeForce Experience > Gallery.

How to Record Yourself Playing a Game on Windows 10
Tool: SurFlex Screen Recorder
As mentioned earlier, there are also third-party screen recorders available that support game recording. One of them is SurFlex Screen Recorder. This easy and lightweight video recorder allows you to record screen and webcam at the same time and record game clips with audio, including game audio, microphone audio, or both. Thus, when you want to record yourself while playing a game on a PC, it will suit your needs well.
Besides, SurFlex Screen Recorder allows you to customize the video format, video quality, frame rate, and recording region. If you want to take more control over your screen recording, don’t hesitate to give it a try.
To record yourself while playing a game on PC in Windows 10:
Step 1. Launch the screen recorder on your computer and click Settings to customize the output settings.

Step 2. Select System Sound and Microphone as the audio recording option.
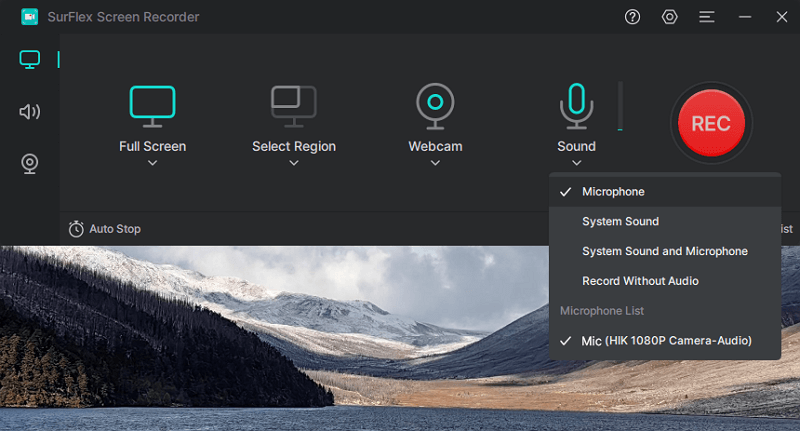
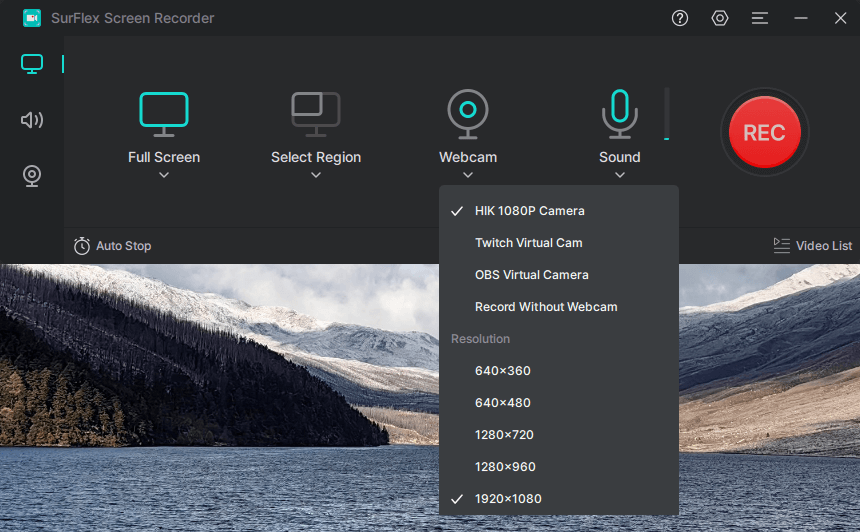
Step 3. To record yourself playing a game, enable Webcam recording and select the camera you’d like to use.
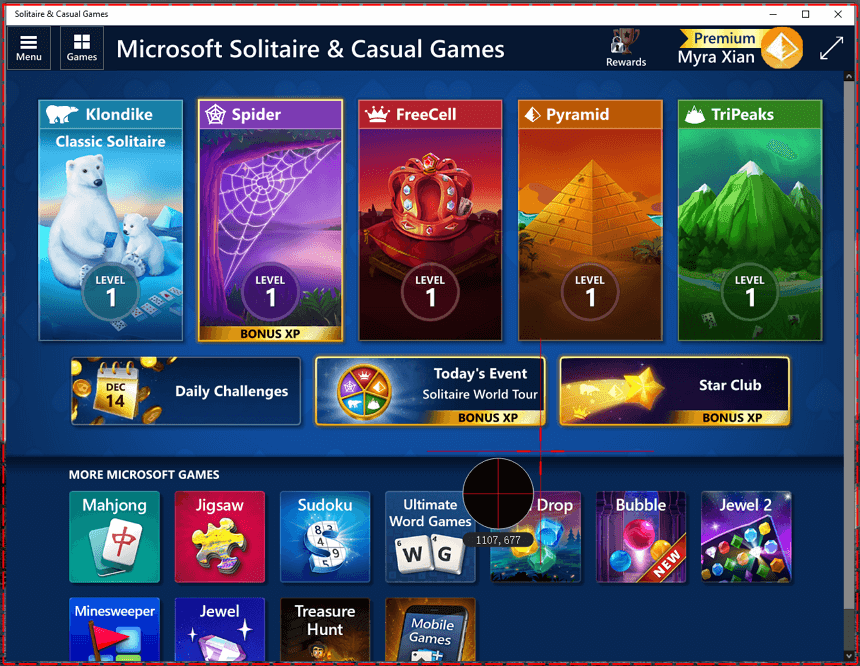
Step 4. Select the game window you’d like to capture and adjust the size and position of the webcam. When you are ready, click REC to start recording yourself playing a game.
Step 5. When you are done, click Stop and then go to the recording list to check the gameplay.
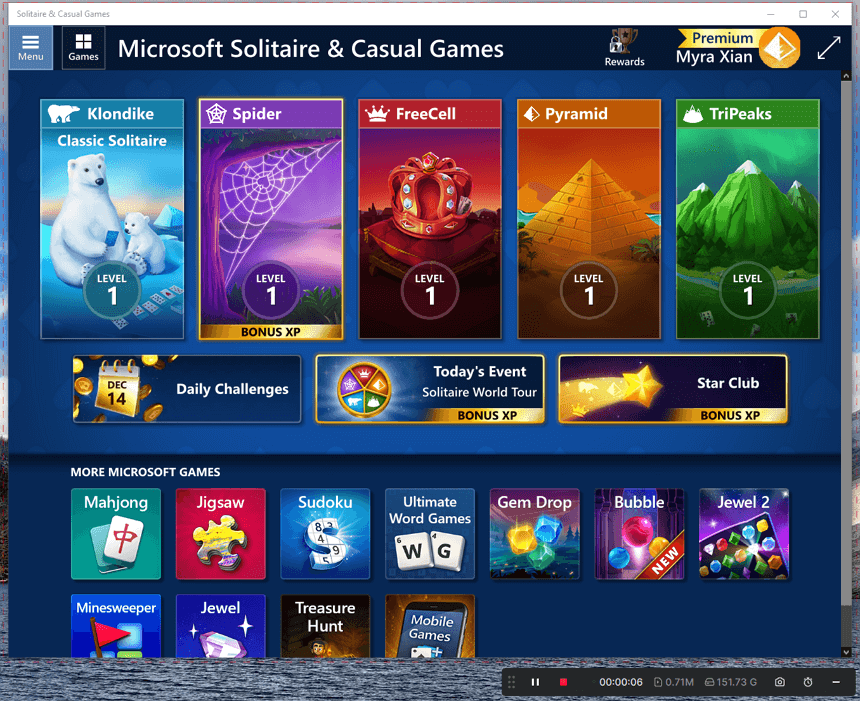
How to Record Game Videos on PC in Windows 10 for Free
Tool: OBS Studio
There is more than one free screen recorder for Windows 10, but OBS Studio is undoubtedly the most popular one. It works to record the entire screen, a specific window, or a selected portion on your computer with audio and provides a game capture option for you. Whether you want to record a game only or record yourself playing a game, it will do you a favor. That’s why it is also a recommended option for recording gameplay on Windows 10 computers.
To record game videos on PC in Windows 10 for free:
Step 1. Download and install OBS Studio on your computer.
Step 2. Go to File > Settings > Output to customize the output options.
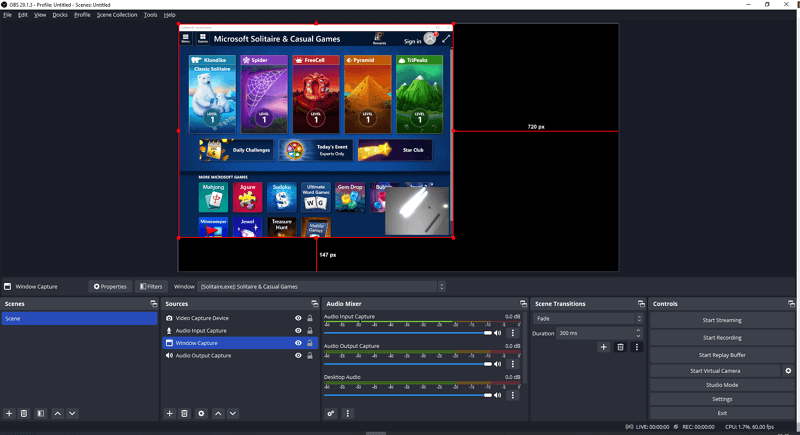
Step 3. Go to the Sources panel and add Game Capture > OK.
Step 4. Select Capture specific window, choose the game window, and then click OK.
Step 5. Continue adding the recording sources you need, such as Audio Output Capture.
Step 6. Adjust the volume of the audio in the Audio Mixer panel if necessary.
Step 7. Click Start Recording in the Controls panel to start recording gameplay on PC.
Step 8. When necessary, click Stop Recording and go to File > Show Recordings to check the video.
You can get more details on OBS recording from the guide: how to use OBS to record gameplay.
Wrapping Up
These ways are equally effective if you need to record gameplay on PC in Windows 11 next time. Even if you want to capture other on-screen content, you can still use any of the screen recorders to help. In addition to using desktop screen recorders, you can also choose to use an online screen recording service, such as SurFlex Online Free Screen Recorder, which is completely free to use and won’t add any watermark to your recorded videos.
About the Author
You May Also Like
-
How to Record Minecraft for Free: 3 Proven Ways
Read this guide and you will know how to record Minecraft for free on your PC with free Minecraft recording software or service.
Myra Xian Updated on -
How to Record Roblox with Voice on Any Device [4 Ways]
If you are wondering how to record Roblox with voice on your phone, iPad, or PC, check this guide and you will know the easy solutions.
Myra Xian Updated on -
Best Way to Record Gameplay on PC: 5 Ways
There are the best ways for you to record gameplay on PC, use any of them to record game clips on your computer with ease.
Myra Xian Updated on

